Category Archives: Weather Site

Meteobridge Pro failed hardware

Due to a fault with the Meteobridge Pro, I’m unable to publish data from my weather station, the unit has been sent to Germany for repair and as soon as I receive it, normal service will be restored.

16 January 17 – Meteobridge Pro returned, fault identified as:

“There have been some pins
not correctly shortened that caused shortcuts on the USB path.”

Back up and running at 16:45.

Replacing PC with Meteobridge Pro

I have had a number of PC to run my weather station and as I built the station up, the load on the PC got greater and greater until I ended up with a beast of a PC which will handle anything I throw at it.

Dell PrecisionDell Precision 490 PC.

The problem is power consumption at 250watts, the cost to run this 24/7 is over £300 per year at current cost per unit of electricty.

Meteobridge Pro is an alternative to a PC, this device takes the feed from my Davis Vantage Pro2 weather station, (in my case cabled from the data logger, however, they do a wireless interface to pick up the ISS), and from this, control how your data is sent to websites via the internet.

Meteobridge ProThe unit fits in the palm of your hand.

SOHO cabinet

The Meteobridge Pro fits neatly within my 10″ cabinet.

Although extremely versatile, it is not meant to match the grunt of a PC, especially as the power consumption is only 2 Watts! however, what it can do is very impressive.

I bought the unit from Prodata in Ely and it came fully licenced and with the latest firmware updated.

I started updating the website on the 15 Dec 16 , converting the Saratoga Template, to the MB Plugin version.  The website was previously fed with data from the superb Weather Display software, due to the natural limitations of the Meteobridge Pro a number of pages and features from my site will no longer be available, this doesn’t detract from the core data, rather, the nice to have’s.

Update 5 March 2022

The Meteobridge Pro continues to perform faultlessly after an initial glitch, the developer issues regular updates to support all manner of features across the spectrum of differing weather station makes and models.

In terms of cost, this device has more than paid for itself in power savings as was expected, probably one of my better purchases.

Cloud Cam Installation

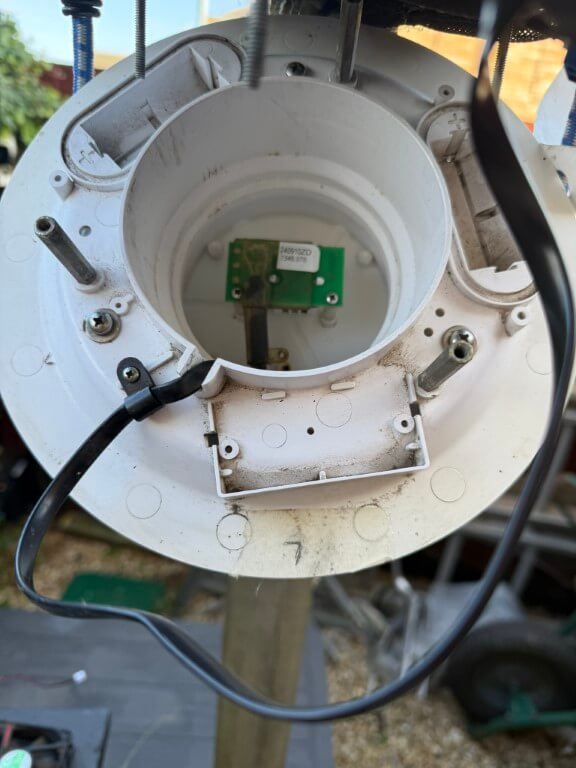
Chatteris Weather used to have a dedicated camera looking at clouds, this was a CCTV camera with a USB converter enabling me to get pictures uploaded, unfortunately the image quality was very poor and eventually when the USB converter died, I replaced the CCTV image with a fixed digital camera taking snapshots which is in use now.

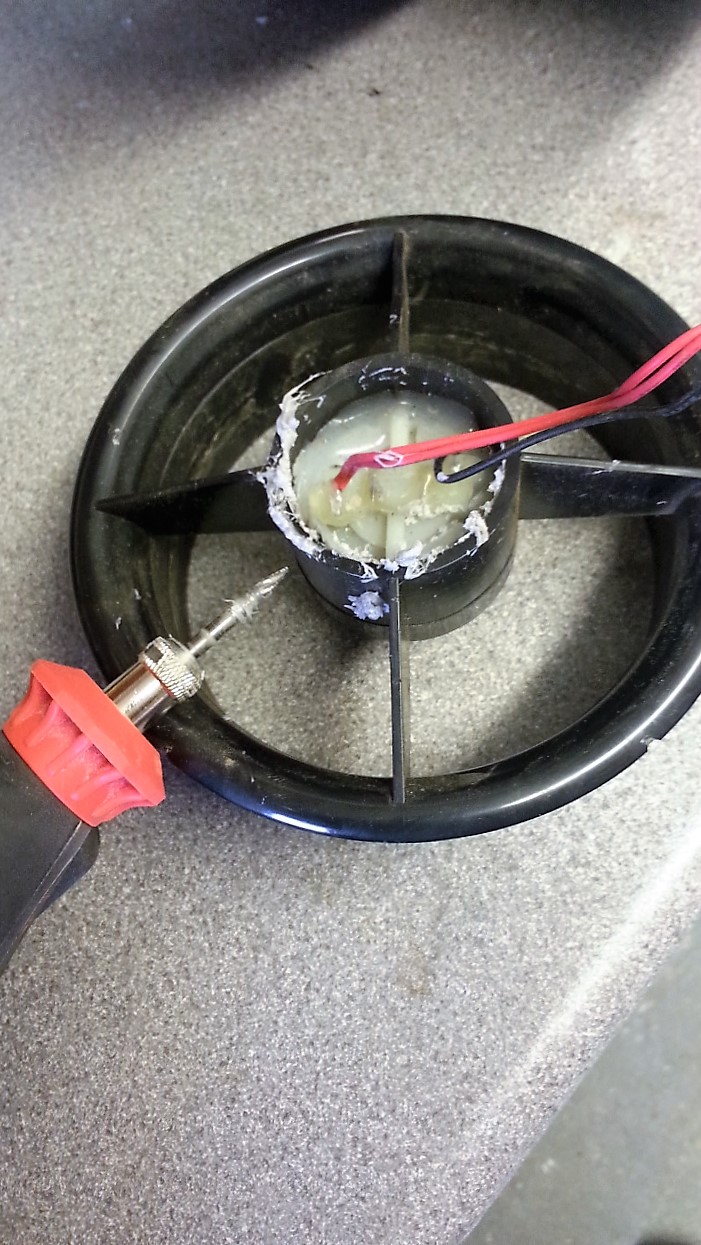
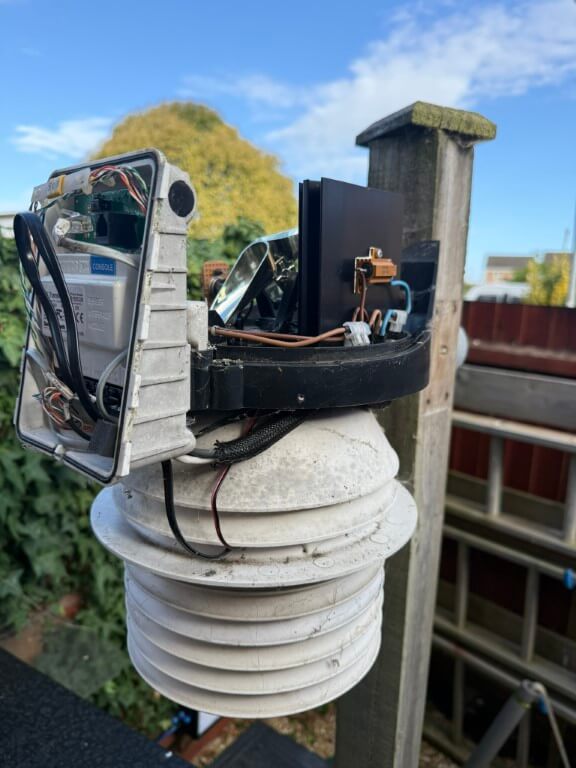
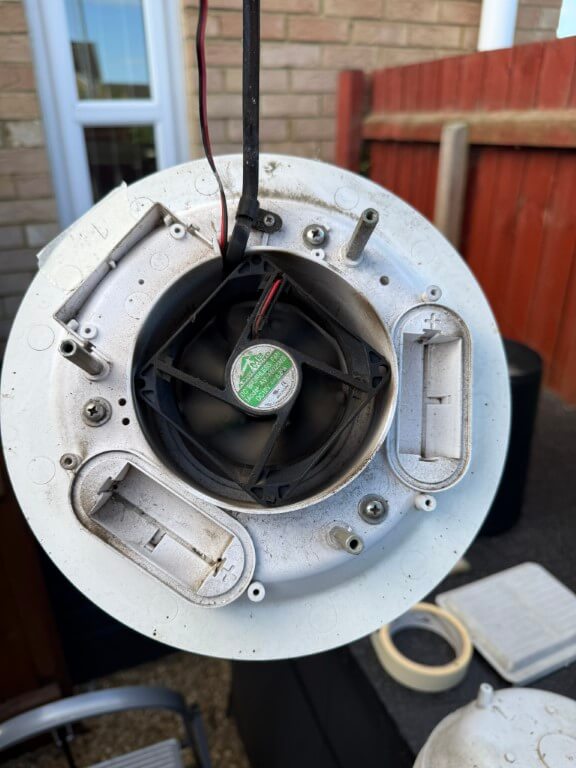
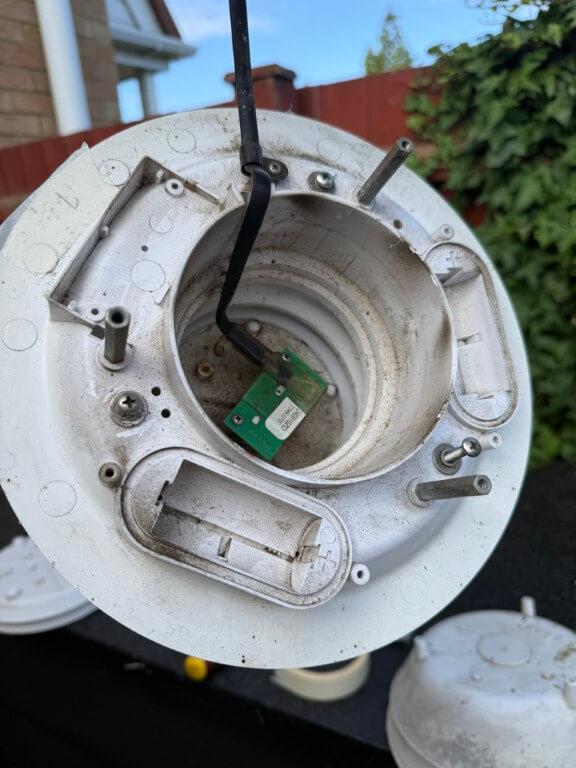
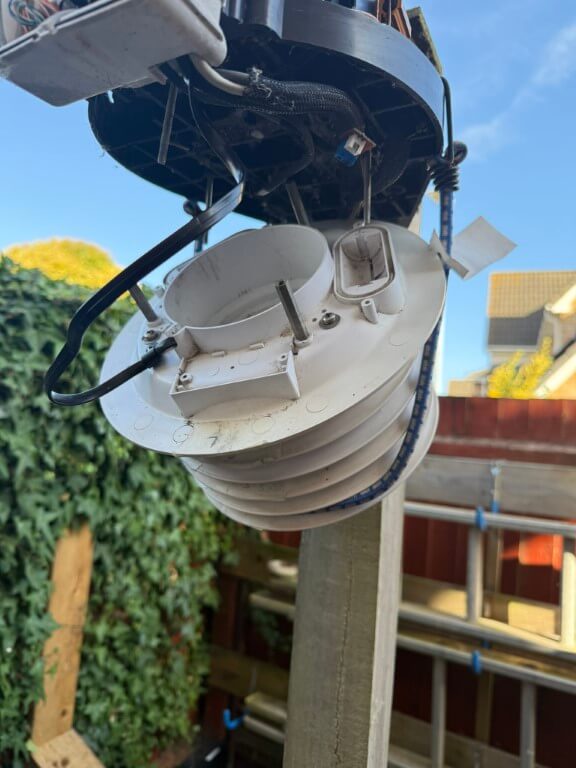
The problem with the fixed camera and my live cam is that they are mounted under the soffit to keep the elements off them and because of this I can’t lift them to point upwards, after a web site user contacted me about the lack of cloud observation, I decided I must get this sorted, especially as the CCTV camera housing was still in places.

My original idea was to get a WiFi enabled IP camera and use the existing CCTV camera power for the new IP camera, and use my wireless network to get the camera images on the computer.

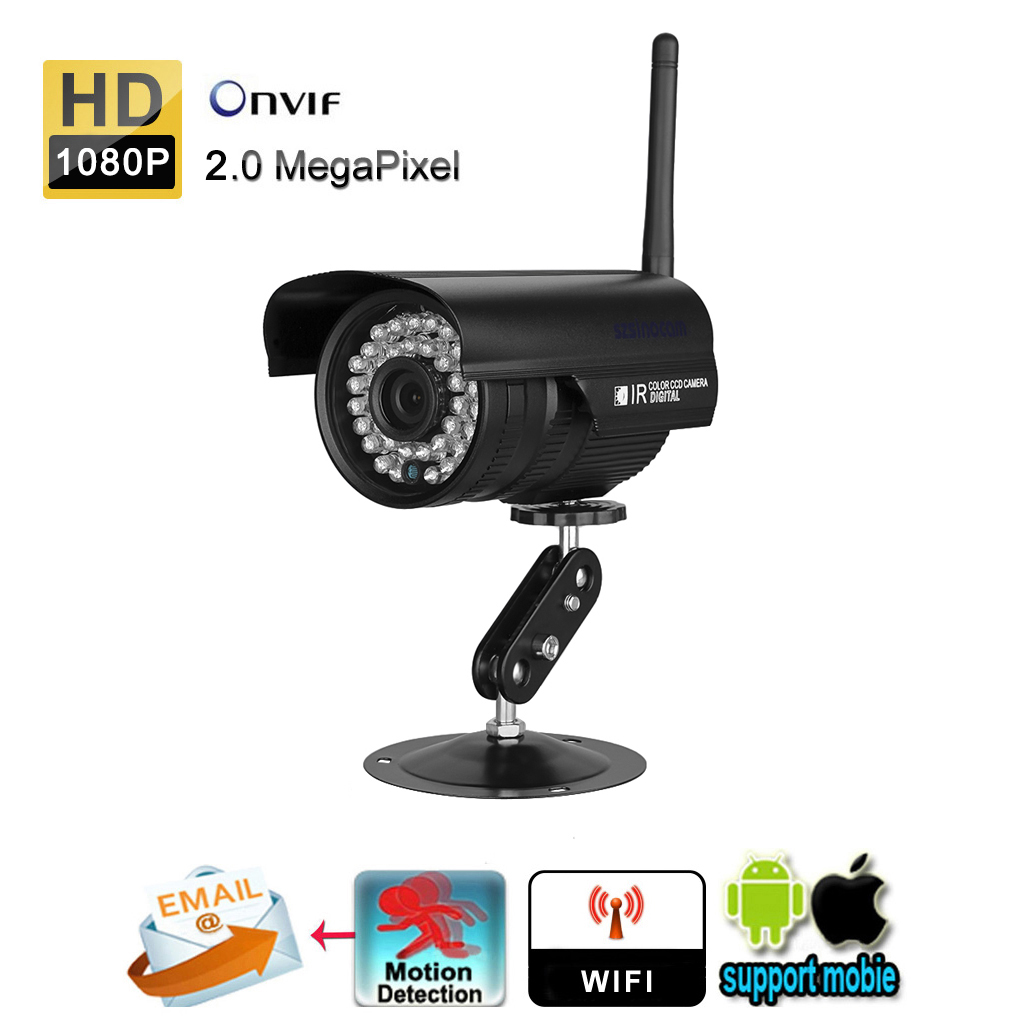
The camera I decided on was £33 off eBay and is a Szsinocam 1080p 2mega pixel with WiFi capability.

ipcloudcam

The camera only took a few days to arrive and comes complete with UK plugged 12v wall wart power supply, fixing bracket, instructions and CD.

I’m using a Windows 7 Operating Systems and my PC has a CD drive, first job was to set it up on the bench and to run the CD for the ‘Search Tool’, once this was installed, I powered up the camera and plugged in an Ethernet lead into my router after first removing a device with a conflicting IP of 192.168.1.100.

Using the ‘Search Tool’, discovery of the camera was done within seconds, from here access into the cameras range of menus is possible, the instructions guide you through the setup process which was fairly straightforward,  the cameras IP and  WiFi enable were the first things I did, refreshing the ‘Search Tool’ now brought up two IP’s one for the Ethernet the other for WiFi.

The image quality is very good, the WiFi is about as good as a chocolate fireguard as it keeps dropping out, and I found it to be totally useless. Plan B now involves running a new Ethernet cable to where the camera is to be mounted, something I didn’t really want to do!

20160528_190012 (Medium)

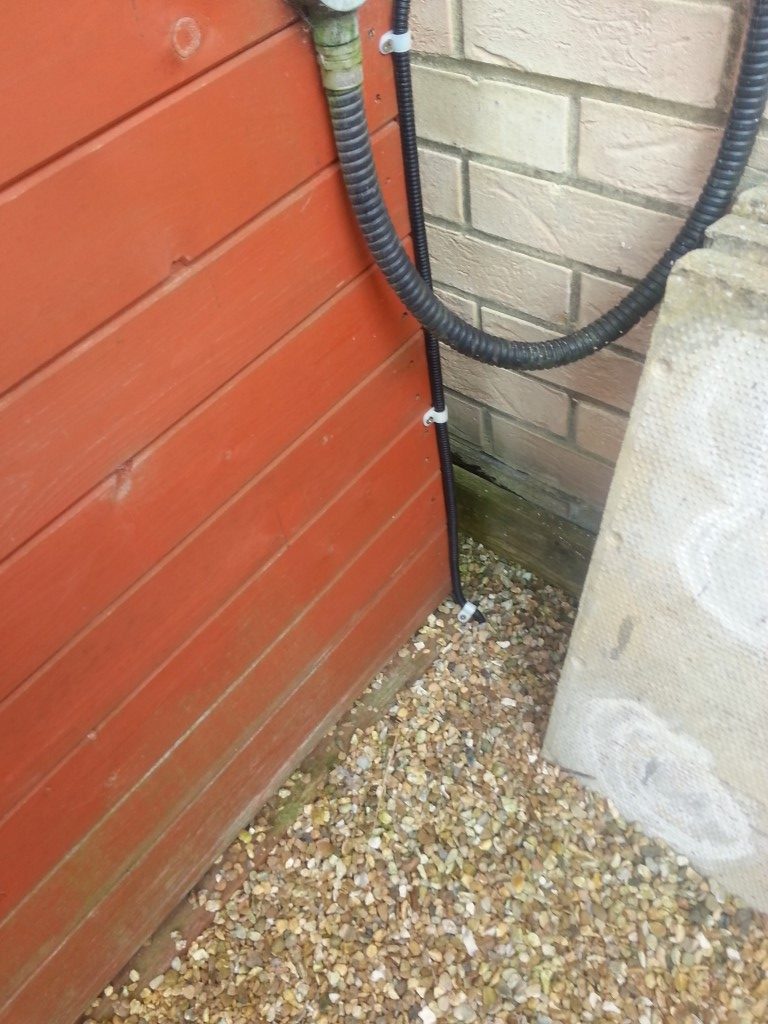
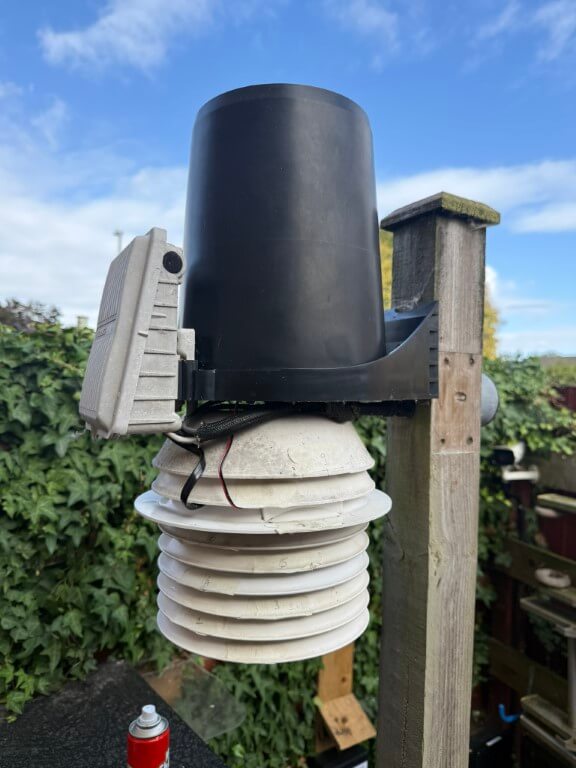
The router is on the other side of the wall to the shed, I ran a Cat5 cable into the shed and then out to the camera using 10mm convoluted tube.

20160528_190032 (Medium)

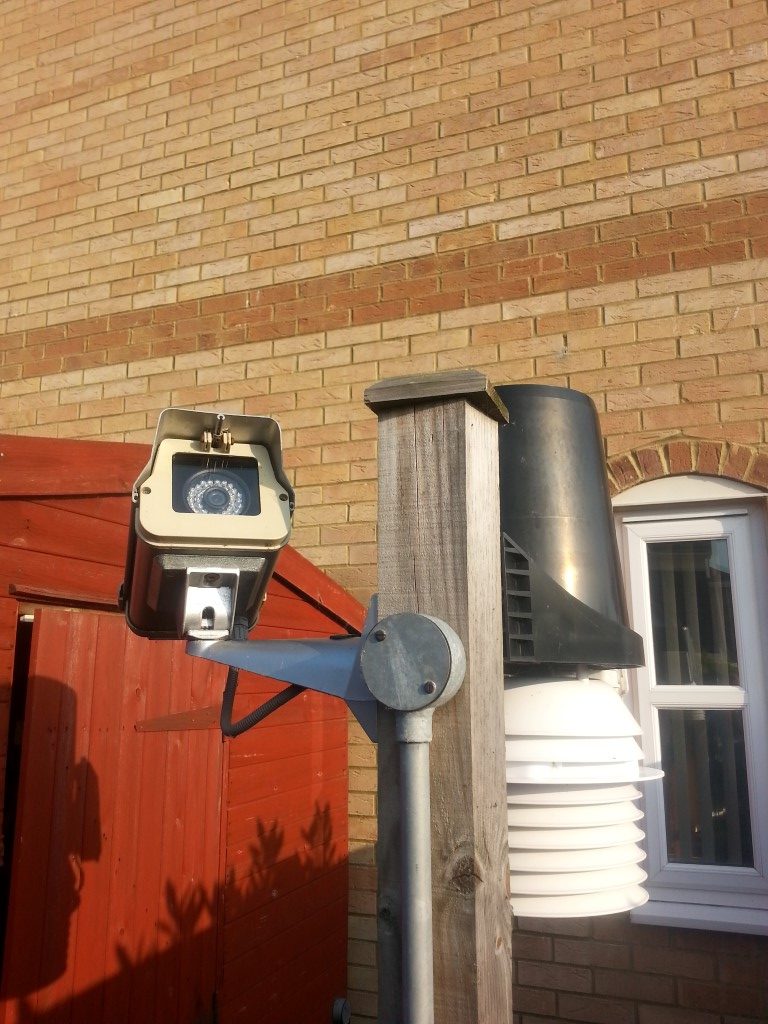
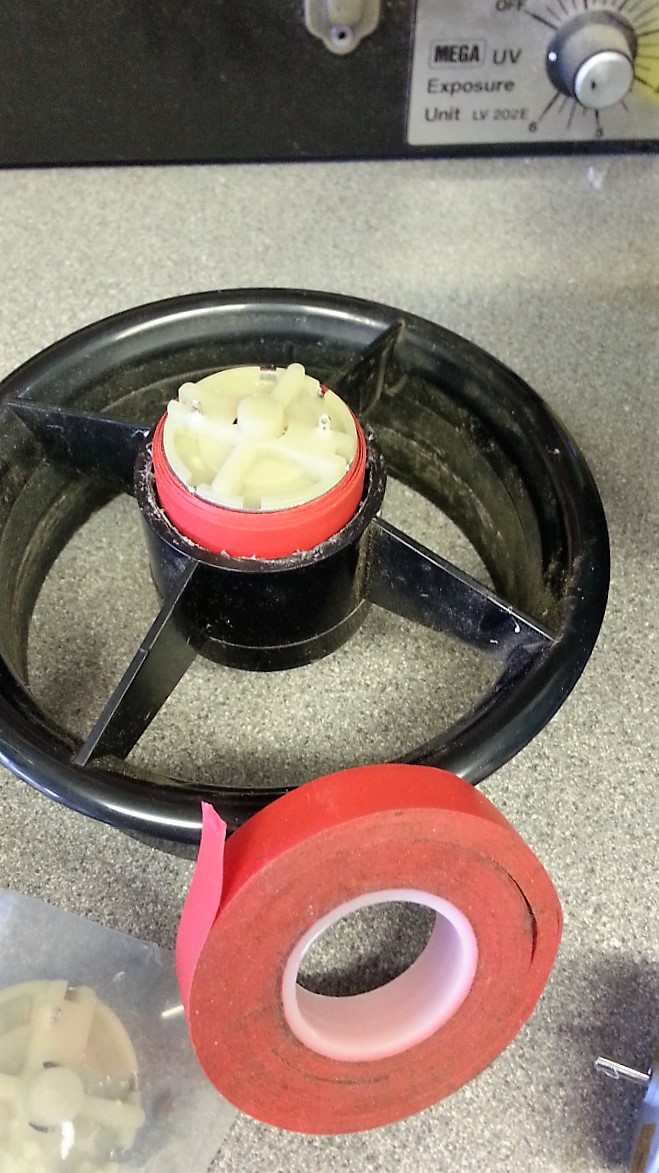
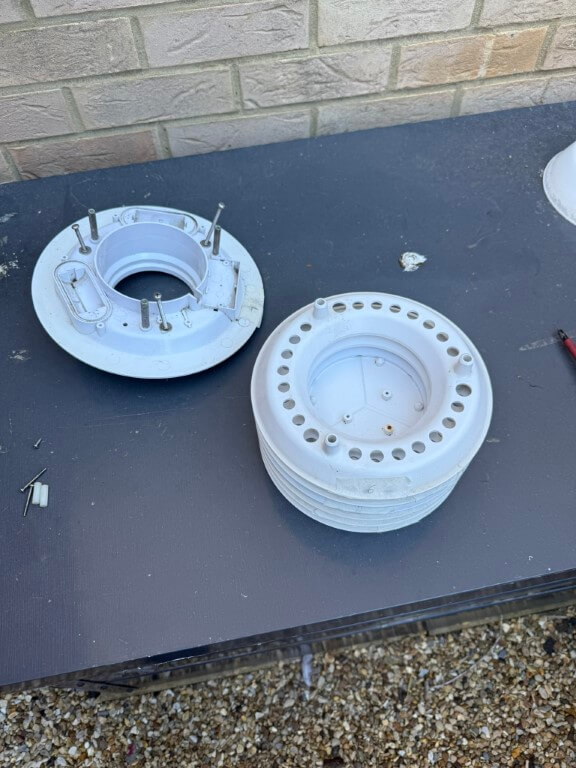
Camera mounted within the old CCTV enclosure.

20160528_185954 (Medium)

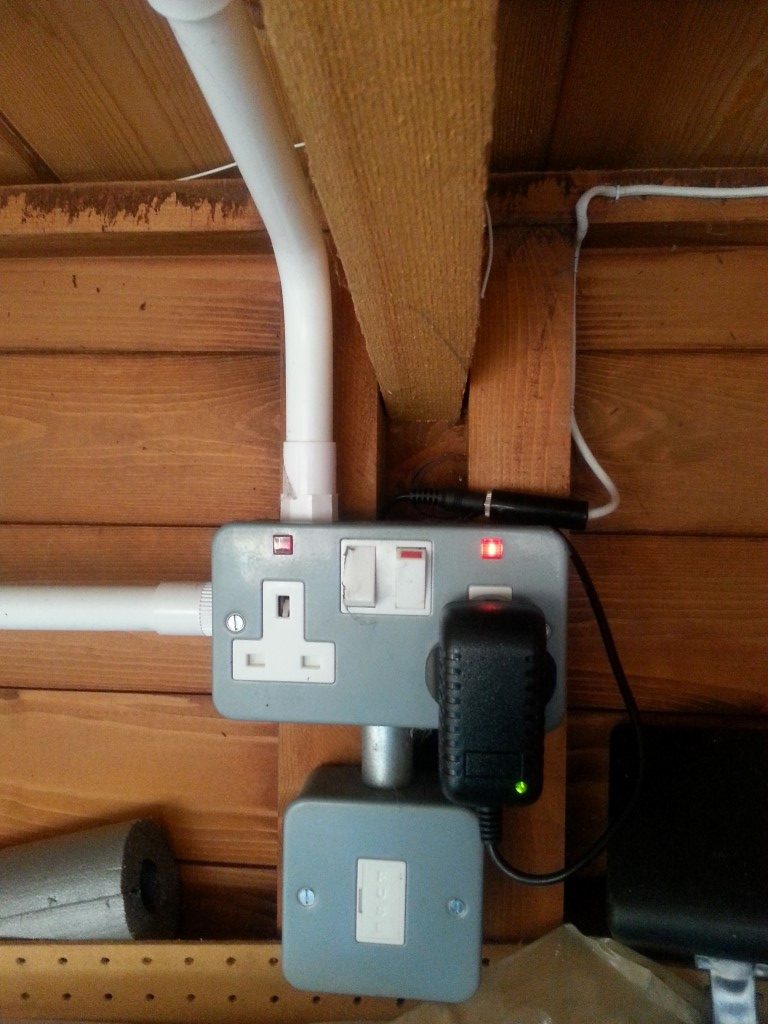
Power for the camera comes from the 12v wall wart plugged in the shed, I used a 2.1mm ‘inline connector’ to plug the output from the power supply to the lead to a junction box, where I have spliced into the Cat 5 cable to allow me to use the unused conductors to double up and take power to the camera.

cat5poe

The software I use to get image to my website is iptimelapse, finding the streaming address was a nightmare and took far longer than I thought, it was only after I came across a thread in a CCTV forum that I had success, initially I used VLC Media Player to find the working camera stream, but once I knew it was possible, getting it working on iptimelapse was easy.

The program also adds weather conditions to the image which is a great feature.

iptimelapse

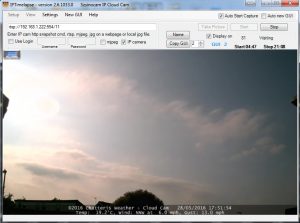
iptimelape takes a snapshot from the camera, in my case every 5 minutes from Sunrise until Sunset, after which time the program goes into ‘idle’ mode until it’s time to start, the timing is automatically configured from my long and lat coordinates.

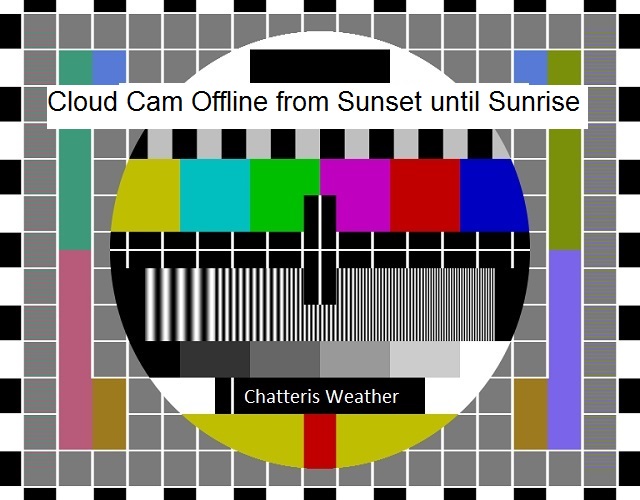
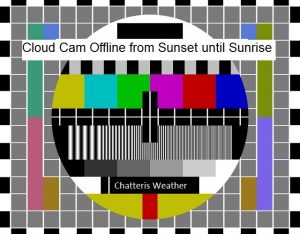
Rather than have a static image of the last image on Chatteris Weather, I found a script on WX Forum which allows a new image to be displayed when a condition is met, I have used this to put a testcard on the site when no fresh image is being sent.

cloudcam_offline

My web site already had a Clouds page, so I thought the best place for a Cloud Cam was on this page.

Hope you enjoy the images.

Another Blitztortung on the Network

I helped out another Blitzortung lighting user by building up his kit, this one is now up an running in St Thomas, Virgin Islands, the pictures below show the various stages of PCB build, the firmware program and that the GPS has picked up satellites to time lock the strikes.

St Thomas Blitzortung Stats.

blitz

Red Arrows show location of St Thomas detecting lightning 2,300 miles away!

2016-04-07 17.08.28 (Medium)
2016-04-07 16.16.23 (Medium)
2016-04-09 09.36.11 (Medium)
2016-04-09 11.25.16 (Medium)
2016-04-09 11.12.26 (Medium)
2016-04-09 11.25.25 (Medium)

Davis Vantage Pro2 Fan Change

I check and clean my weather station twice a year, just before Christmas I noticed the  FARS (Fan Aspirated Radiation Shieldfan which draws air past the external temperature and humidity sensor had stopped working.

As an interim measure I increased the voltage to the fan from 1.7v to 2.8v, which kept the motor working for a few more weeks before it finally wouldn’t kick into life.

In February 2014 I had bought 5 spare motors (minimum order but cheap as chips) from Jameco.com, so today I decided the weather wasn’t going to catch me out  and I made a start on replacing the fan.

Disassembly of the unit is very easy, removing the Rain Bucket exposes three cross head screws which hold the FARS in place, whilst holding the base of the FARS, undo each of the screws until you have the weight of the FARS in your hand, slowly lowering your hand the weight of the unit will be held by the interconnecting wires to the ISS.

The power to the fan is via a small plug and once removed, the fan assembly slides out of the shield as one unit.

The fan is held onto the motor by an interference fit, pulling on the fan will remove it from the motors shaft.

2016-01-23 09.39.38

The motor is held in the fan body by silicon, I used a craft drill with a tapered bit to remove this.

2016-01-23 09.41.35It didn’t take too long to get the motor out, the next job was to tidy the fan body socket and de-solder the old fan motor wires.

2016-01-23 09.48.24

New motor from Jameco compared to the one removed just in case I had ordered the wrong one!

2016-01-23 09.51.30

The motor needs packing to center it in the fan body, jerryg on the WXForum gave his solution of using insulating tape to build the diameter and this works really well, I made it so the motor was a snug, but not tight fit (as the motor uses brushes to make electrical contact to the rotating commutator, the motor will inevitably fail and need replacement).

The motor has three holes at the shaft end of the body which in the the original motor had been taped over, so I did the same, pushing the motor in the body I used a few dabs of silicon to hold it in place and pushed on the, the last part of this job was to solder wires on making sure the red wire went to the terminal marked with a + sign!

Once connections are made, a cable tie holds the wires neatly to fan body.

2016-01-23 10.06.04

While everything was apart, I checked the voltage regulator to the fan to make sure everything was ok, this is a Velleman unit with 24vAC in and I have removed the potentiometer and replaced it with a fixed value resistor giving a stable output of 2.8v DC.

2016-01-23 10.45.44

After a washing  down with soapy water the tipping bucket, Stevenson screen and rain bucket, everything was put back together, the total time taken was about an hour, now I know what I need to do, this could be done in under 30 minutes.

If you prefer to simply change the complete fan unit (Davis 7758), this can be bought from Weatherspares  in the UK who offer exceptional customer service.

Just got to see how long this motor lasts, once all the motors I’ve bought are gone, I’ll put a PC fan motor in and monitor the output to generate an alarm, I have made a a circuit based on this site, but I need to play a bit more to get it to work properly.

Link to original FARS blog..

Chatteris Weather Page Updates

Over the festive break, I’ve taken the opportunity to tweak my weather web pages and add a few features:-

  1.   Meteotemplate

This is a new style dashboard accessible from the menu bar of Chatteris Weather, if you prefer this template, save it as a favorite.

Jachym, the author of the script is continually adding new functionality and wherever possible I will adjust my site to incorporate his hard work.

2.   International Space Station (ISS)

I have always had a link to the ISS, but now Maj Tim is orbiting, I thought it would be fitting to have a bespoke page showing the live camera stream and graphical overlay of where the ISS is in real time.

3.   Live Webcam

I have recently fitted a Hikvision IP webcam which is streaming live video 24/7. I’m working on the time lapse feature and this will follow shortly.

4.  Supercounter

I have had revolver map on my site for a while as well as a whos-online script and PHP Web Stat, Supercounter was very easy to set up and implement, site statistics are available from the above link, what is of interest is that the majority of refers have come from webcam sites.

5.  Page Header Image

New design which will change to reflect either a reason to celebrate, when not a special header, a new standard image will be used with a change of title from Chatteris Weather to Chatteris Weather Station.

6.  Status Page

Added a screen grab image of the Weather Display program which drives Chatteris Weather, looking at the image you can see at a glance the overall conditions which are updated every 5 minutes.

Construction of More Blitzortung Lightning Detectors

I offer my help to the Blitzortung Forum members who find soldering is not for them, especially the tiny components; the  boards below are:

Top Left –  Blitzortung Controller with pre made daughter board plugged in

Top-Right – Amplifier which interfaces the antennas (not shown) to the controller

Bottom Left – E-Field Amplifier connects to controller

Bottom Right – E-Field Pre Amplifier  connects to E-Field Amplifier

SAM_5587 (Medium)

The owner of the boards (Julian – Bremen, Germany) had kindly put all the parts in uniquely identifiable bags which certainly saved me time usually spent in sorting out the components.

In total I spent about 9 hours building up the boards and installing the firmware in the daughter board, hopefully that will be another one on the Blitzortung network.

General Web Site Maintenance

Decided to do a little bit of autumn maintenance of the weather web site:

  • Added London Underground service status to the Trains page
  • Added a link to Solent Harbor radio to replace the broken audio media player
  • Repaired the link to Talking Chatteris Weather on the web front page
  • Changed the time lapse video feed to mp.4 format and configured a JW Player in an iframe to show this
  • Rationalized some of the menu to make navigation easier
  • White listed my ip address in ZBlocker after I locked myself out of the site 🙁
  • Added  more Chatteris related community interest links and checked existing ones, adjusting to newer links where needed
  • Changed some of the upload times to the correct value in the page text

If you find any broken links, please use the Contact Form to let me know.

Weather Station – Relay Outputs

My weather station software is Weather Display which is unbelievable in what it can do, the author of the software is very receptive to ideas and modifications and has introduced a feature which I and others have asked for, that is the ability for a physical relay to change state when a condition has been met.

Weather Display used to have the feature to operate a 1-wire single relay, but this has been superseded by an 8 Relay module which was not coded to work with the program.

I bought a board and sent it to Brian Hamilton of Weather Display, and within one afternoon had it working  (it did take a few days to get there as Brian lives in New Zealand)!

The feature Weather Display offers is not only control of relays via Weather Display, but using a Phone or Tablet app.

hobbyboard1

The relays can be assigned to Temperature, Wind Speed, Rain, Lightning (depending on sensors) or a timed schedule, these parameters are set and adjusted from a tab within the program.

SAM_5542 (Medium)

The relay board is powered by an external 12v supply with a 1-wire data lead going through a USB interface to the PC, activated relays are indicated by the LED.

SAM_5537 (Medium)

The app allows full control of the relays if configured, or for relays that have been set to ‘monitor’, the state of the relay is reflected on the app.

This addition has brought a new dimension to the weather station, and I will be connecting the ham radio mast motor to the relays, so that on detection of high wind or lightning, the mast will automatically retract (and maybe ground all the antennas so the transceivers wont get damaged).

A further benefit not related to weather is that a relay could be remotely switched to operate the heating or lighting etc, I’m using one to turn on a power supply unit so I can remotely operate power to my transceivers.

Note:   The HobbyBoard relays are not rated for high currents, I will be using these relays to operate higher switching capacity relays.

8 Channel Input/Output Manual shows the versatility of this module.

Lightning Storm

Chatteris had a lighting storm right overhead for some time in the early hours of Saturday 4 July, the strikes were spectacular and the whole sky was alight with activity.

The first alert my Boltek lightning detector e-mailed was at 12.22am, the storm was successfully tracked until 02.40am when the severity of the storm took out the electrical supply to my part of the town, it was just over 4 hours when the power returned.

4715 (Custom)

Screen grab from weather PC just before the UPS batteries exhausted themselves, shows over 23800 strikes with a current rate of 447 strikes per minute (these could be inter cloud, cloud to cloud or strikes to ground).

While the wife loved natures display of power, the dog certainly didn’t!