Updated 13 November 2025
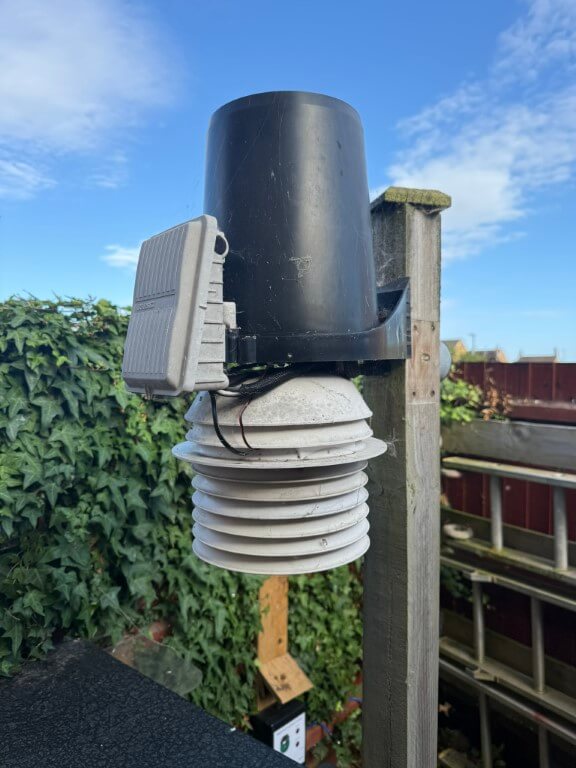
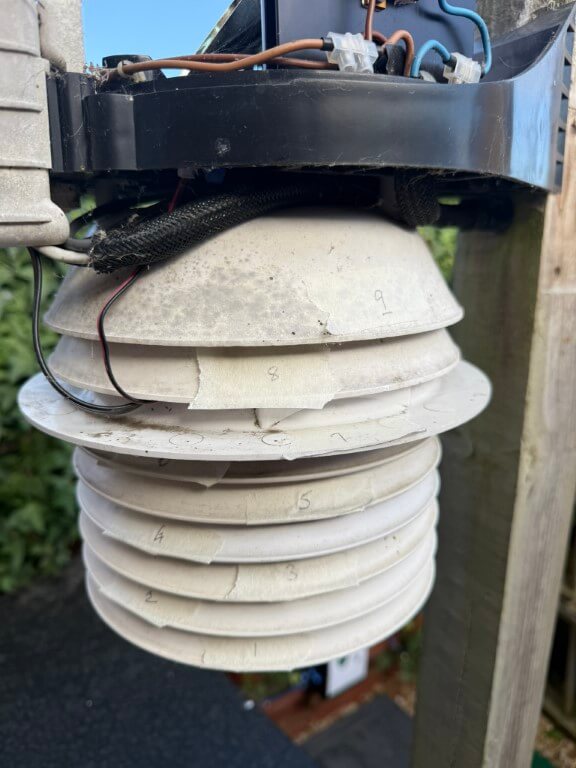
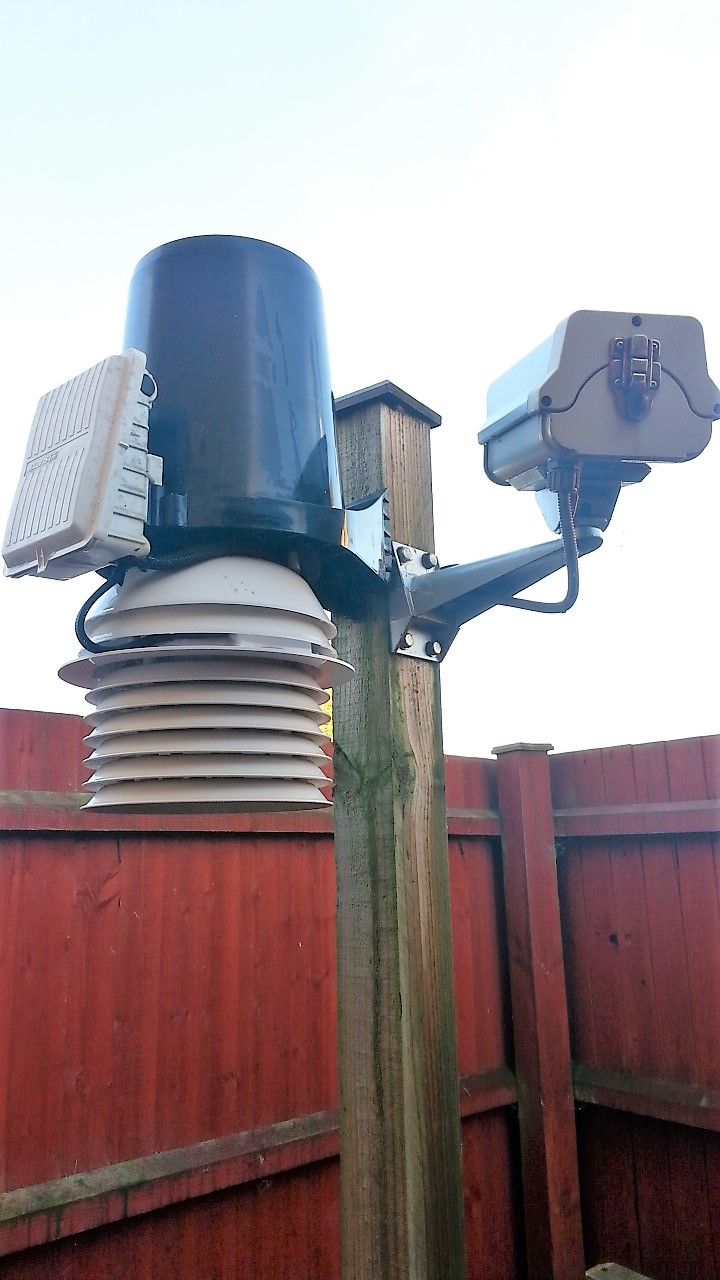
I check and clean my weather station twice a year, just before Christmas I noticed the FARS (Fan Aspirated Radiation Shield) fan which draws air past the external temperature and humidity sensor had stopped working.
As an interim measure I increased the voltage to the fan from 1.7v to 2.8v, which kept the motor working for a few more weeks before it finally wouldn’t kick into life.
In February 2014 I had bought 5 spare motors (minimum order but cheap as chips) from Jameco.com, so today I decided the weather wasn’t going to catch me out and I made a start on replacing the fan.
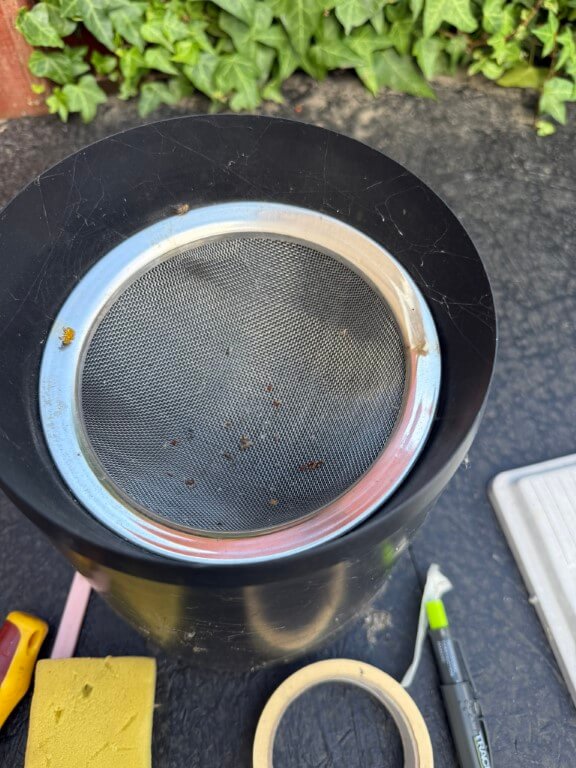
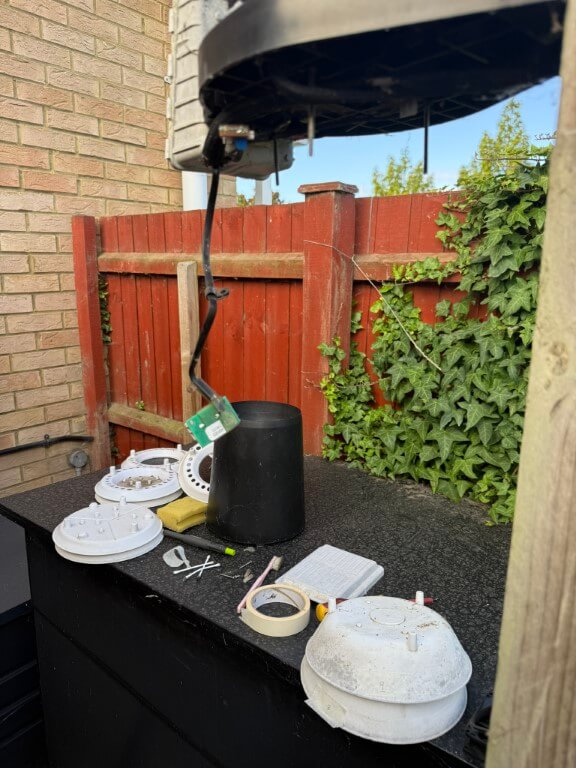
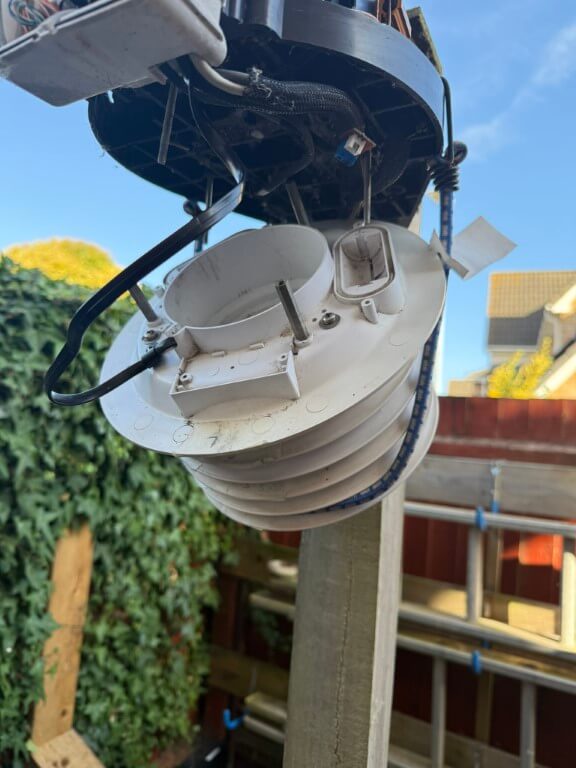
Disassembly of the unit is very easy, removing the Rain Bucket exposes three cross head screws which hold the FARS in place, whilst holding the base of the FARS, undo each of the screws until you have the weight of the FARS in your hand, slowly lowering your hand the weight of the unit will be held by the interconnecting wires to the ISS.
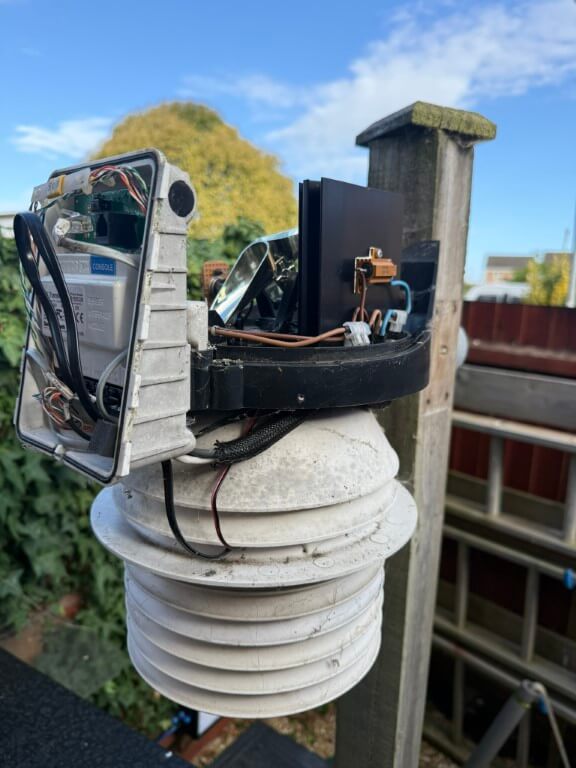
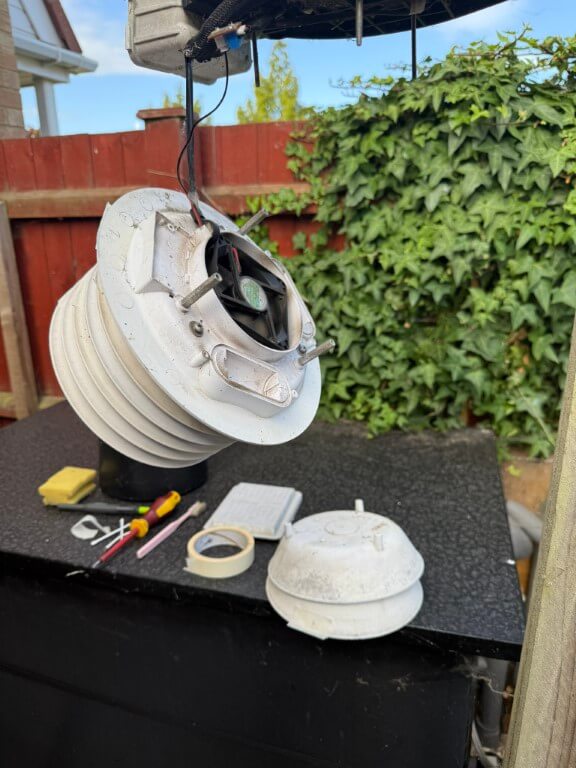
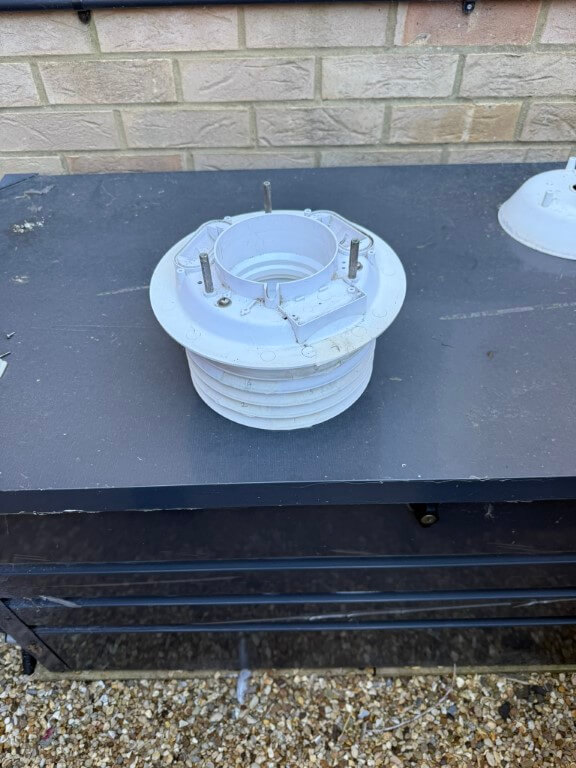
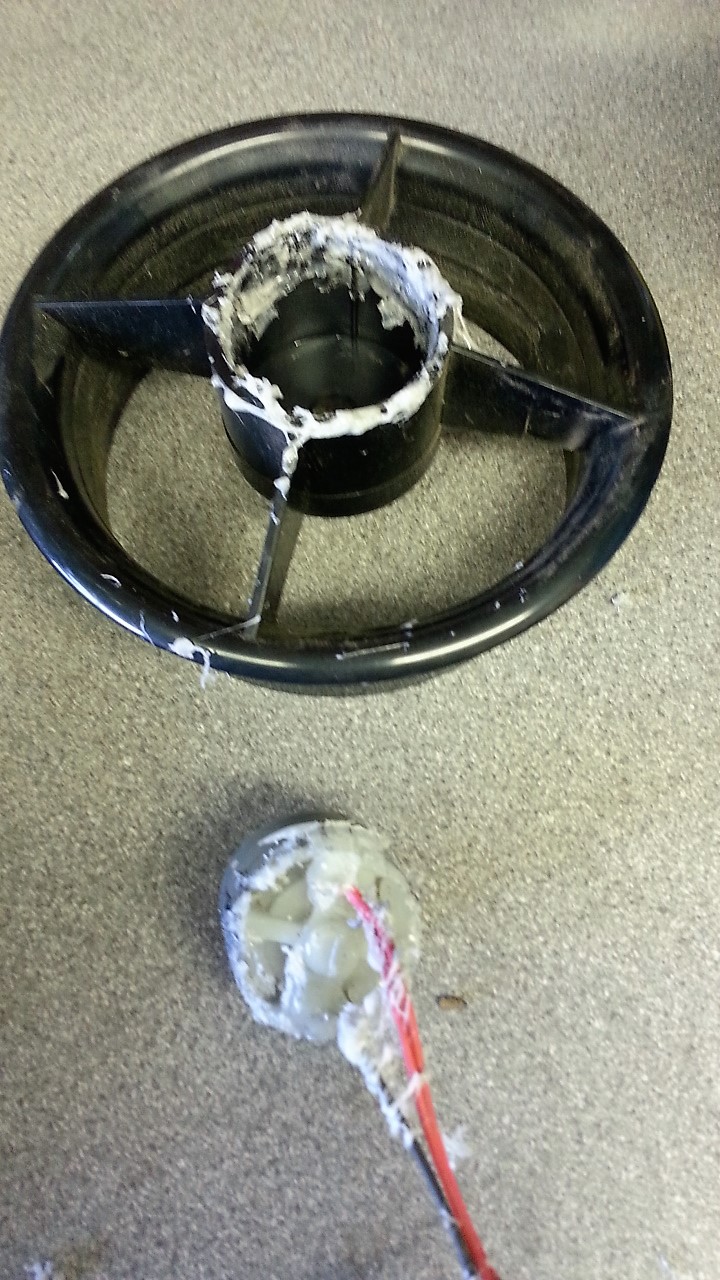
The power to the fan is via a small plug and once removed, the fan assembly slides out of the shield as one unit.
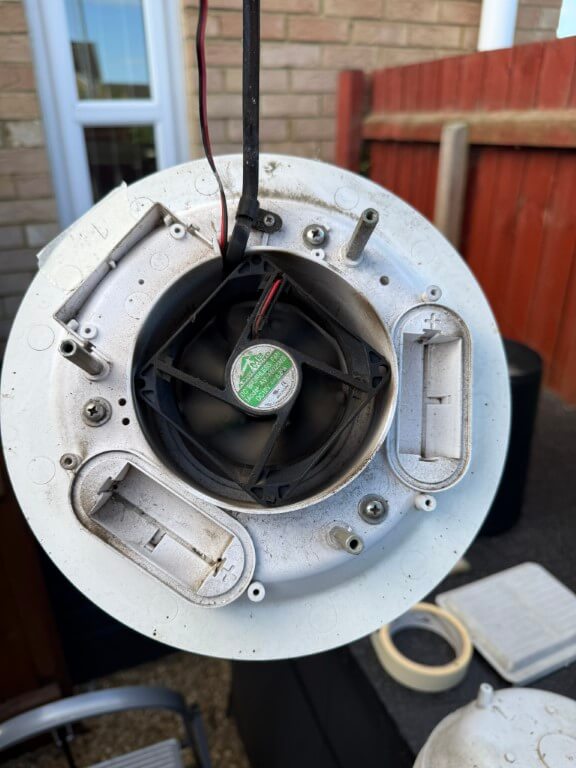
The fan is held onto the motor by an interference fit, pulling on the fan will remove it from the motors shaft.
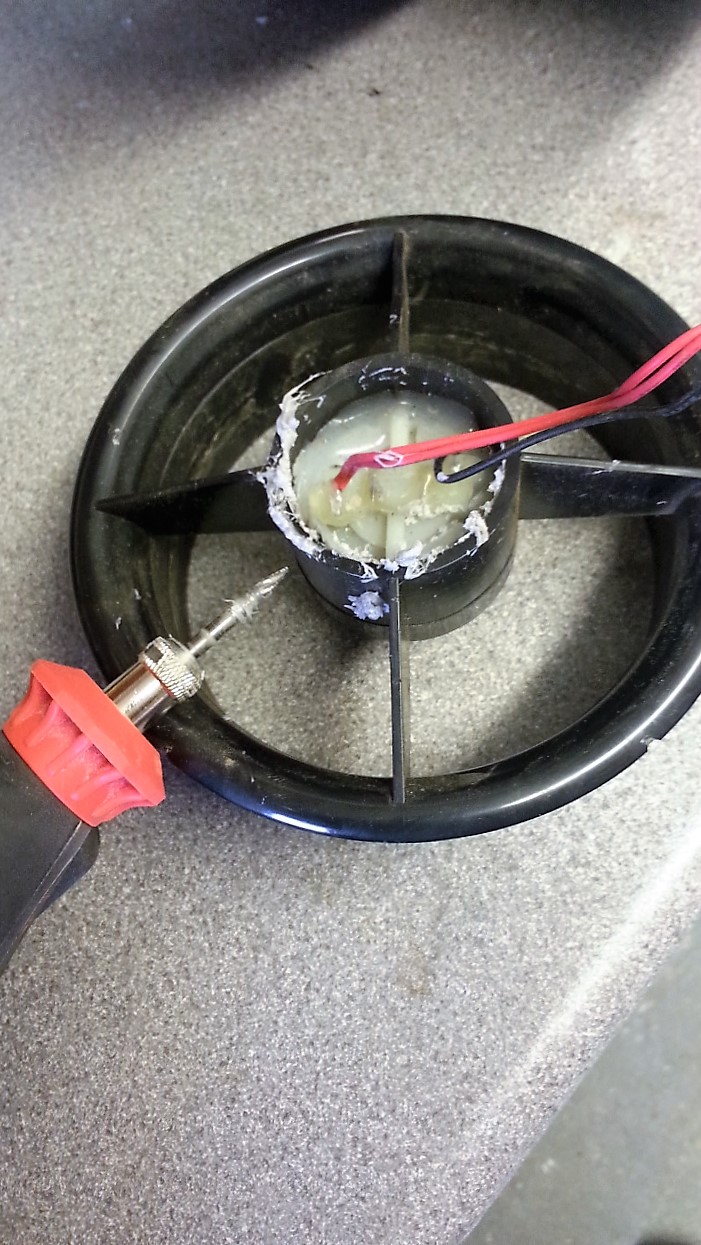
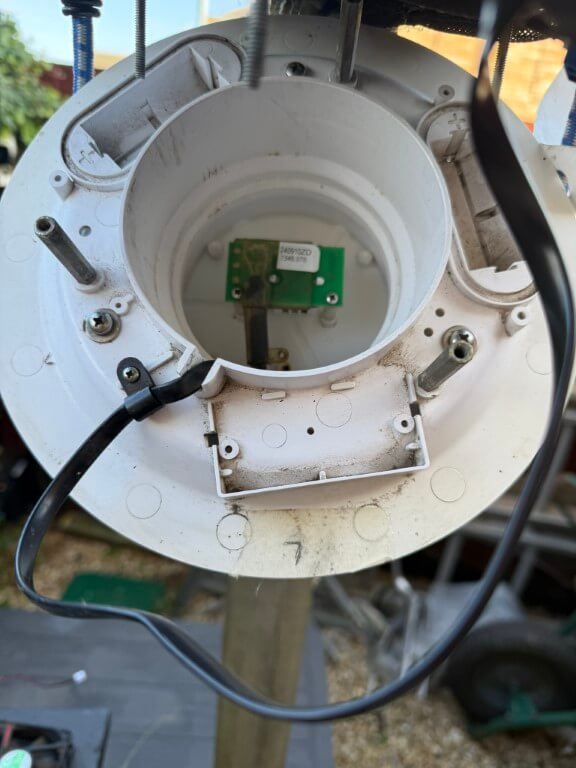
The motor is held in the fan body by silicon, I used a craft drill with a tapered bit to remove this.
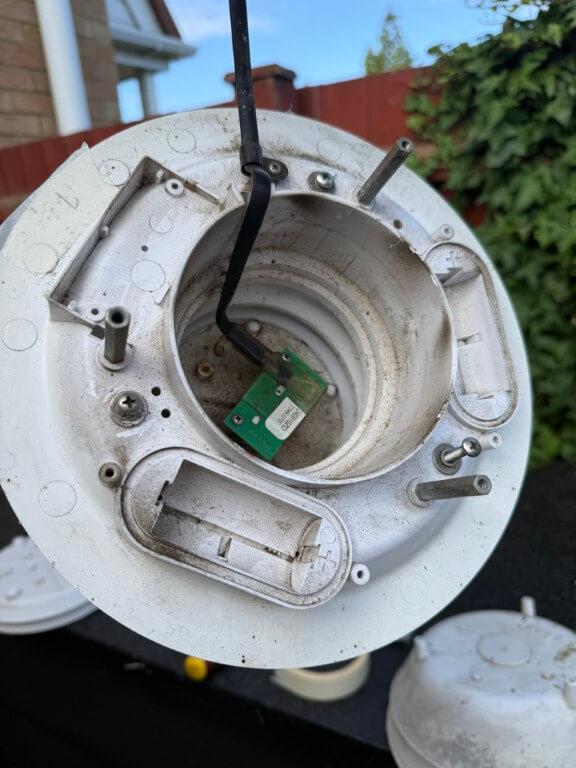
It didn’t take too long to get the motor out, the next job was to tidy the fan body socket and de-solder the old fan motor wires.
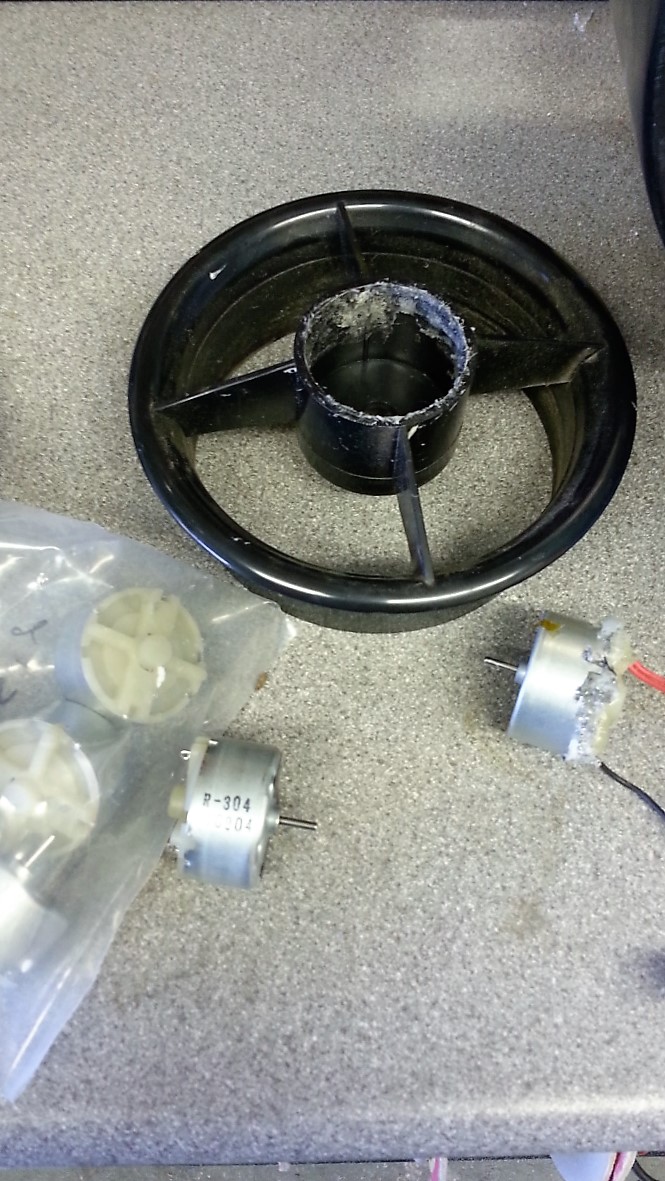
New motor from Jameco compared to the one removed just in case I had ordered the wrong one!
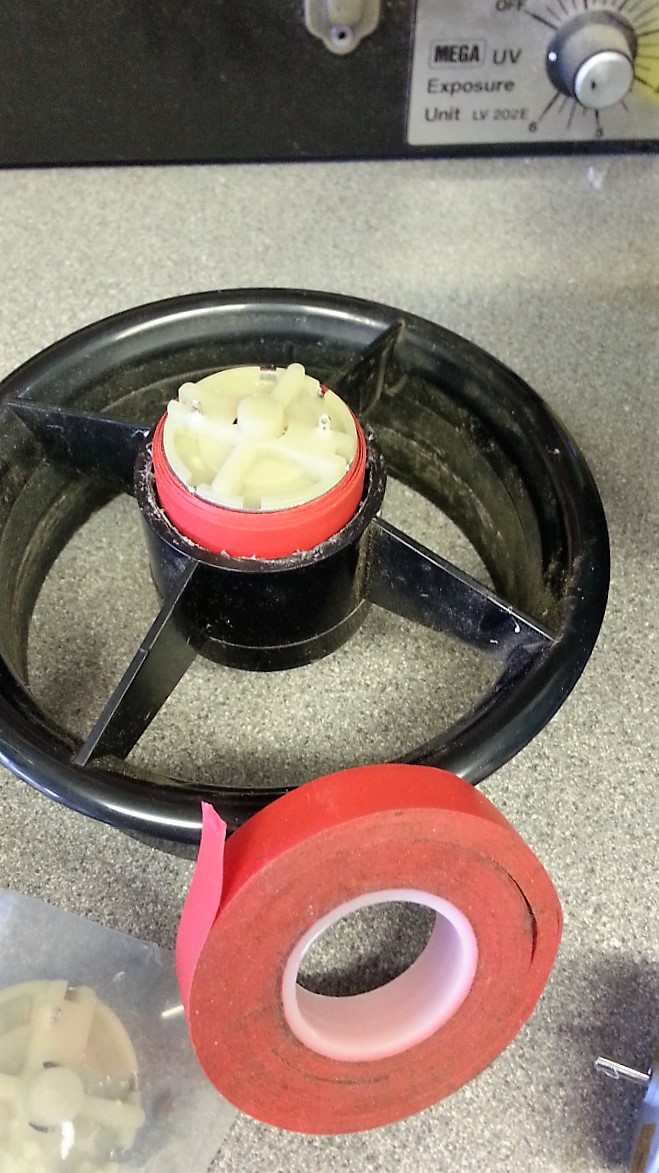
The motor needs packing to center it in the fan body, jerryg on the WXForum gave his solution of using insulating tape to build the diameter and this works really well, I made it so the motor was a snug, but not tight fit (as the motor uses brushes to make electrical contact to the rotating commutator, the motor will inevitably fail and need replacement).
The motor has three holes at the shaft end of the body which in the the original motor had been taped over, so I did the same, pushing the motor in the body I used a few dabs of silicon to hold it in place and pushed on the, the last part of this job was to solder wires on making sure the red wire went to the terminal marked with a + sign!
Once connections are made, a cable tie holds the wires neatly to fan body.
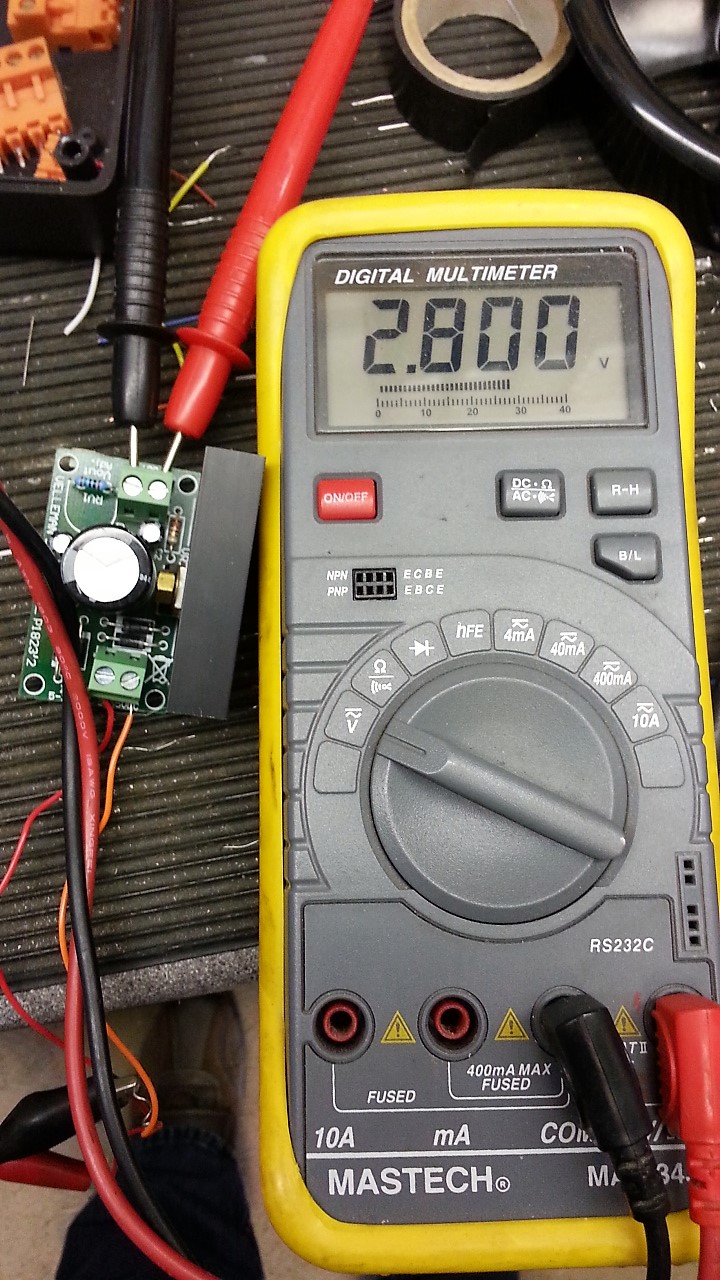
While everything was apart, I checked the voltage regulator to the fan to make sure everything was ok, this is a Velleman unit with 24vAC in and I have removed the potentiometer and replaced it with a fixed value resistor giving a stable output of 2.8v DC.
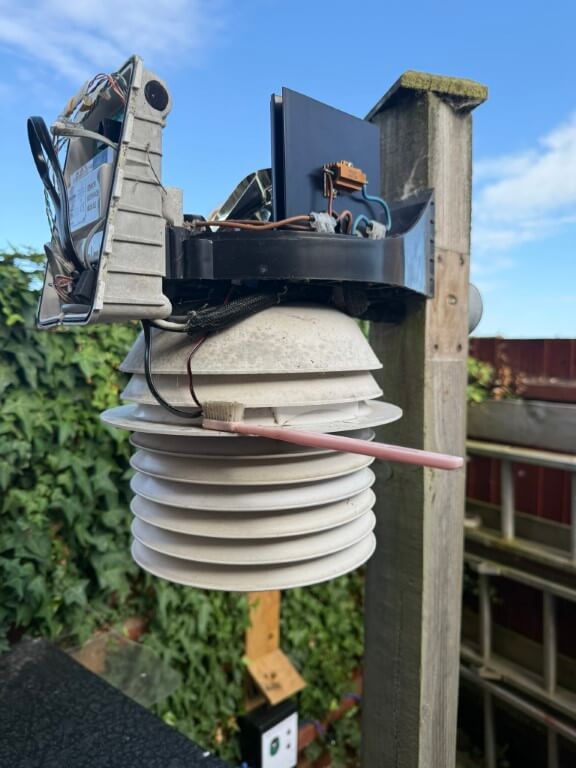
After a washing down with soapy water the tipping bucket, Stevenson screen and rain bucket, everything was put back together, the total time taken was about an hour, now I know what I need to do, this could be done in under 30 minutes.
If you prefer to simply change the complete fan unit (Davis 7758), this can be bought from Weatherspares in the UK who offer exceptional customer service.
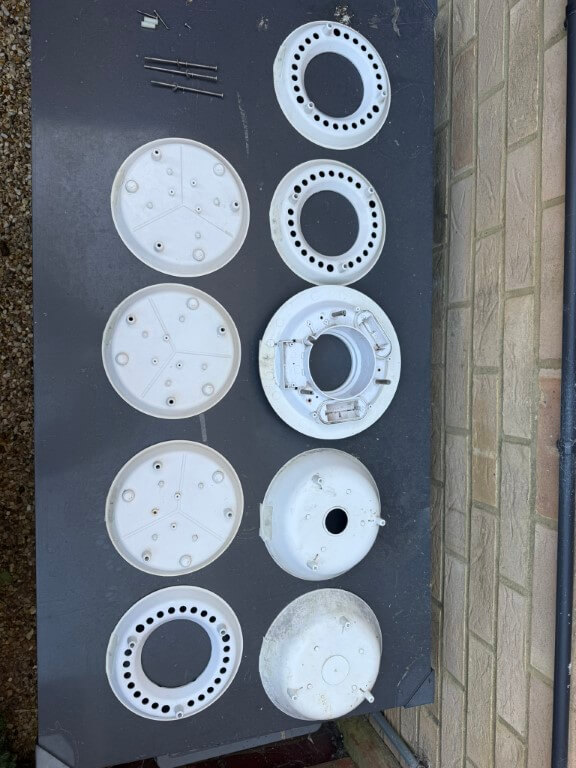
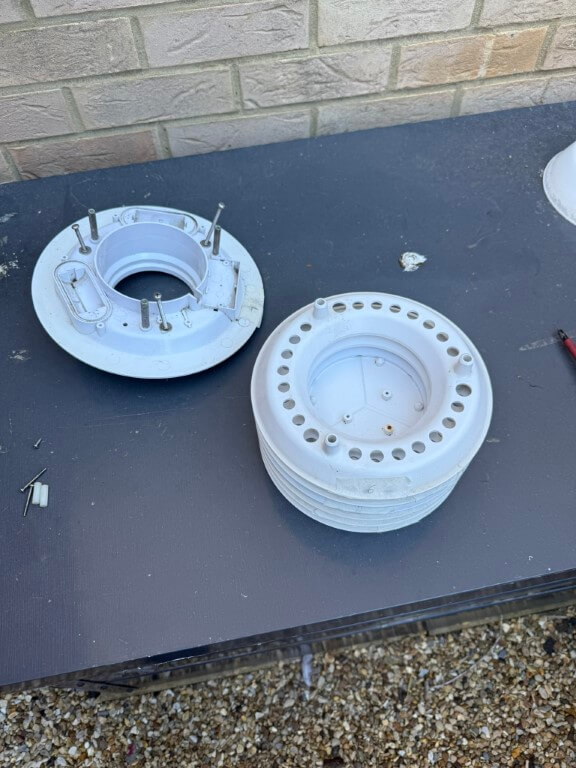
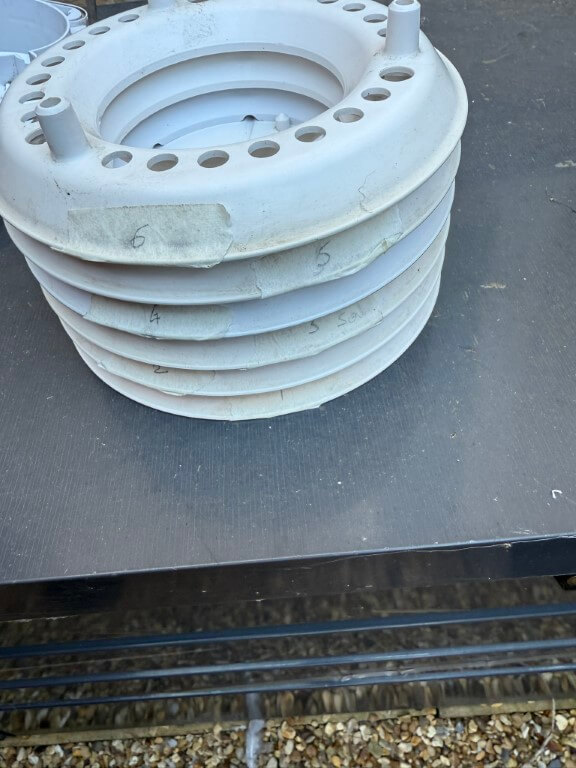
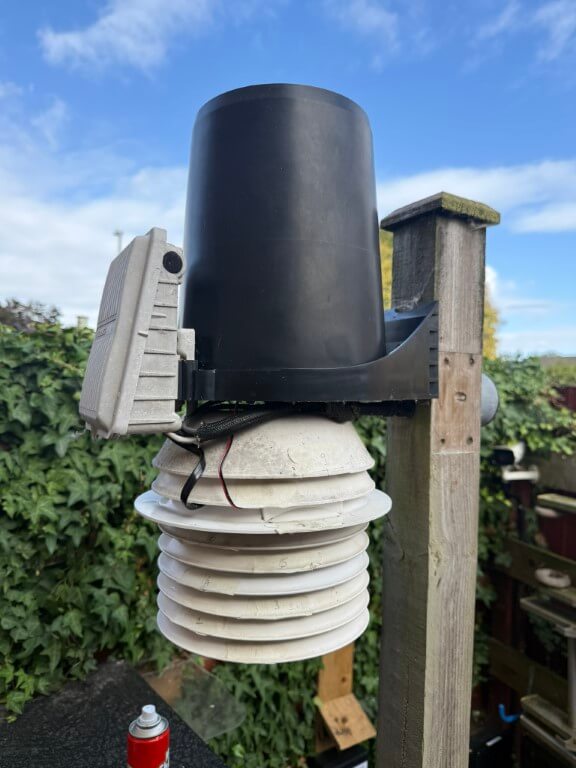
Solar Shield Strip Down