Updated 15 November 2025
My existing, non condensing, Vaillant Thermocompact 24kW system boiler was installed when the house was built in 2002 and has worked really well, but with the price of gas its time for an upgrade.
My chosen replacement is an Ideal Vogue Max 18kW condensing system boiler with priority domestic hot water capability and 10 years manufactures warranty which I bought from Screwfix, this boiler will modulate down to 3.9kW to match my heat loss at a given temperature, whilst also giving me a short hot water cylinder recovery time when required.
NOTE – Gas and commissioning works were undertaken by Mr Fix It Gas (Gas Safe Engineer) who I would highly recommend.
Linked Projects/Information to Boiler Swop
- Sulphidation filter blog HERE
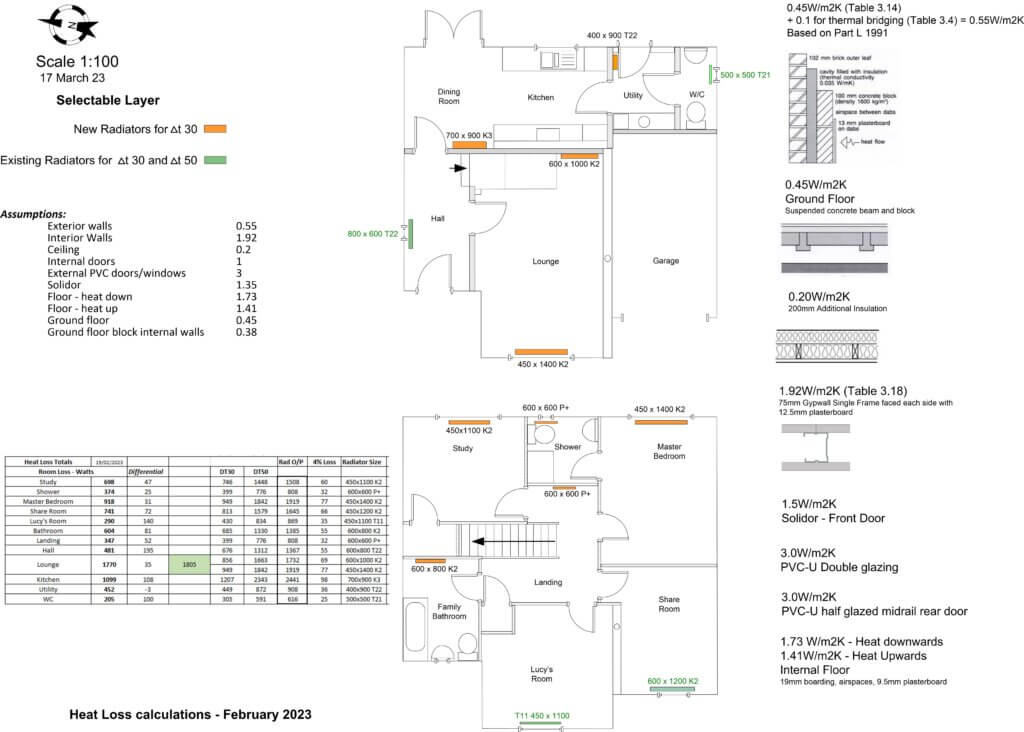
- Heat Loss blog HERE
- Condensate runoff blog HERE
- Controls and boiler performance HERE
Pre-Works
The following needed to be done in advance:
- Upgrade radiators in order to operate at a lower temperature flow rate,
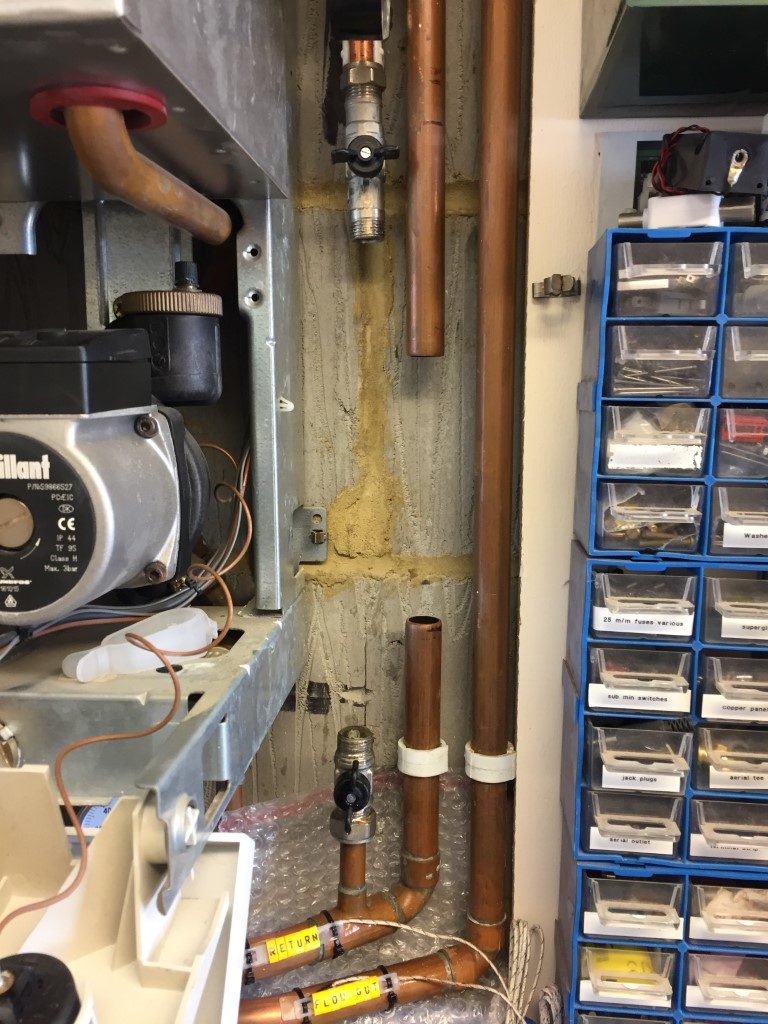
- Make wall space for relocating boiler pipework and additional expansion vessel,
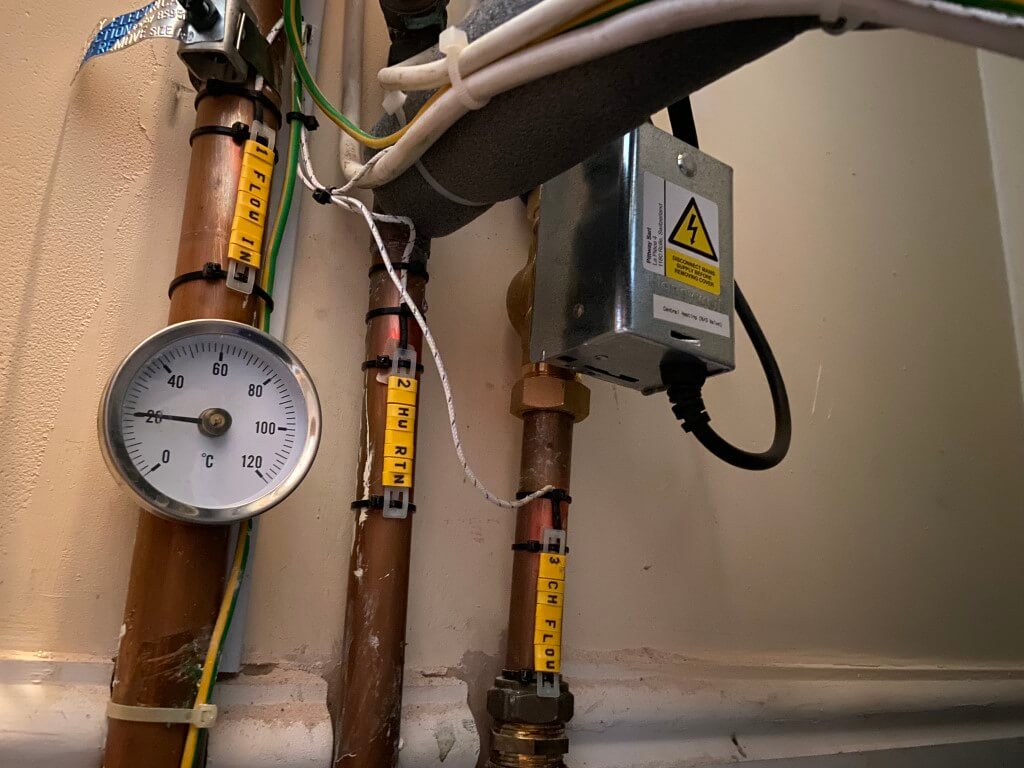
- Expose existing pipe connections in the garage ceiling,
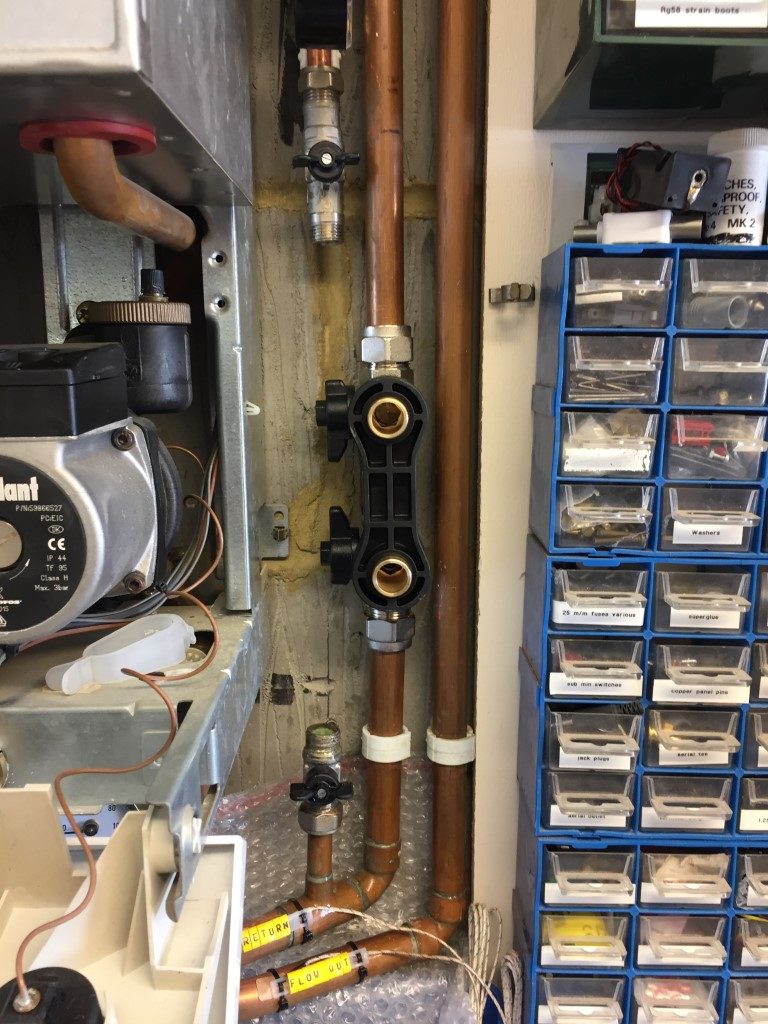
- Install Normally Open motorised valve for the central heating,
- Rewire the wiring centre to give the boiler two switched lives, one for central heating and the other for Priority Domestic Hot Water,
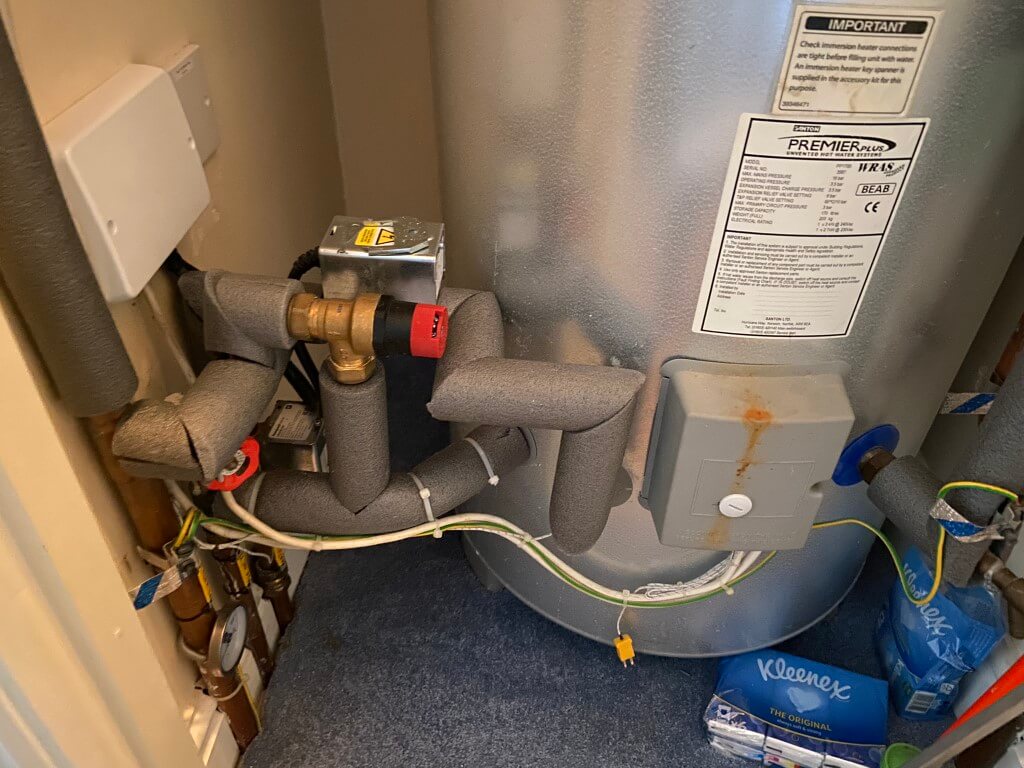
- Remove existing electronic water temperature control from unvented cylinder,
- Reinstate unvented cylinder integral thermostat in wiring centre,
- Install North Facing weather compensation sensor and wire back to boiler location,
- Replace mechanical frost thermostat with electronic version and wire in,
- Install new Boiler isolation switch with 3A fuse holder built in.
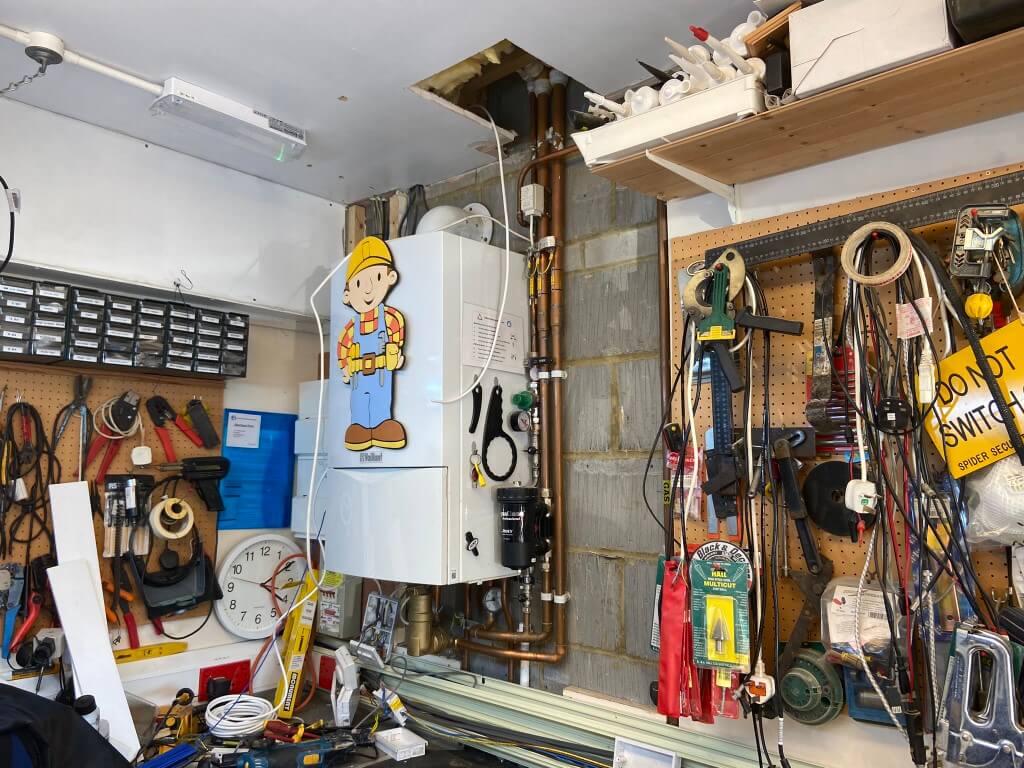
Wall space cleared around the old boiler and hole cut in the garage ceiling giving greater access to pipework, ready for the existing boiler to be removed once the gas has been capped off, the gas work was carried out on the 11 April 23 by a local Gas Safe engineer.
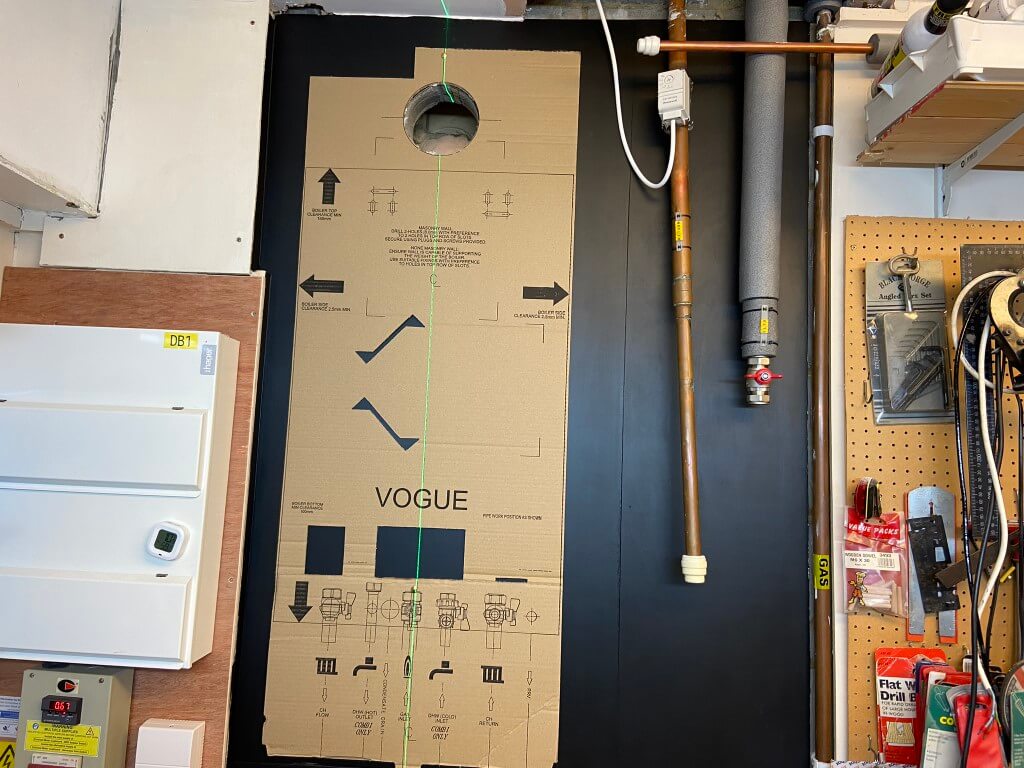
Once the gas was off by a gas safe engineer, power isolated and the system drained down, the boiler and flue were removed and open water pipes temporarily capped, the next job was then to line the wall with a thin ply and paint it black to neaten up the job.
As boiler comes direct from Ideal, the communications wasn’t brilliant, I was notified at 16:50 the night before delivery, fortunately this was fine for me and it arrived on the 12 April just after 2pm, I had already picked the flue up from store in preparation for the big day.
Once the new boiler arrived it was unpacked and all parts checked in case anything was missing or damaged, once happy, the new boilers template offered into position and levelled.
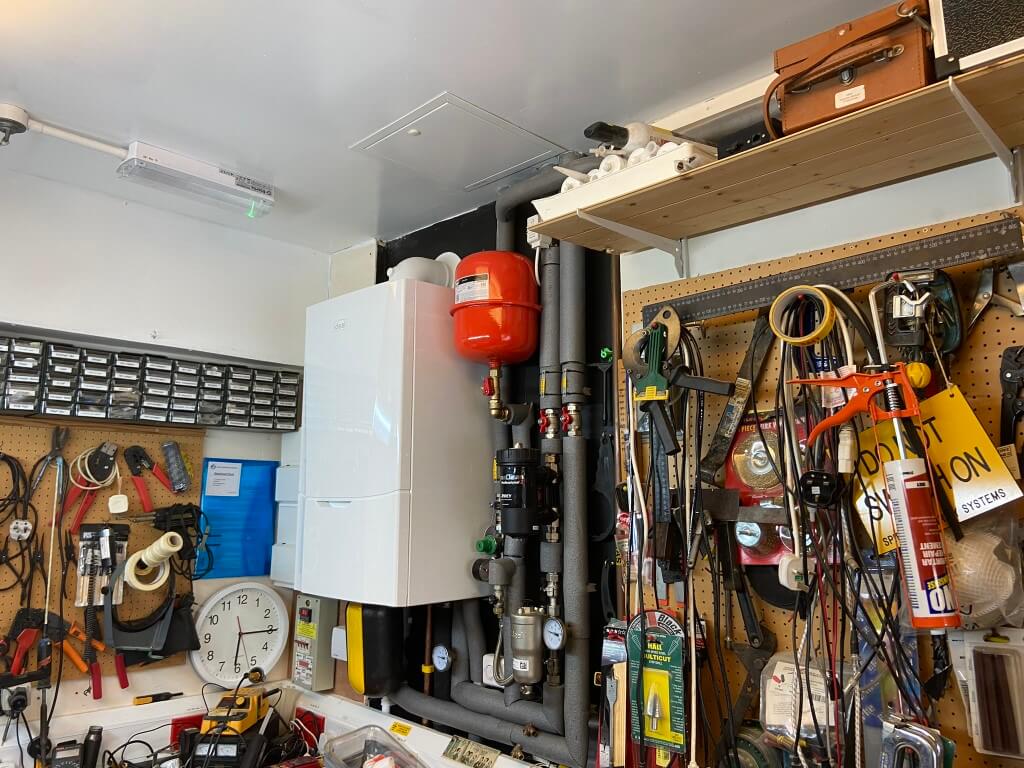
The boiler is hung in place and supported by a bracket, everything required for this is within the box.

The boiler installation were straightforward with the manufactures instructions being very comprehensive, with the gas still not connected, I removed the room sealed boiler cover to access the electrical connections for the Weather Compensation sensor and the two switched lives, one for the heating and the other for priority domestic hot water.
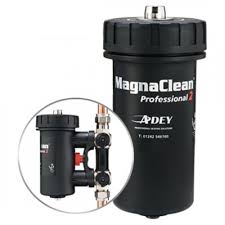
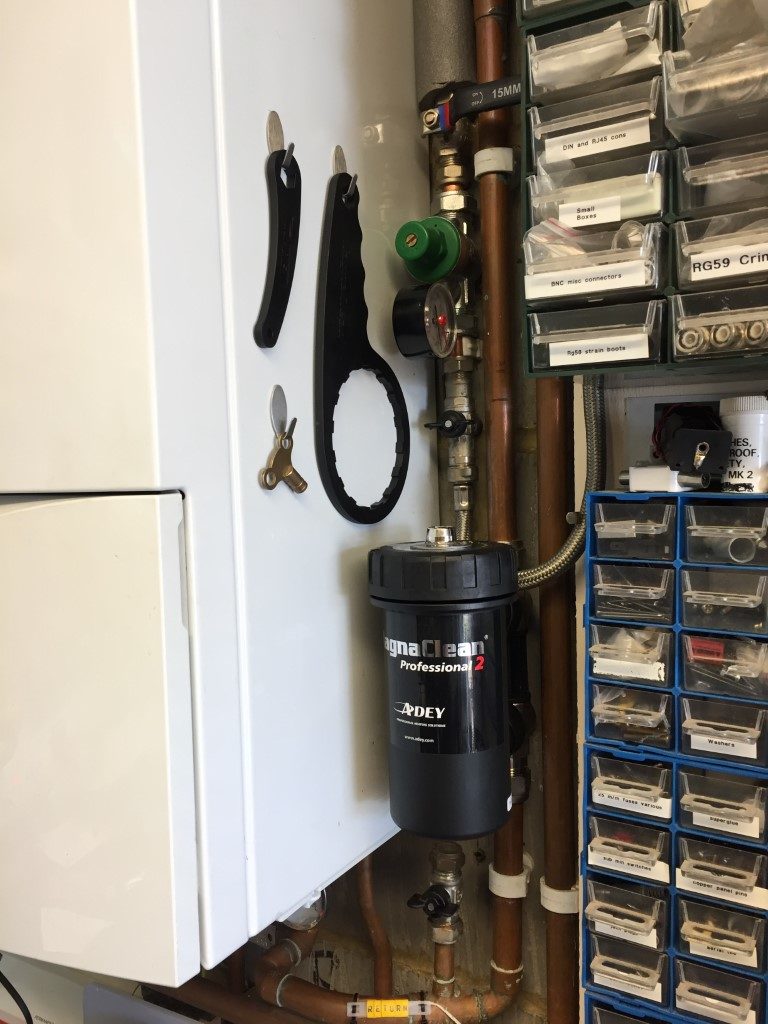
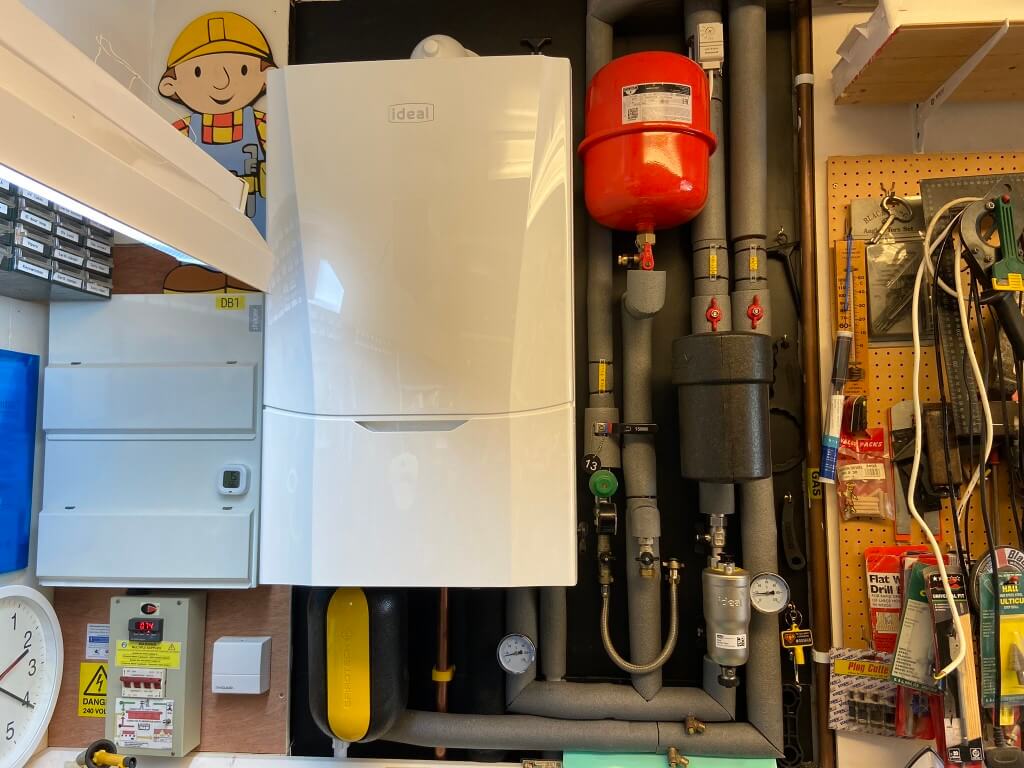
The Ideal Vogue Max comes with a magnetic filter which must be fitted to maintain the manufactures warranty, I also retained my existing Adey magnetic filter as this is perfect as a dosing pot for inhibitor addition.
I included two dry pocket thermometers for flow and return water temperature measurement, my aim is to keep the boiler in condensing mode as much as I can.
The system was cold flushed, pressure tested and dosed with 1.5l of Fernox F1 inhibitor before the gas engineer arrived on the14 April to upgrade the gas supply from 15mm to 22mm and make the final boiler connections.
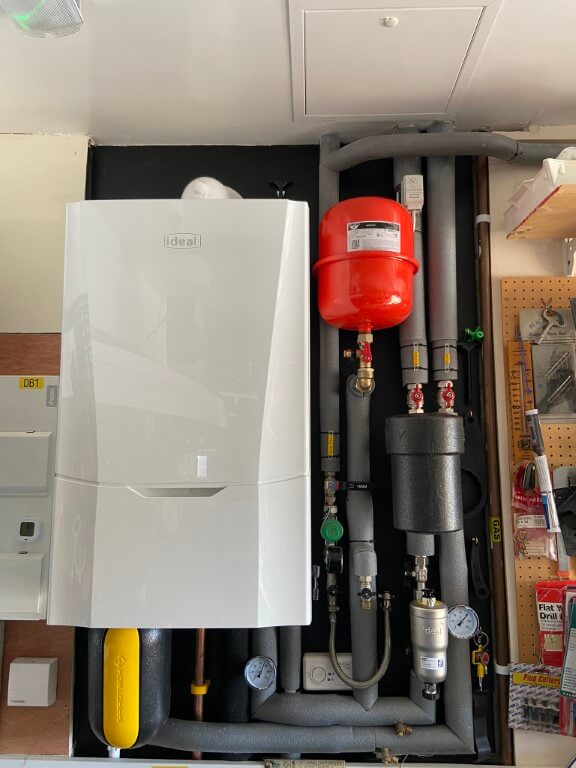
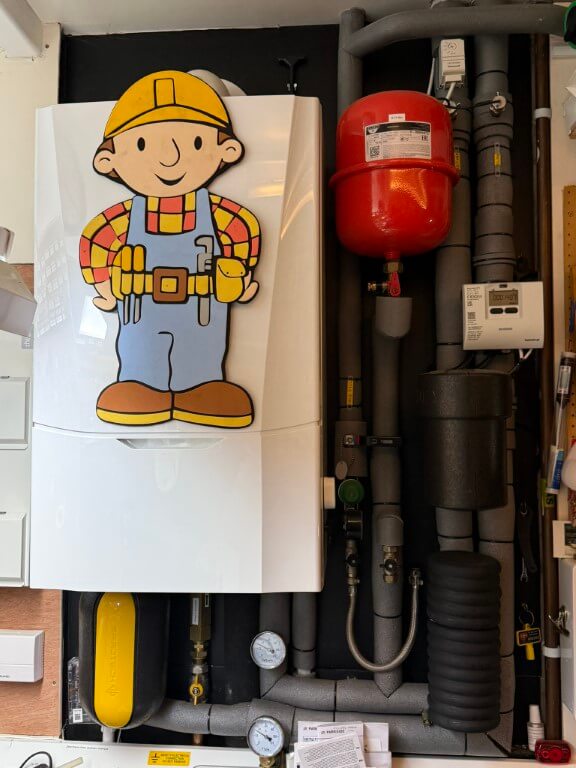
Ceiling hole closed off with a 60 minute fire resisting trap giving access to a cold water isolation valve and the completed installation was lagged using the Dr Pipe lagging pro to give me perfect cuts.
Nearly finished, just waiting for the Adey thermal jacket to arrive.
28 April 23, commissioning and Benchmark completed and registered, today will be the first time my unvented hot water cylinder is getting 800C of indirect heating at high fire of 18kW.
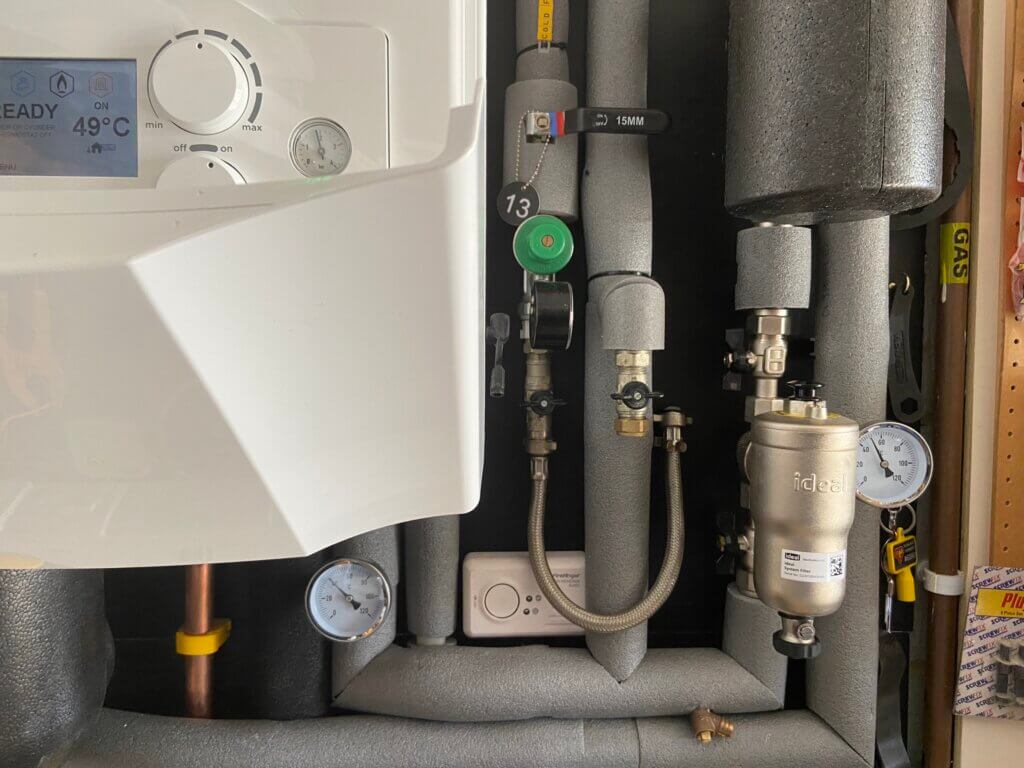
I haven’t yet balanced the radiators to get the greatest efficiencies, but the weather compensation is modulating the central heating water flow temperature to 49oC based on the external ambient temperature of 13oC.
The return flow temperature of 40oC, is well within the condensing range (<55oC), however, I do need to adjust my radiators to get an equal temperature differential across them all to maximise efficiencies.
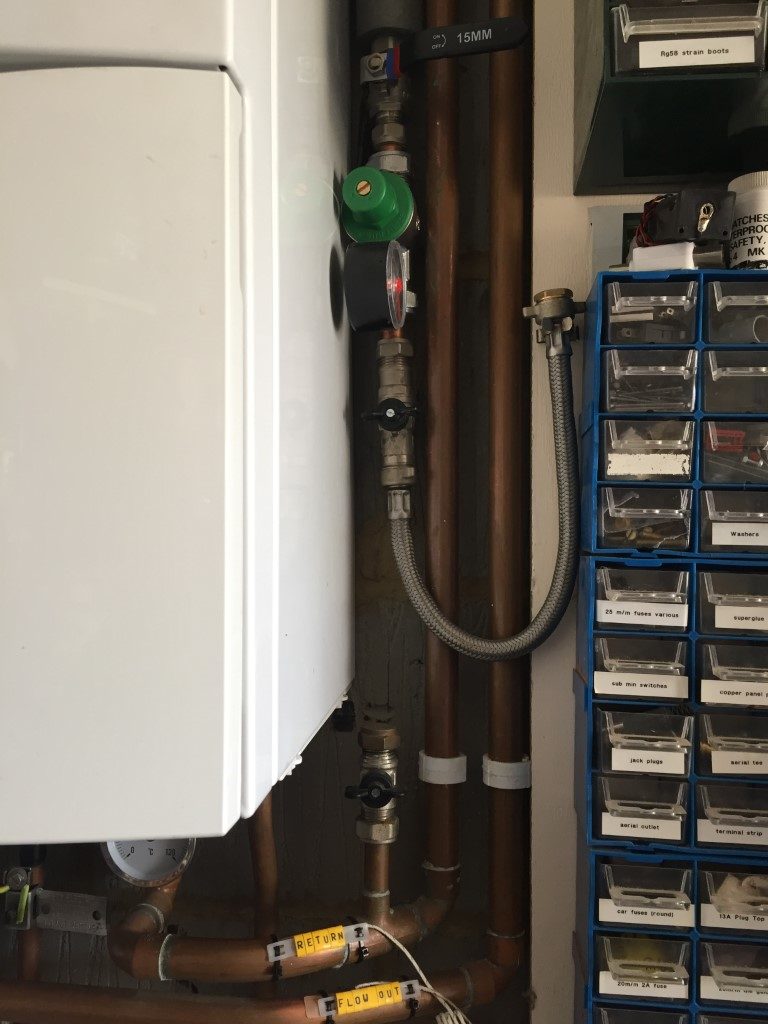
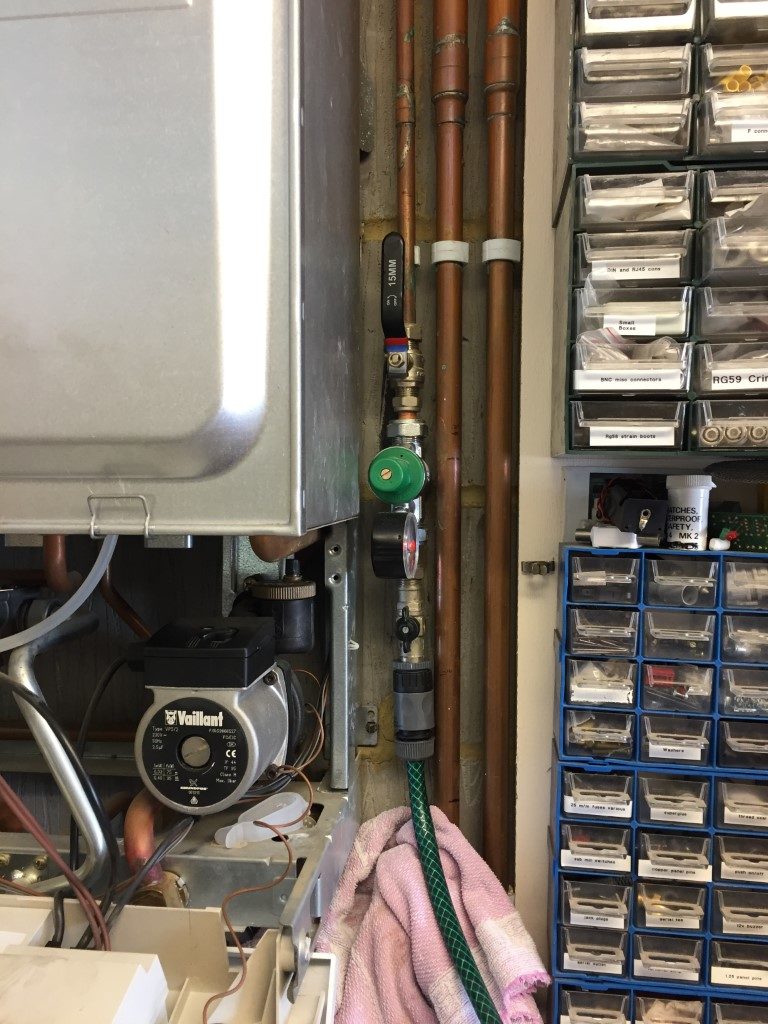
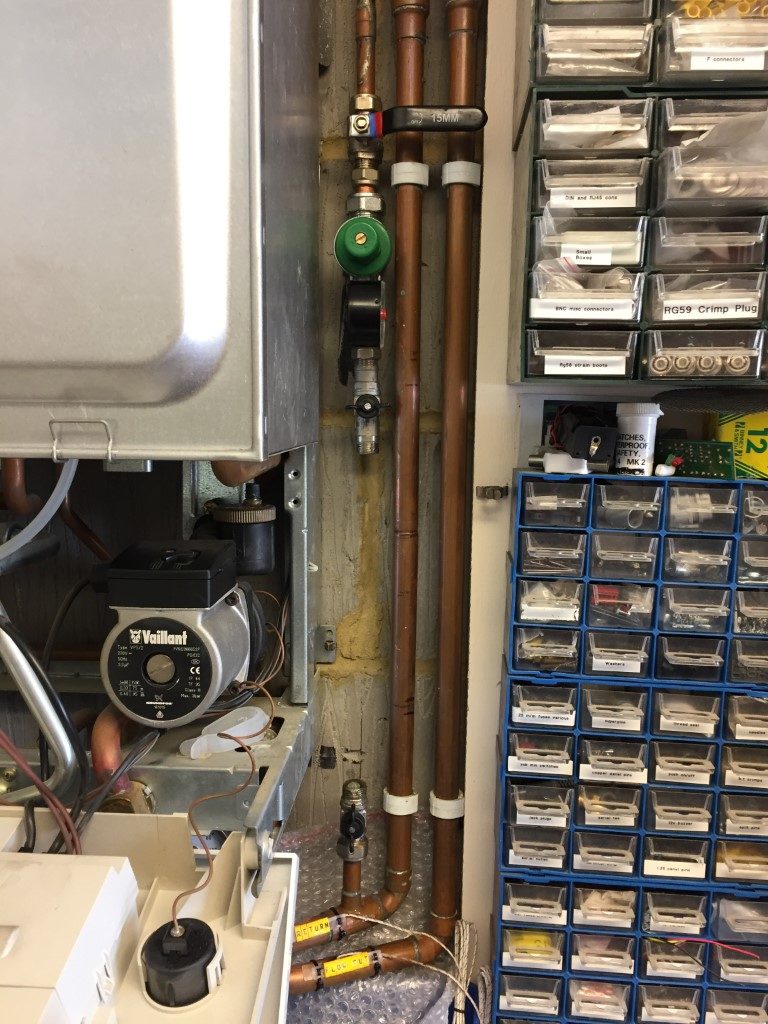
Few points to note – The cold fill supply is regulated down to 1.5 bar so I can leave this connected and open without risk of over-pressurisation when bleeding radiators for maintenance.
Thermal jacket from Adey for the Magnaclean fitted, bit disappointed that Ideal do not sell an insulated jacket for their filter as it is wasting a lot thermal energy.
Last job was to test the system water quality:
- pH 7-8
- Hardness 60ppm (system filled with softened water)
- Turbidity, base target clearly observed
- Fernox Inhibitor concentration tested by titration test kit and OK
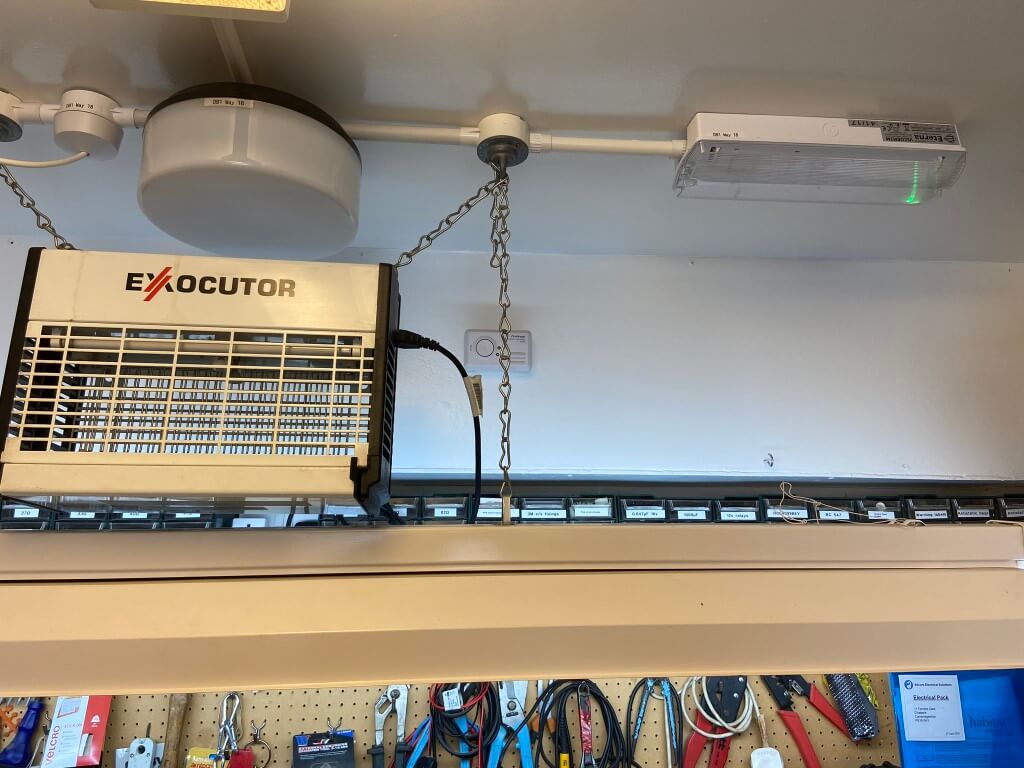
The gas engineer commented that my CO detector was in the wrong location to work effectively, ideally this should be 150mm down from the ceiling.
So, I removed the detector from the boiler back board and shifted it to where it needed to be :-), hence the two following pictures –
Radiators
The house originally had 13 Purmo panel radiators, I did upgrade one of these to a larger Stelrad K2 type as the bedroom over the garage was undersized a few years ago.
The Heat Loss calculations linked earlier, determined that a total of 9 radiators would needed upsizing to meet the heat losses at the lower radiator flow temperatures of DT30 to keep the boiler in the condensing range as much as possible.
The pipework to the radiators is a combination of 10mm plastic pipe behind the dot and dab plasterboard walls, transitioning to 10mm copper pipe for the final connection to the radiators, fortunately all the downstairs radiator lock shield valves have inbuilt drain off valves, making removal and replacement of the radiators a lot easier.
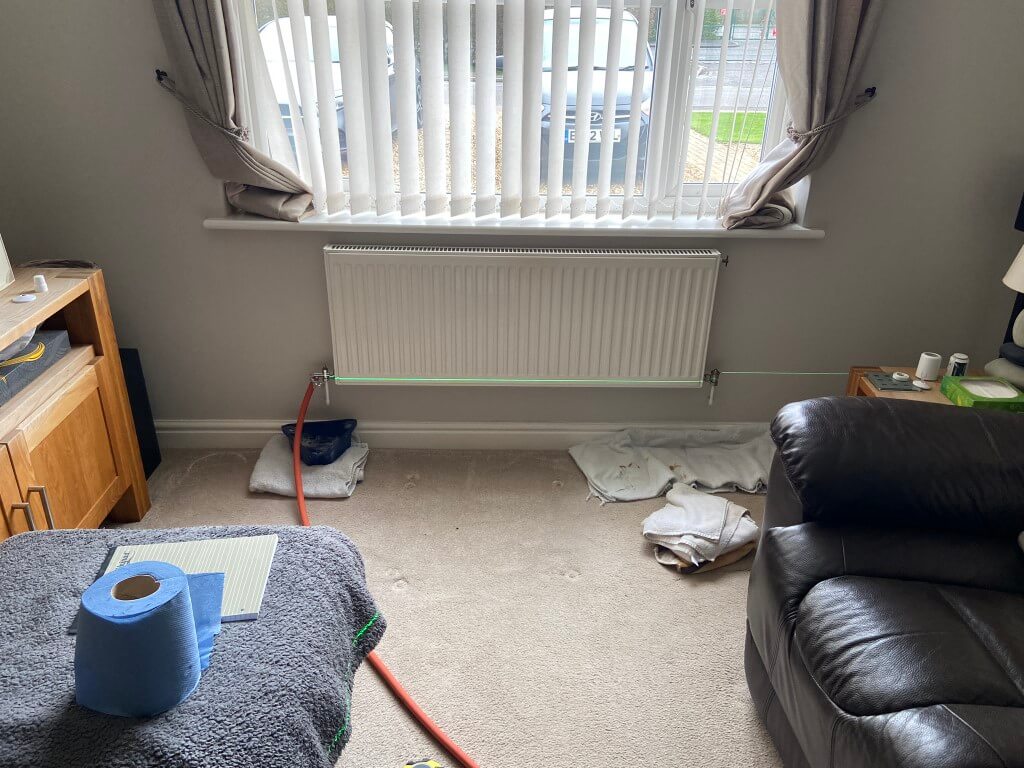
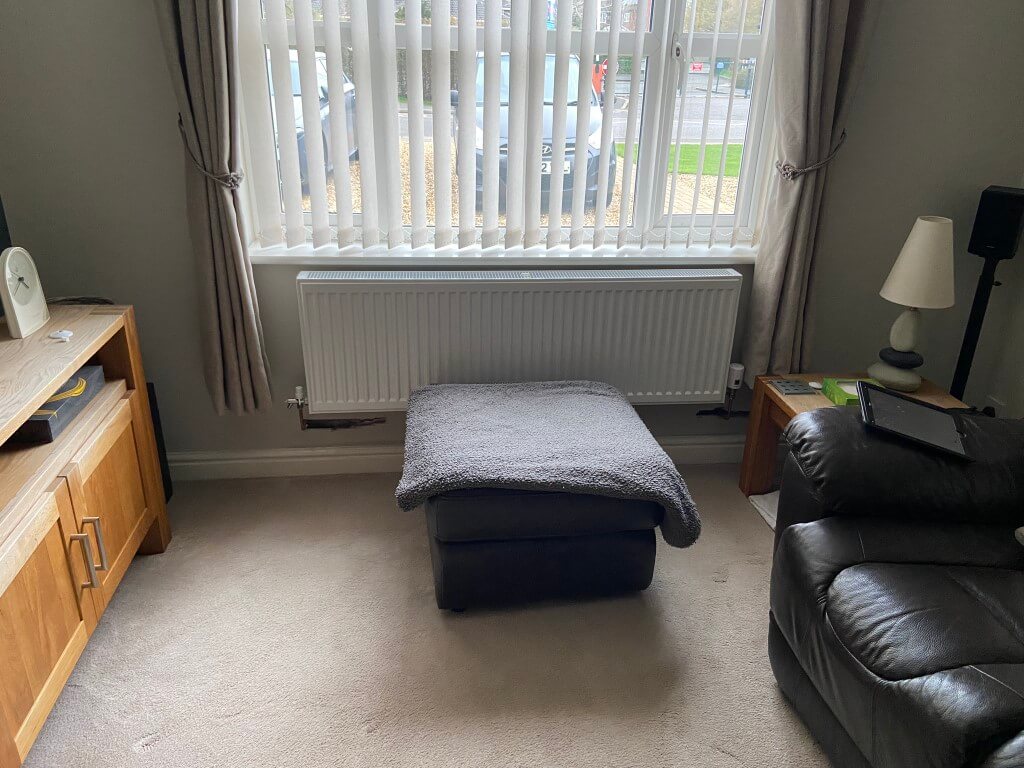
Lounge radiator draining down with the laser setup to project a line through the centre of the radiator tails.
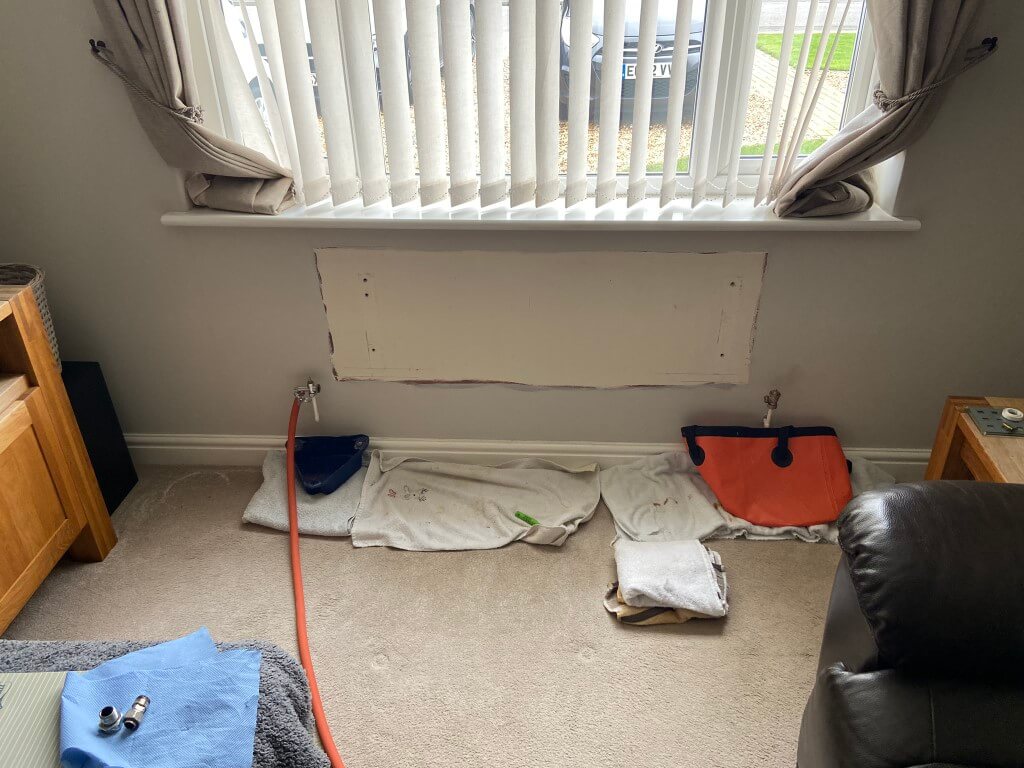
Radiator removed, I used Plumb Tubs and a 20l foldable bucket to catch any drips, before lifting the radiator off its brackets, I fitted Plumb Thumbs to avoid any dirty water getting on the carpet.
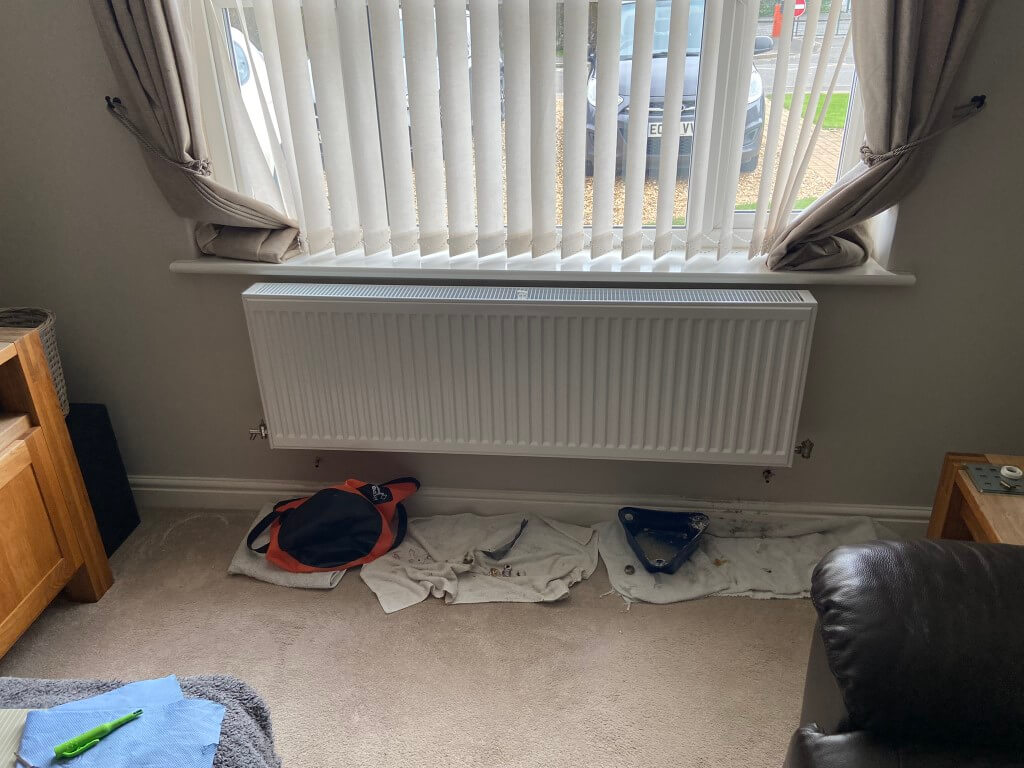
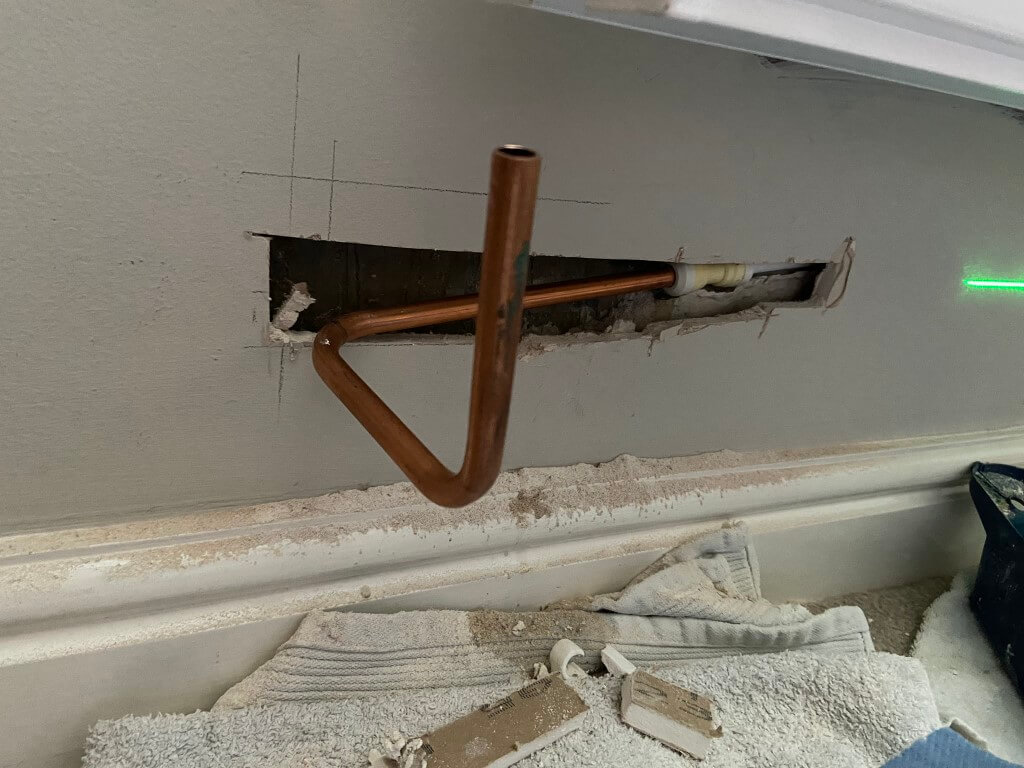
New radiator mounted with insulated foil reflector behind it to try and conserve useful heat. Using the laser level line previously set up, I marked up 20mm from this which is to the bottom of the mounting brackets, I used a combination of Grip It (Brown) and Corefix fixings as this is a heavy radiator at 37 Kg.
As you can see the pipework will need adjusting to get the bend back where the vertical pencil line is.
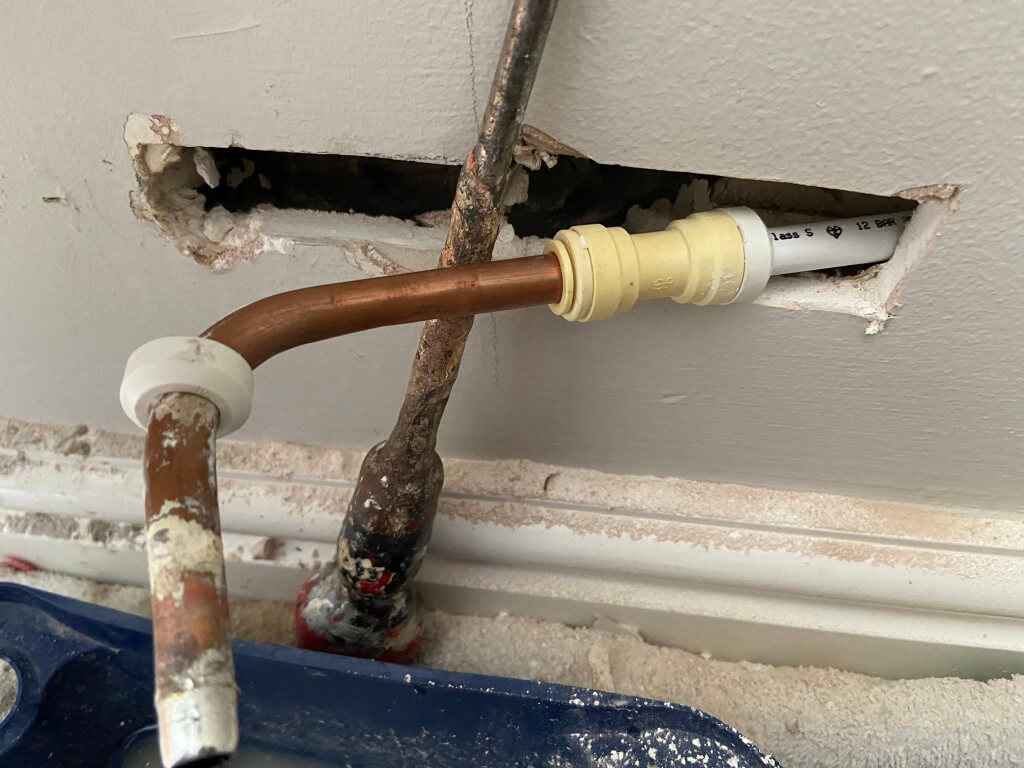
Using a Multitool I exposed more of the pipework back to the plastic/copper coupling, but needed to cut the wall back even further so I could get the correct positioning in line with the pencil mark.

The coupling come off the pipes by prizing the white end cap of and then pushing the collet towards the fitting, (I used a 10mm open ended spanner for this), and at the same time pull on the pipe.
I needed to shorten the plastic pipe, so I used pipe shears to give me a neat edge, then I used a 10mm plastic pipe insert from Screwfix, before reassembly.
Using 10mm copper pipe and a pipe bender, I formed the pipe to the radiator.
The other side of the radiator only needed the copper pipe extending although it was a longer wall chase.
Radiator all piped up and tested for leaks, now ready for hole filling.

Over the exposed pipes in the wall I used a foiled bubble wrap before applying a plaster bonding coat, once gone off I used a white filler and flattened this to a smooth surface.
A few coats of sealer, then paint and a new collars at each end, and the job was done.
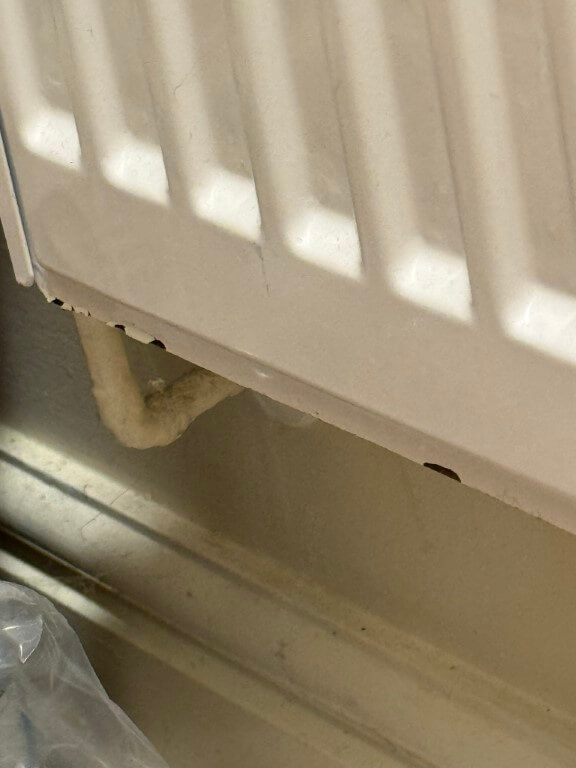
Update: It has been 2 years since I updated the radiator in the WC at the same time as I did most of the others, the WC one was changed not because it was undersized, but because it was showing signs of rusting on the bottom.
I bought a replacement radiator from UK Radiators and the paint is coming off the bottom, so the quality isn’t brilliant 🙁
External Sensor
I bought the Ideal OS2 weather compensation sensor off eBay, fitting was straightforward on the external North Face of the house at a height equal to that of the upstairs floor.
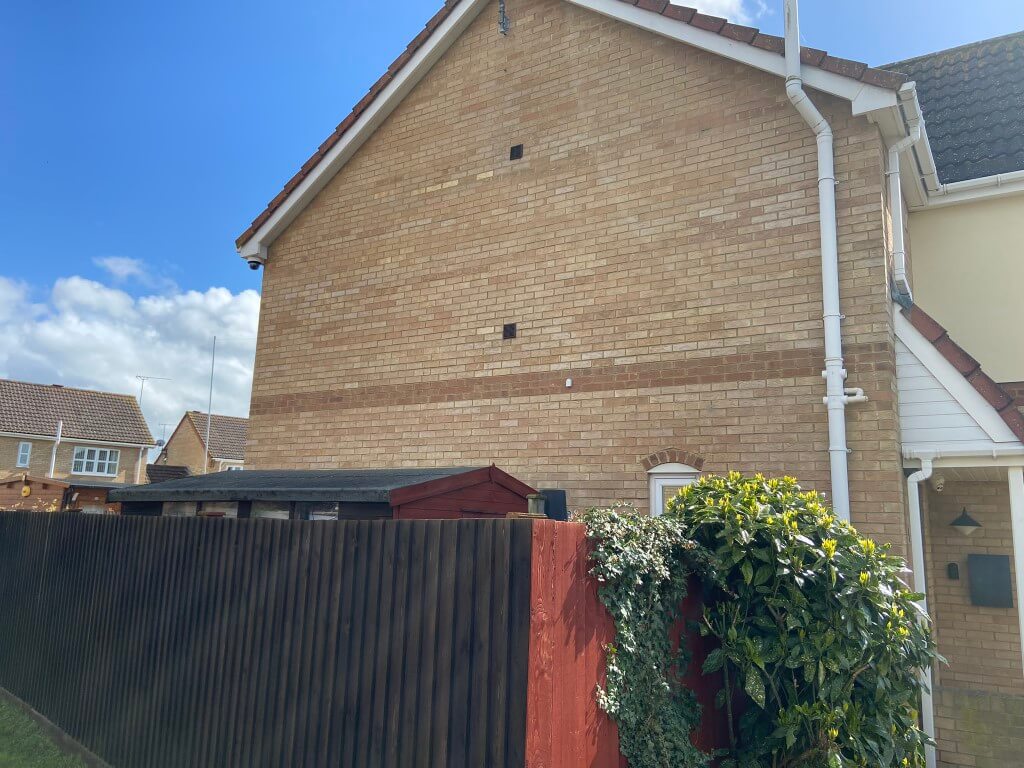

Only two 0.75mm2 wires are needed back to the boiler from the sensor for direct connection within the boiler.
Airing Cupboard Works
This is the location of my unvented cylinder and two existing normally closed motorised valves as I have a ‘S’ Plan system which needed modification into an X Plan.
First job was the removal of my ESi electronic hot water cylinder temperature control unit which I blogged the installation of HERE, with all power isolated, the cabling was removed from the wiring centre.
After removal of the ESi unit I blanked the 20mm hole with a plug.
While the wiring centre was open and power off, I replaced the Normally Closed central heating motorised valve with a Normally Open version, this modification is required to enable the priority domestic hot water to operate.
The wiring was then modified so that when Hot Water is called for, a switched live from the Hive Receiver operates both motorised valves at the same time, the live wire to the motors is in series with the unvented cylinders thermostat so that when the cylinders water is at the correct temperature, or there is and overtemperature, the thermostat will open, removing the live connection to the motors.
This will cause both motorised valves to return to their default state of Central Heating – OPEN, Hot Water – CLOSED.
In normal operation for hot water, the motorised valve will open and in so doing switch a live feed to S2 on the boiler, triggering a higher output water temperature.

January 2026 – Heating System interactive image added.