Longwire supporting steel tube replacement with GRP

pole
New RED GRP tube delivered next day from Engineering Composites Ltd.

Link to previous blog on the longwire installation: HERE

The existing steel tube is outside of my physical strength to bring down from the vertical and put back up again, I was very reliant on a local scaffolder to do this for me, for which I was ever grateful.

My intention has always been to replace the galvanised steel 6m scaffold tube supporting my longwire with a lightweight Glass Reinforced Plastic (GRP) composite version, the two main reasons are maintainability and performance.

Performance is related to the effect on the antennas radiation pattern by the influence of the steel tube, use of a non conducting supporting tube will remove this effect.

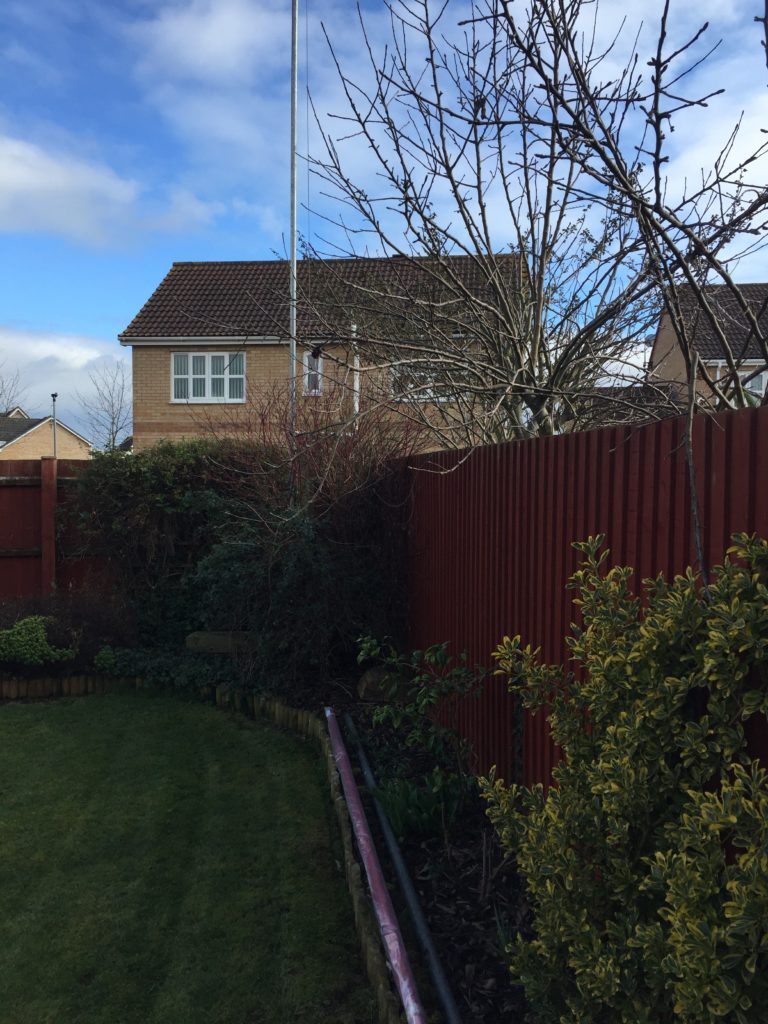
The 6m tube in RED was bought from Engineered Composites Ltd of Chester, the total cost including VAT and UK Delivery was £130.54.

Product Code TU627IR

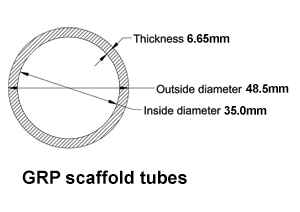
The GRP scaffold tube is only available from Engineering Composites in 6m lengths and in either Red or Yellow, I choose red as it was going to painted light grey anyway and red is way cooler than yellow, didn’t want the neighbours to think I’d installed a Gas vent pipe :-).

red pole

I used Ultra Grip Primer before applying the top coat, and it seems ok, time will tell how effective it has been.

pole up

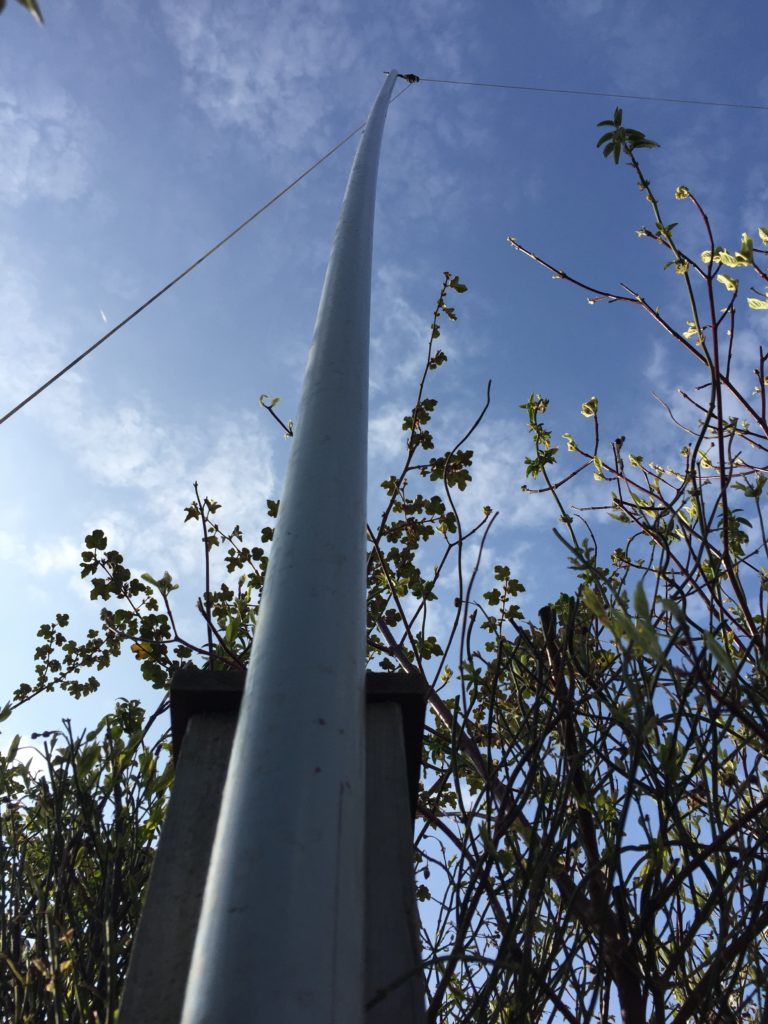
GRP tube installed without any assistance as its 75% lighter than its steel equivalent, I noticed that the tube has a greater deflection that the steel version which is only to be expected, the highest wind the steel tube had to cope with was a gust of 62mph, so it will be interesting to see how this copes with wind!

Spirovent RV2 Installation

The bedroom over the garage was always colder than the rest of the bedrooms, I decided to remove the existing single radiator and replace it with a Stelrad Compact K2 double radiator, this will give a heat output of 1645 Watts against the original radiators 907 Watts.

As the heating system needed to be drained down to enable me to make pipework modifications, I thought this would be a good time to add an air separator into the system.

My system already has two Automatic Air Vents, the difference with an air separator is that the heated water passes through a ‘packing’ which creates a turbulent water flow, any entrained air or micro bubbles are liberated, rising to the top of the device and vented.

The unit was very easy to install, the instructions contained a cutting gauge and the fitting location was ideal.

spiro out

I had just enough room to install the Spirovent RV2 on the bottom pipe which is the flow from the boiler, the manufactures instructions suggest that the unit should be installed at the point where the heated exit water is the hottest, so this was ideal.

After the radiator was replaced and the Spirovent RV2 installed, I slowly used my filling loop via a pressure regulator to refill the system, checking for leaks and venting the system until all are had been removed and the pressure stabilised at 1.5 bar.

After the system had been running for a few days and all the air had been vented, I used the Magnaclean Pro 2 as a dosing pot, and replenished the Fernox F1, again after a few days I used the Fernox test kit to confirm that the inhibitors concentration was satisfactory.

On Youtube one of the respected UK plumbing engineer asserted that the circulating heating water should be treated more like a heat transfer medium and more effort should be paid to its treatment, going so far as to say that the customer shouldn’t top the system up with the filling loop, introducing aerated water. He has a point, but in reality this will never happen.