
The bedroom over the garage was always colder than the rest of the bedrooms, I decided to remove the existing single radiator and replace it with a Stelrad Compact K2 double radiator, this will give a heat output of 1645 Watts against the original radiators 907 Watts.
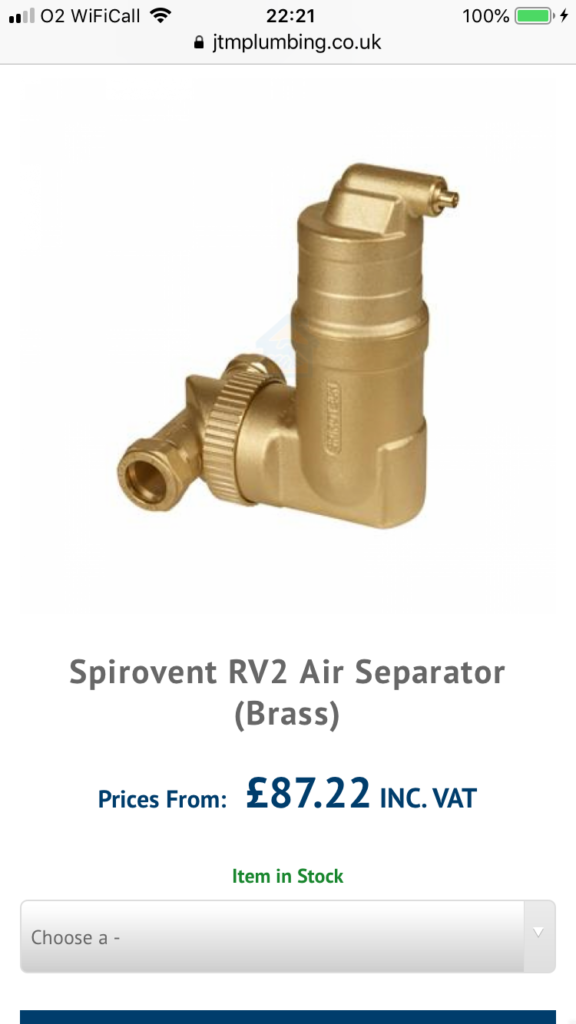
As the heating system needed to be drained down to enable me to make pipework modifications, I thought this would be a good time to add an air separator into the system.
My system already has two Automatic Air Vents, the difference with an air separator is that the heated water passes through a ‘packing’ which creates a turbulent water flow, any entrained air or micro bubbles are liberated, rising to the top of the device and vented.
The unit was very easy to install, the instructions contained a cutting gauge and the fitting location was ideal.
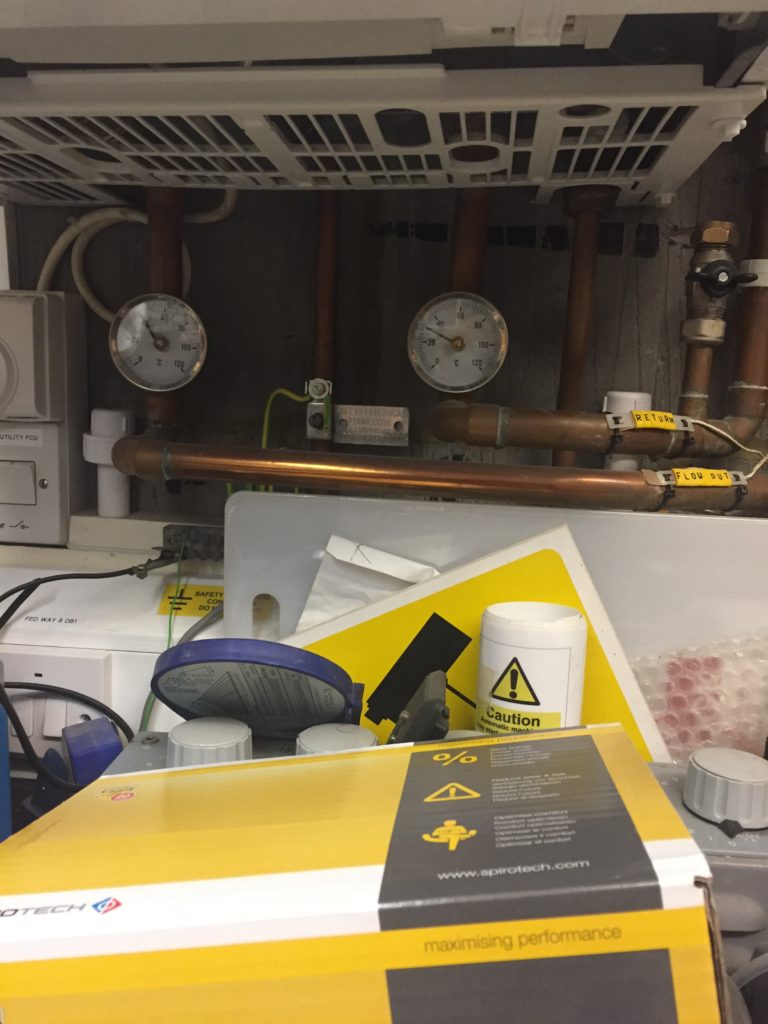
I had just enough room to install the Spirovent RV2 on the bottom pipe which is the flow from the boiler, the manufactures instructions suggest that the unit should be installed at the point where the heated exit water is the hottest, so this was ideal.
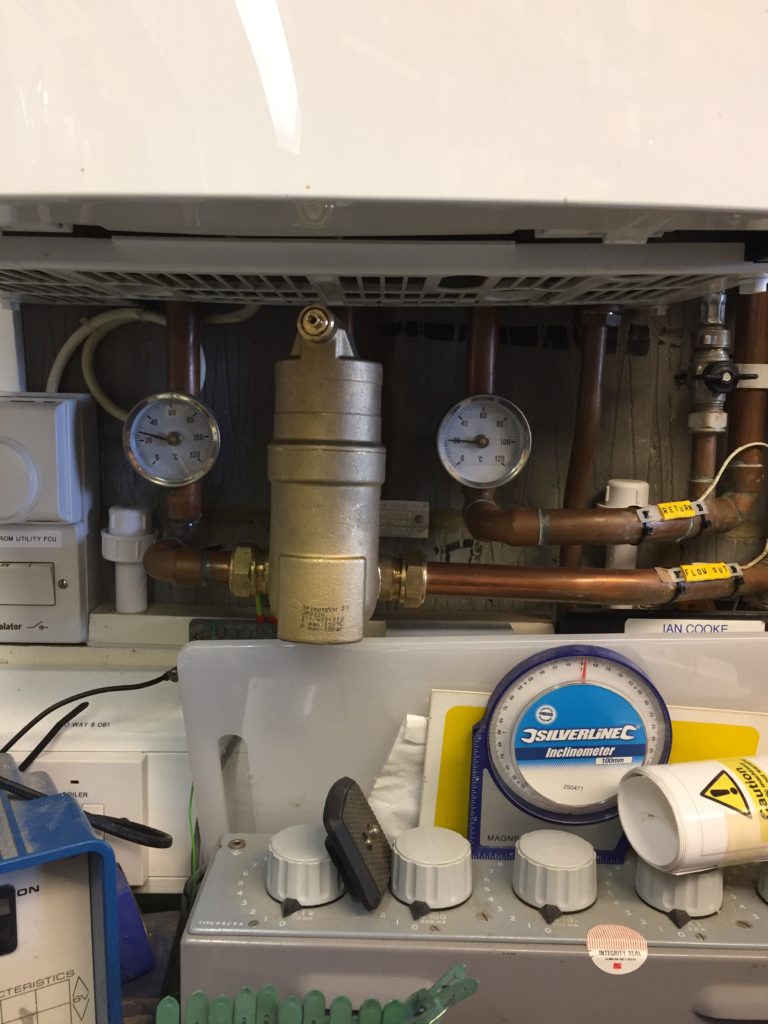
After the radiator was replaced and the Spirovent RV2 installed, I slowly used my filling loop via a pressure regulator to refill the system, checking for leaks and venting the system until all are had been removed and the pressure stabilised at 1.5 bar.
After the system had been running for a few days and all the air had been vented, I used the Magnaclean Pro 2 as a dosing pot, and replenished the Fernox F1, again after a few days I used the Fernox test kit to confirm that the inhibitors concentration was satisfactory.
On Youtube one of the respected UK plumbing engineer asserted that the circulating heating water should be treated more like a heat transfer medium and more effort should be paid to its treatment, going so far as to say that the customer shouldn’t top the system up with the filling loop, introducing aerated water. He has a point, but in reality this will never happen.