

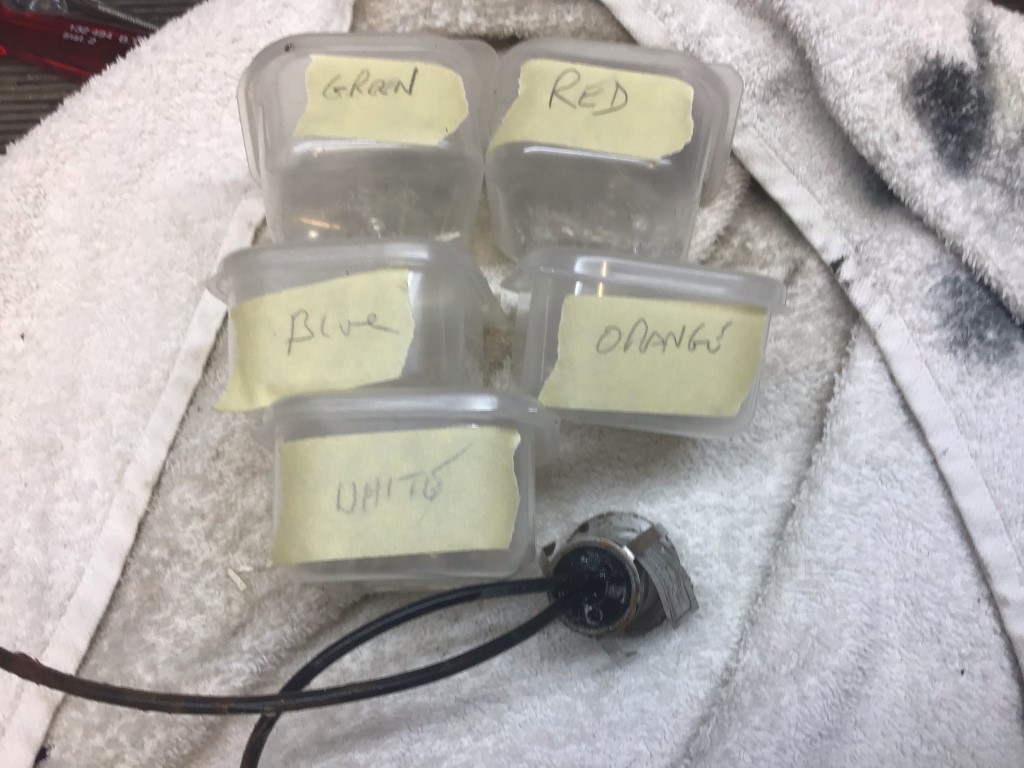
I bought two sets of the GL KIT16B garden walk over LED lights from TLC Electrical for my decking, each set comprises of 10 LED lights and a 12v transformer, the cost of each kit was £31.40.
I had these installed for about a year but due to an electrical problem which caused an overvoltage, the lights stopped working.
The choice was to buy new kits or try and repair them 🙂
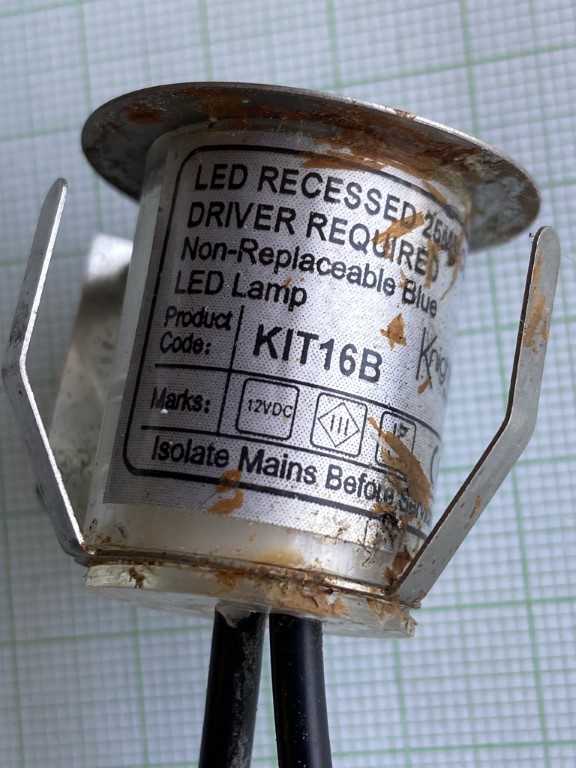
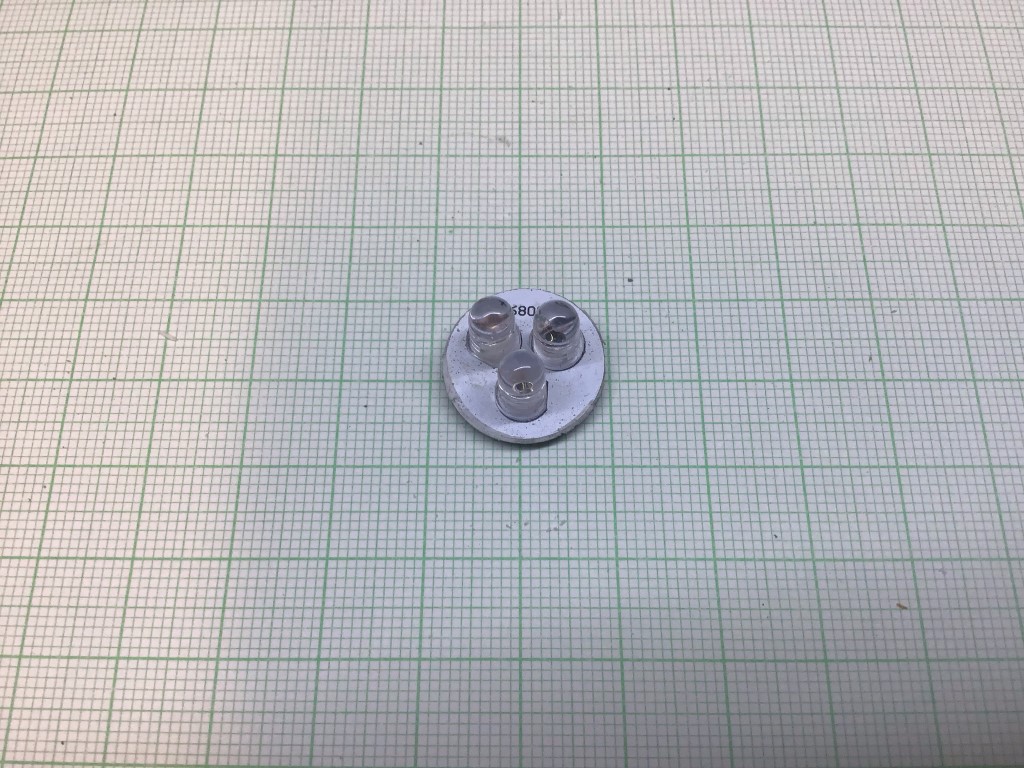
The case does say Non-Replaceable Blue LED Lamp and this turned out to be incorrect.
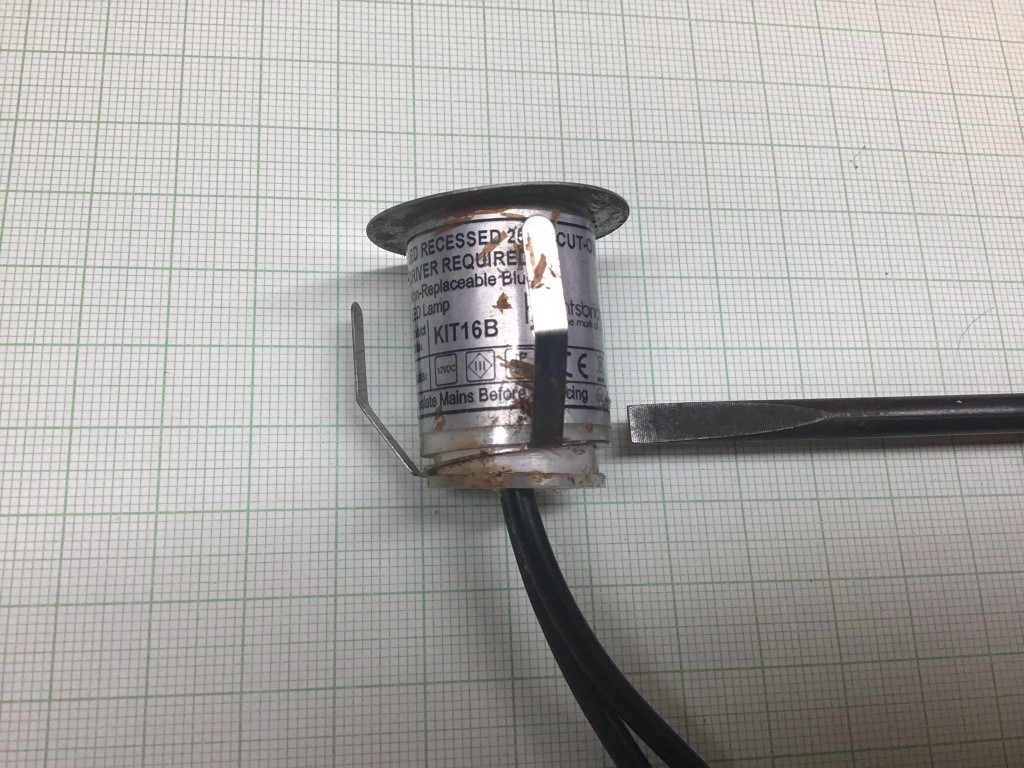
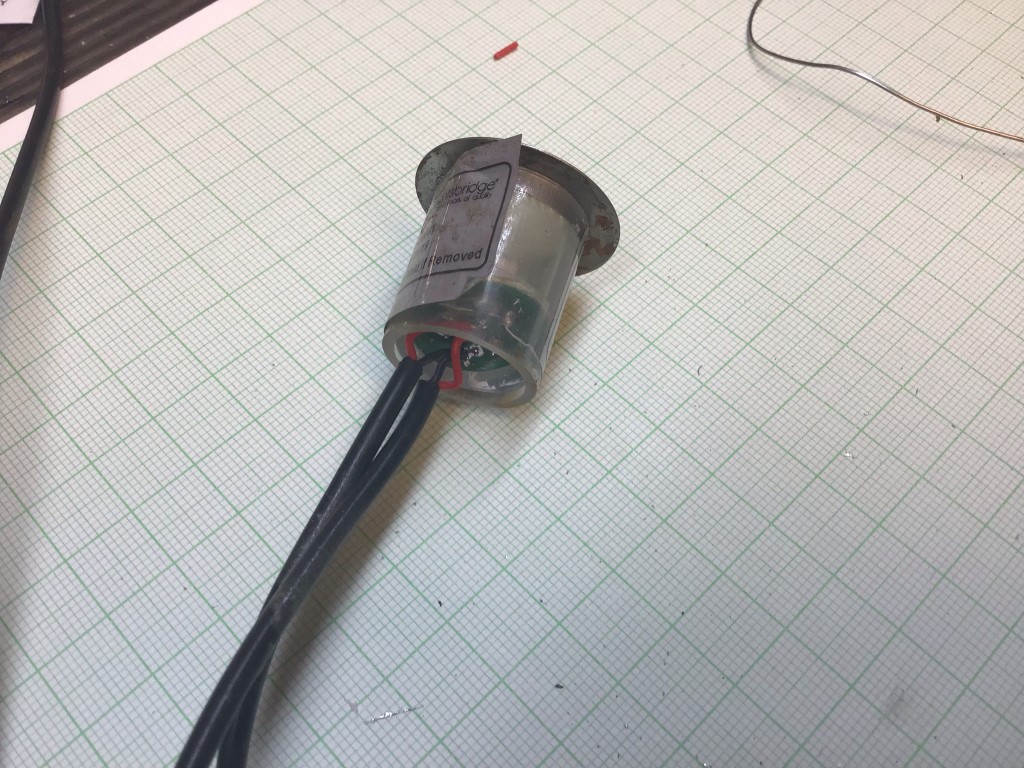
First job was to separate the base from the lamp body, it looks like they used an RTV (Room Temperature Vulcanizing) sealant. With gently persuasion using a screwdriver blade, the body came apart.
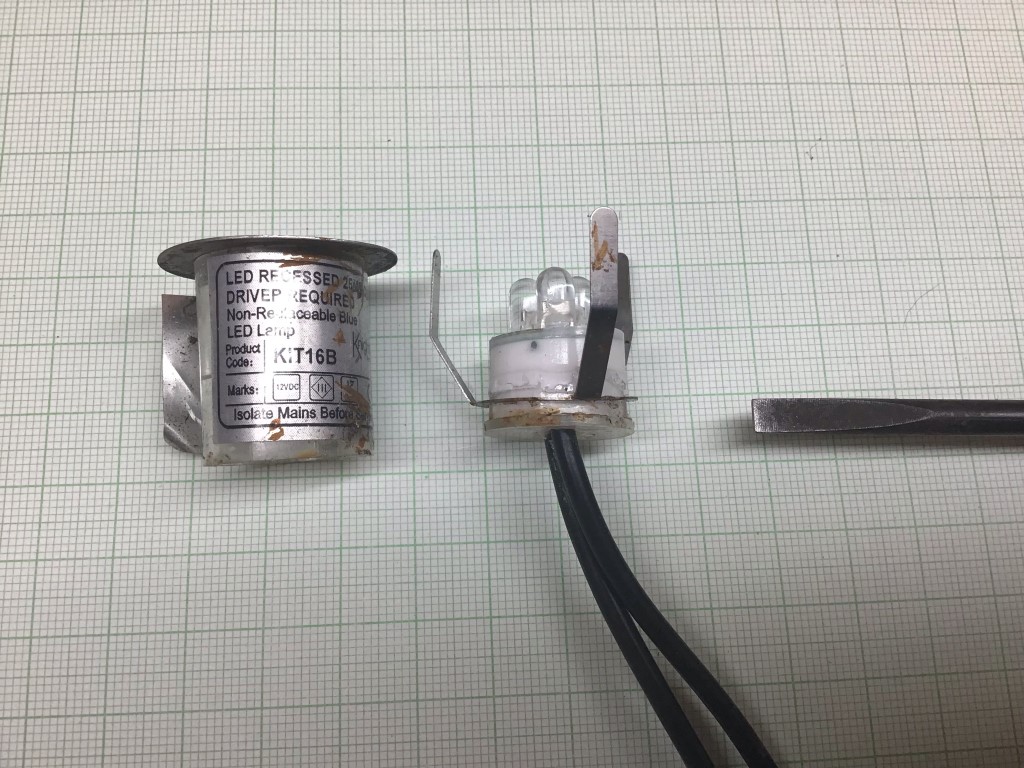
In order to get at the circuit board, base of the lamp need to be separated, this was done by simply pulling it apart.
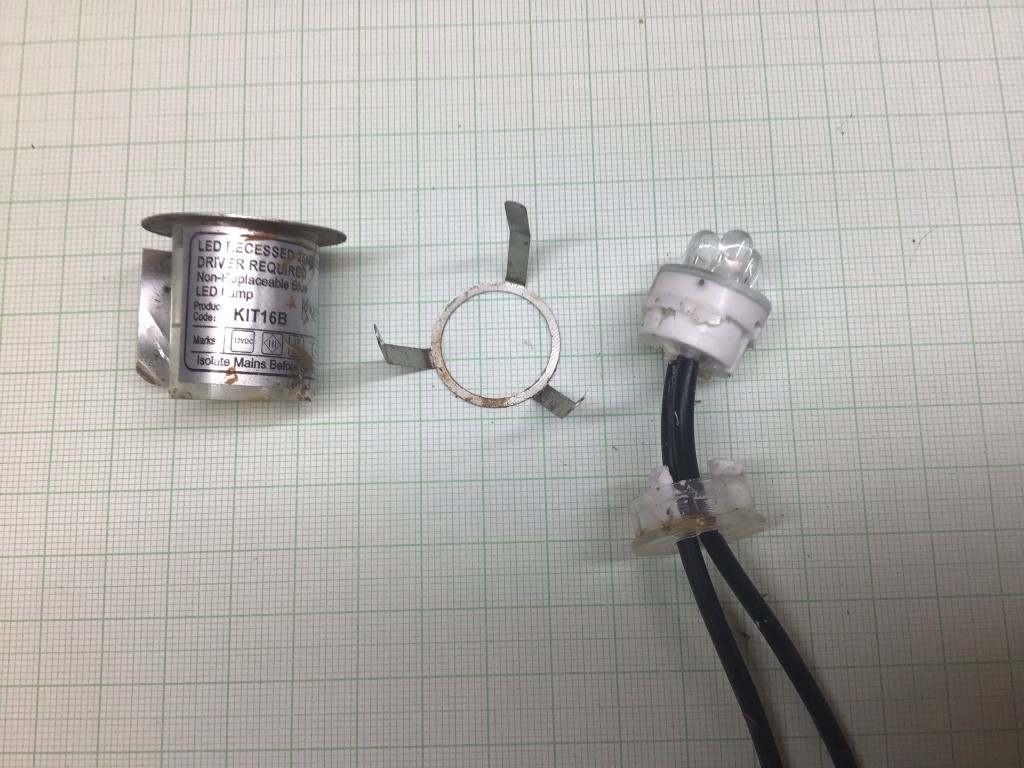
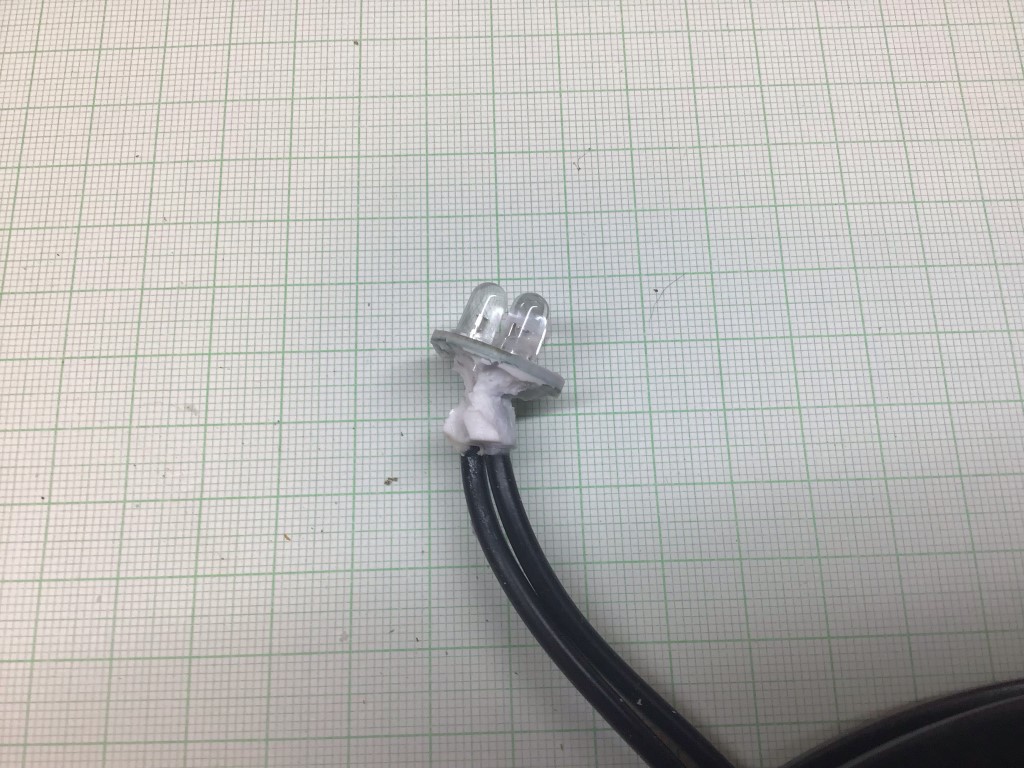
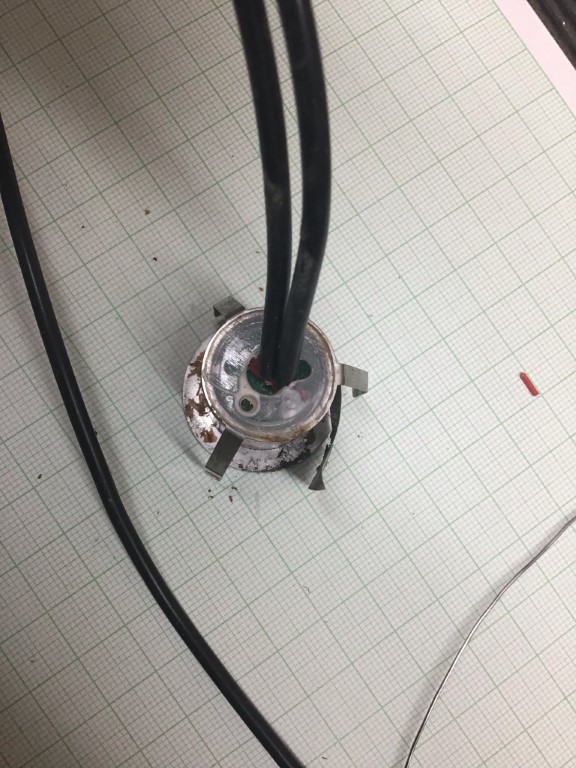
I got a fair bit of sealant of by using my fingers, the next step was to cut off the cables allowing more access to the PCB.
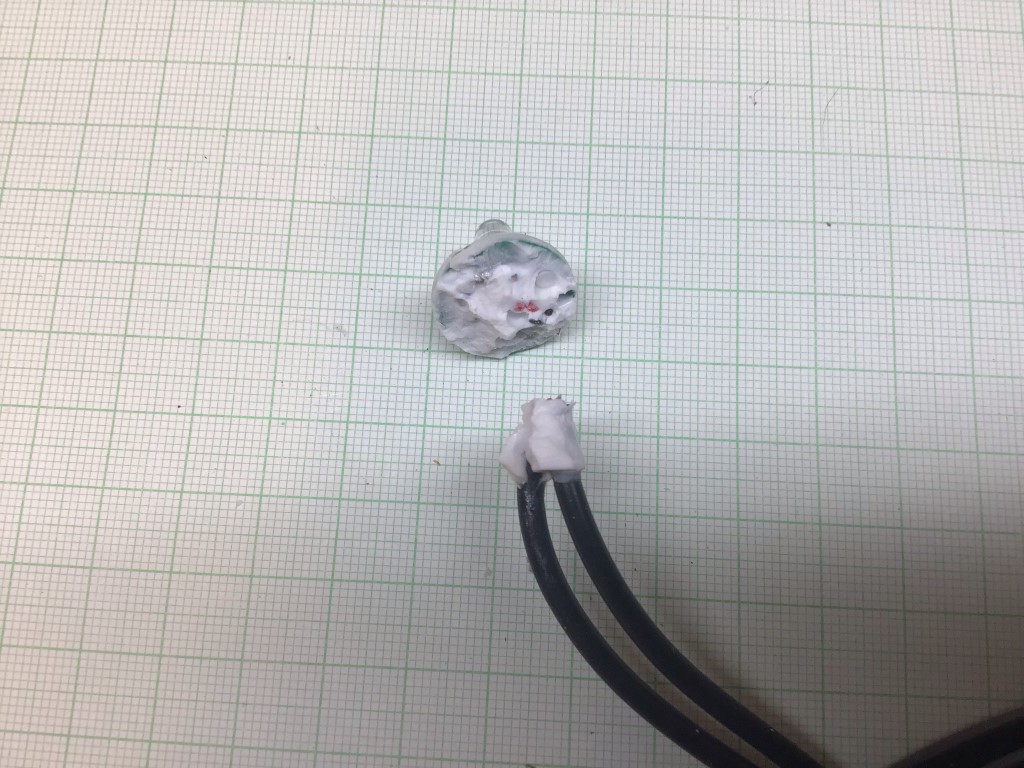
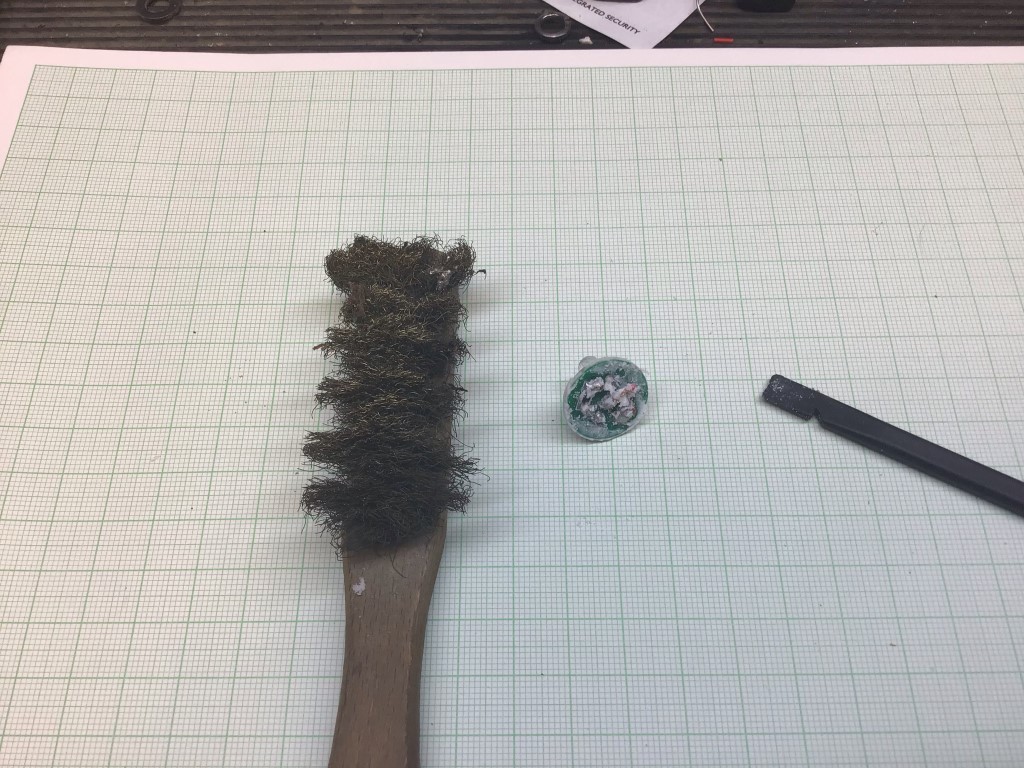
I used a Spudger to scrape off as much as I could before using a Brass brush.
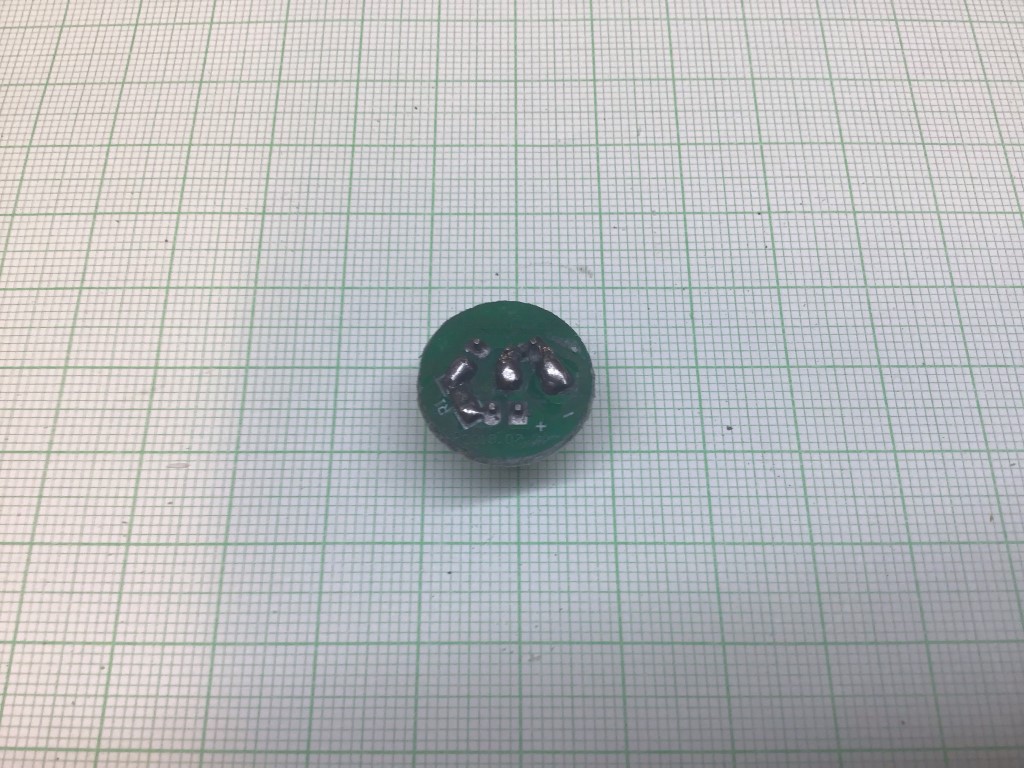
The PCB was now nice and clean ready to unsolder the duff LED’s and SMT resistor which was open circuit.
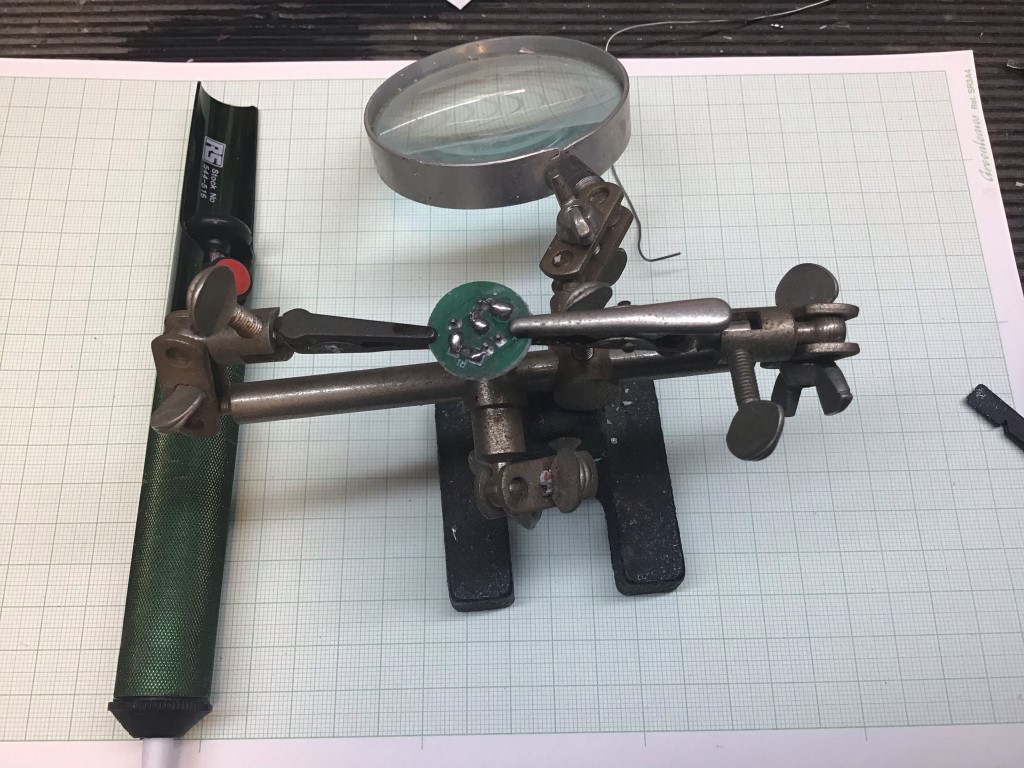
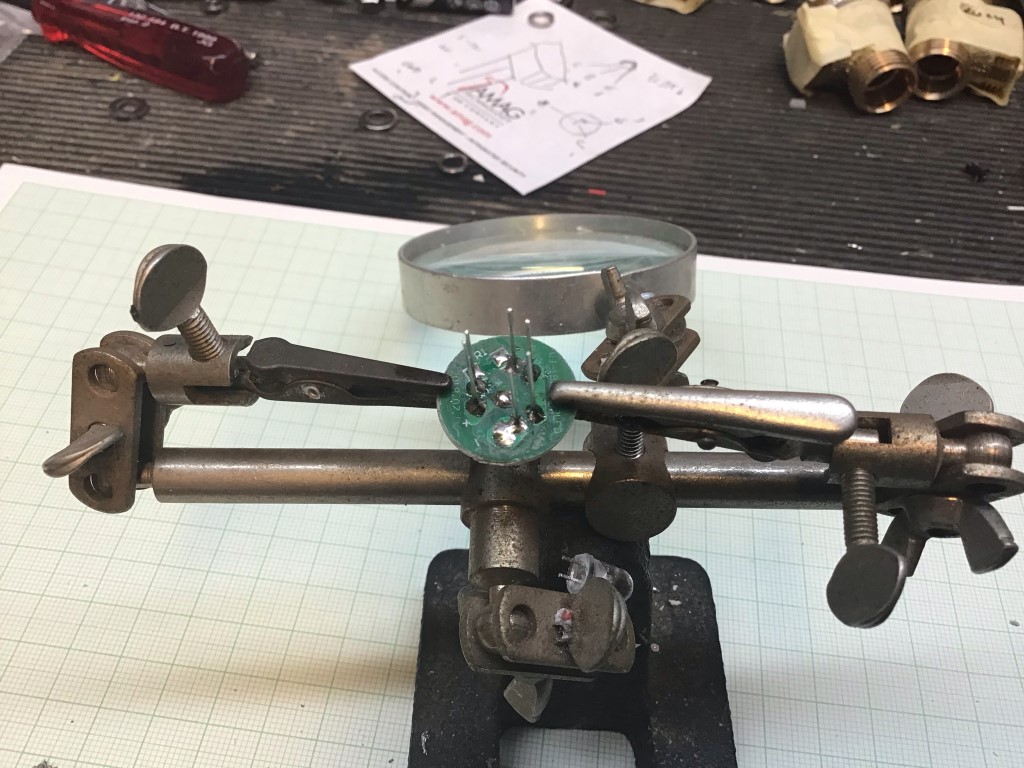
I’ve had this Helping Hand for more years than I care to remember and is perfect for this type of work.
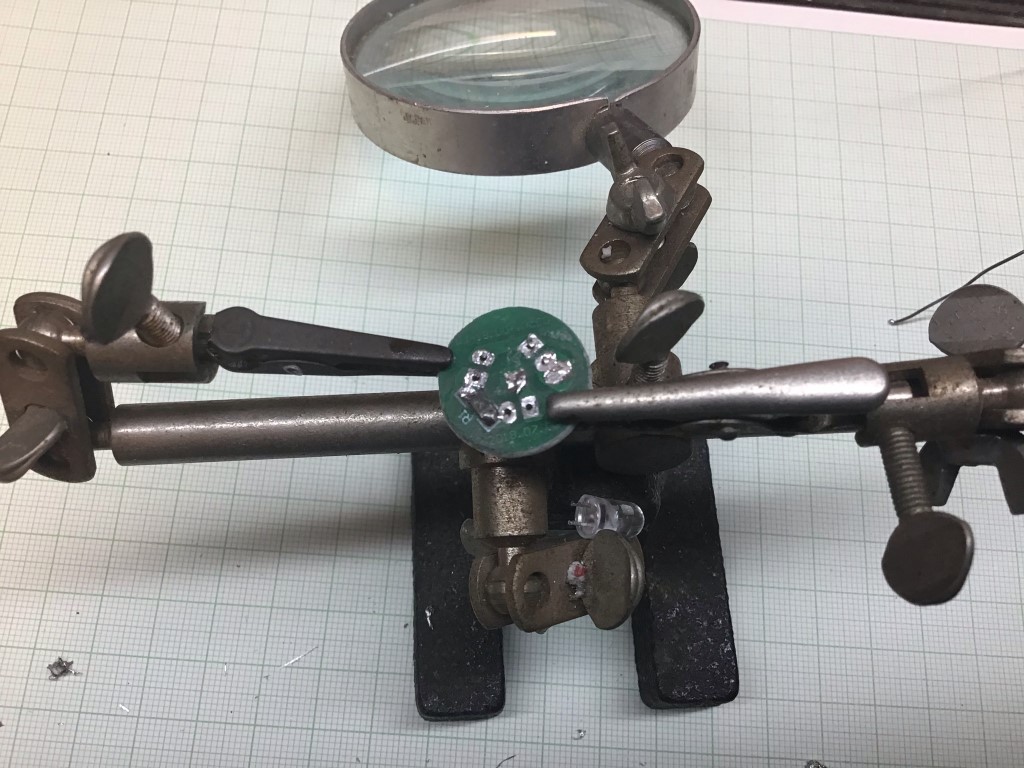
All the LED’s have been unsoldered, I used a solder pump for this, all that is left is the damaged resistor to remove.
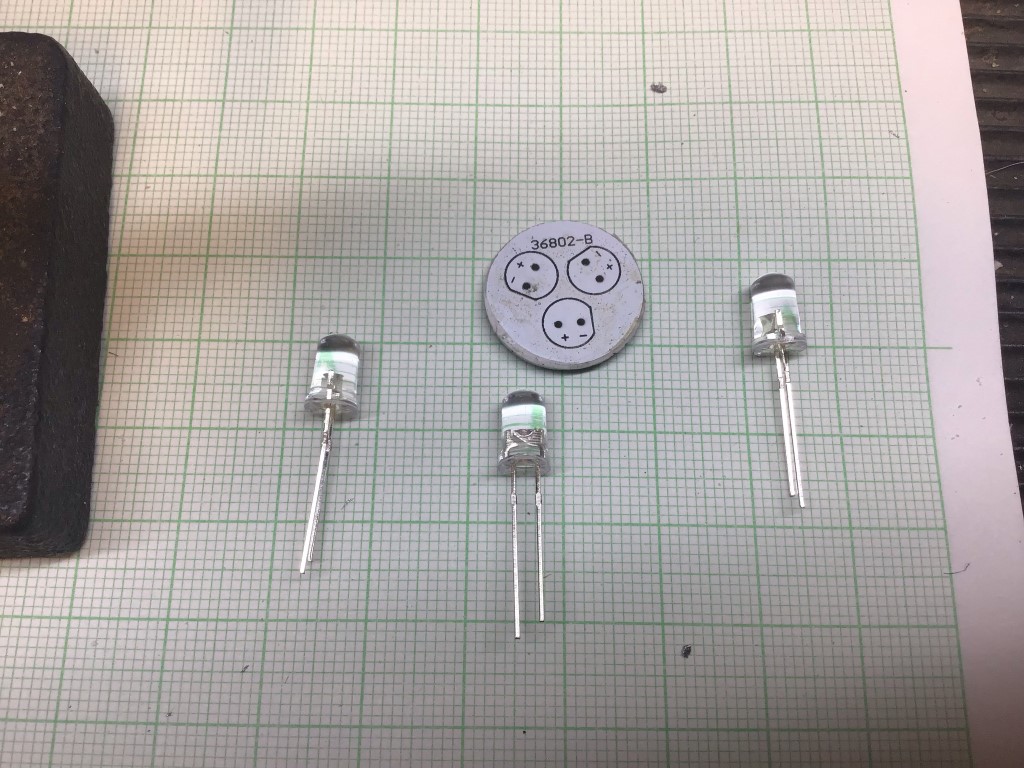
New LED’s ready to solder in, as you can see the PCB is printed with the orientation of the LED legs and LED body.
In the picture above I was soldering in Blue LED’s, however, I took the opportunity to change the colour in 8 of the lights to green to match the other garden lights.
LED’s, soldered in ready for the legs to be cut off and the resistor to be fitted.
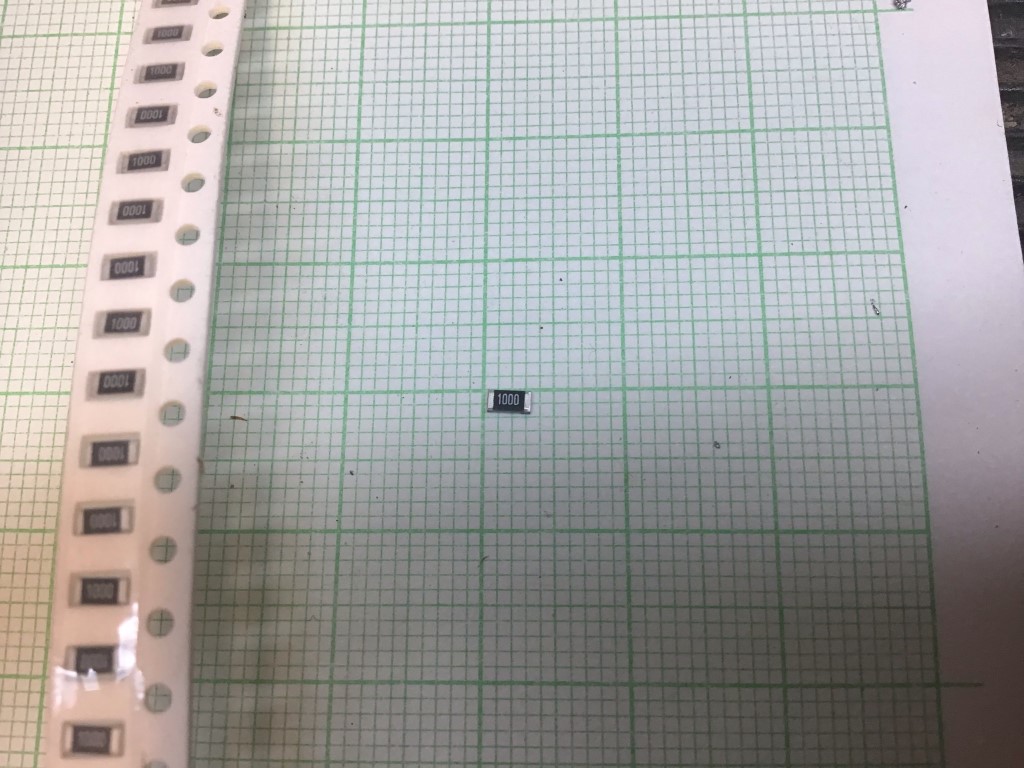
The resistor needed was a 100 Ohm Type 1206 Surface Mount Device.
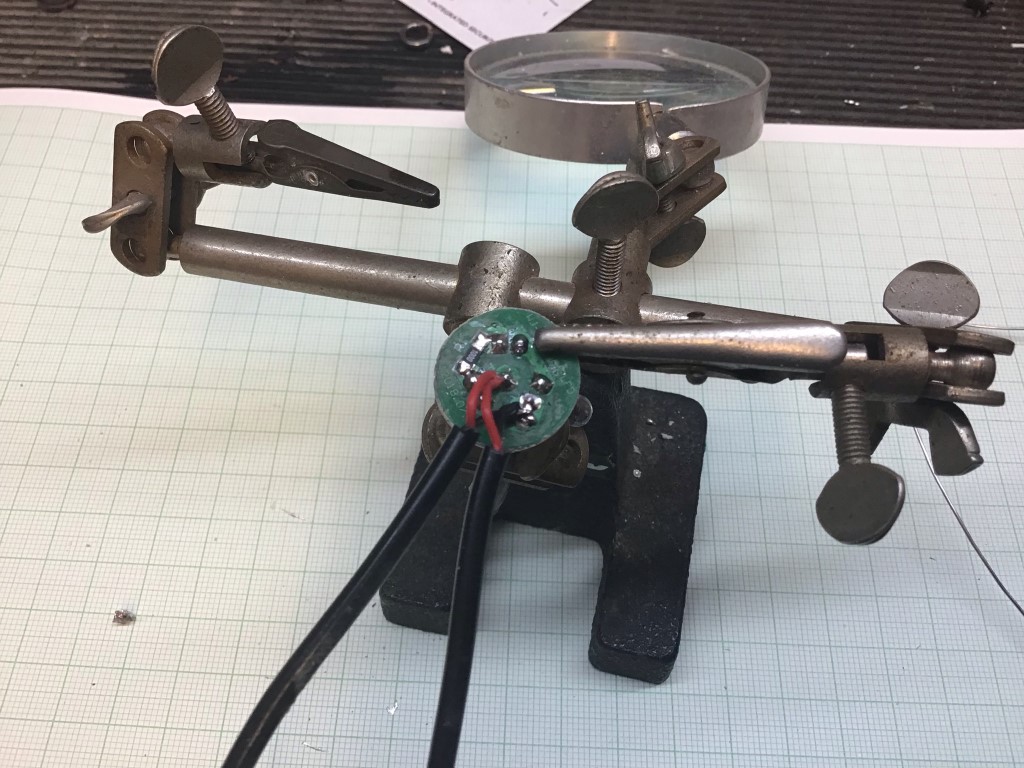
Once the resistor was in, the connecting cables can be reattached.
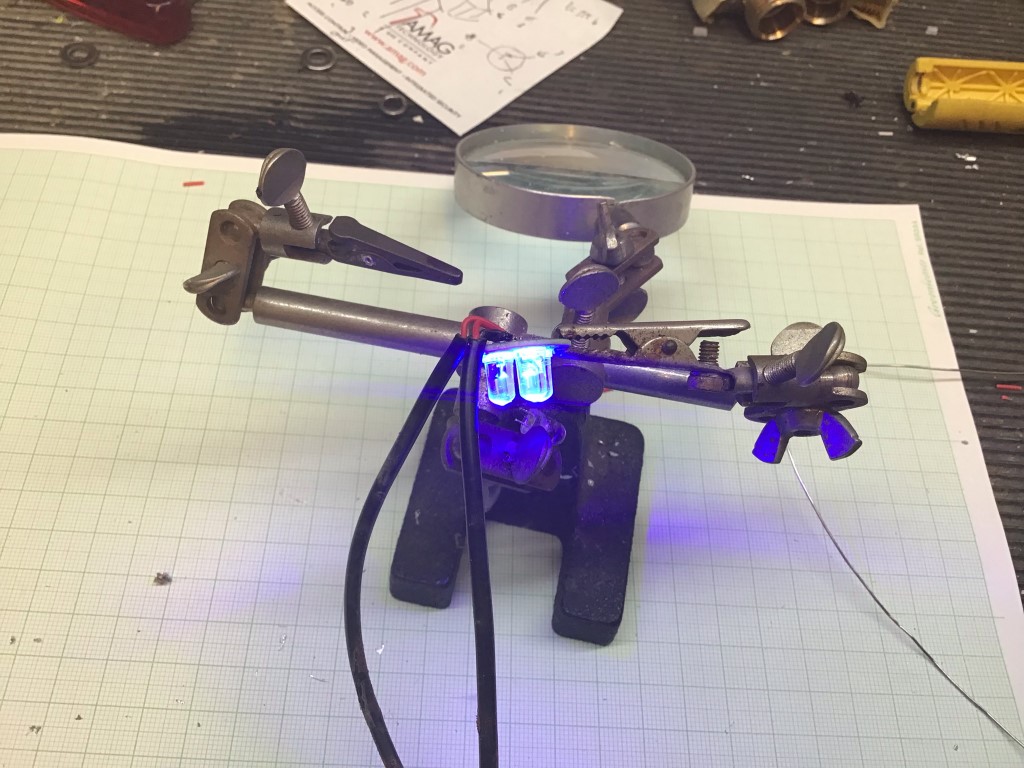
A quick test before reassembly.
With the PCB pushed back inside the light body, it’s important not to forget the holding clip for the next stage.
All pushed back into place ready to be sealed up.
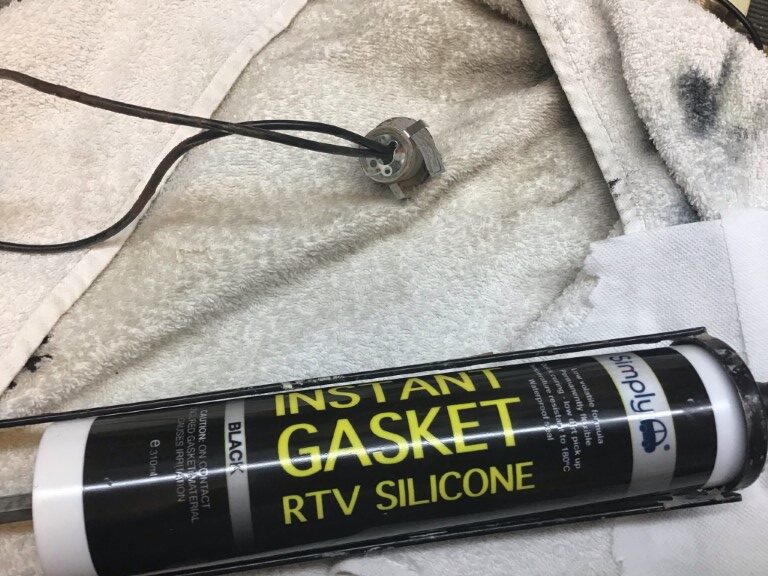
I used RTV Gasket silicone which cost £3.32, this is prefect as a potting compound.
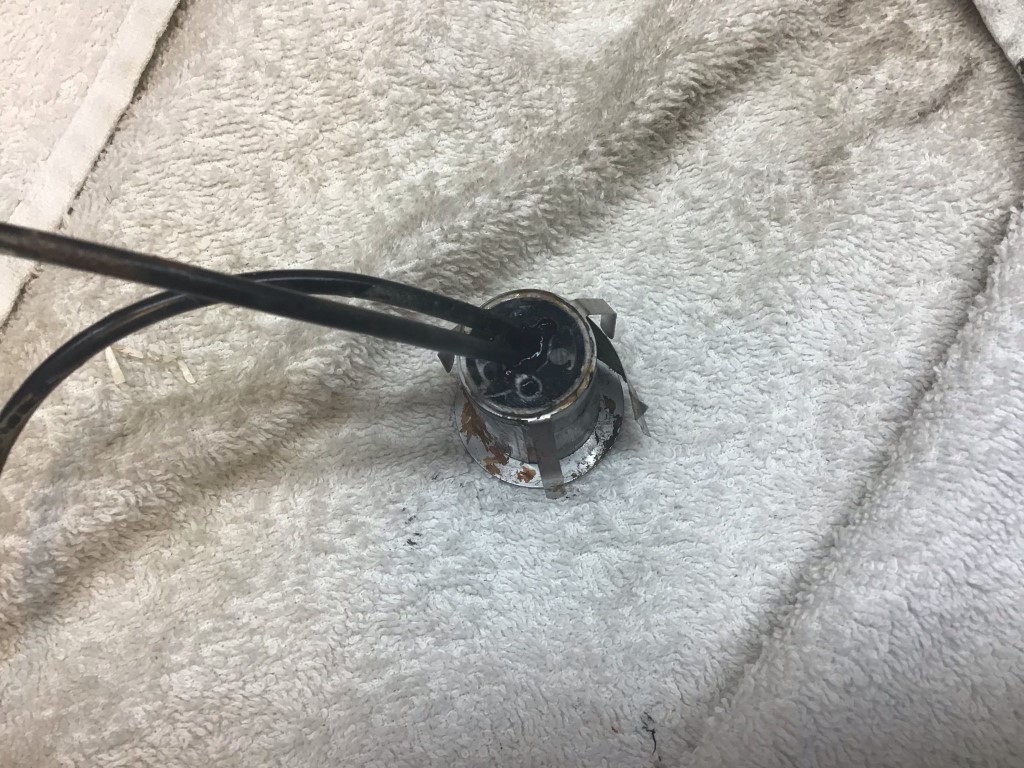
Completed refurbished LED light, total time from start to potting is about 10 minutes.
The LEDs are 5mm and are very cheap off eBay, I could have fitted a number of different colours, but Blue and Green was fine, Knightsbridge only make Blue, White and Warm White in this model range, but don’t let you put this off after seeing this blog.
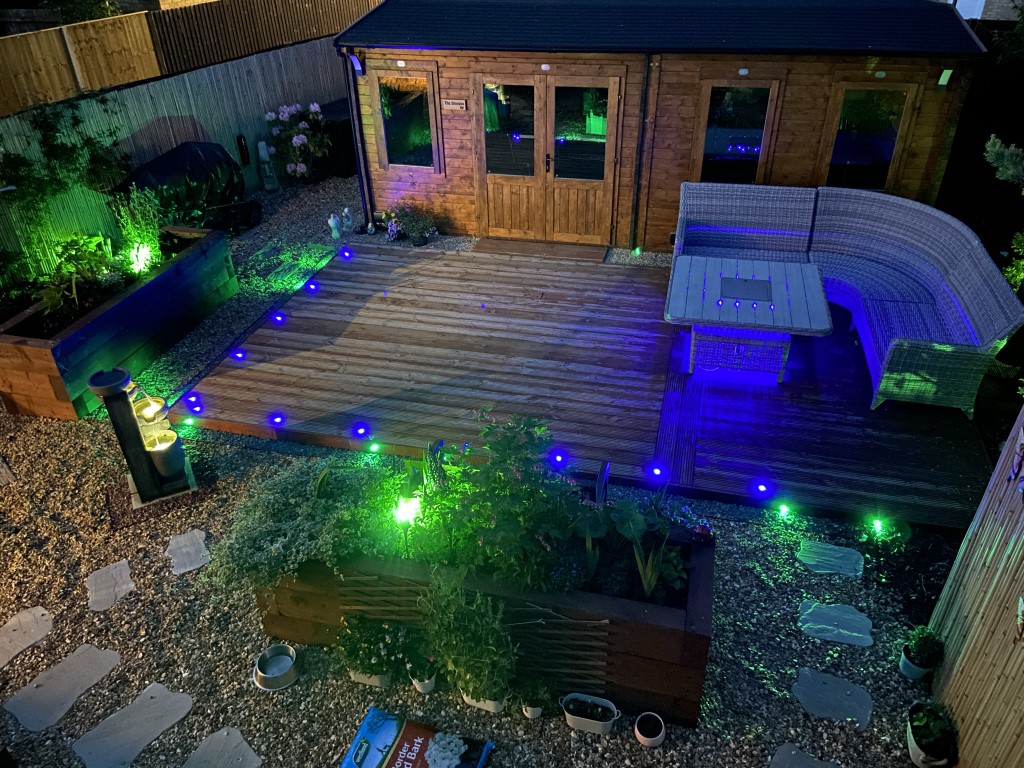
Finished look with the green deck lights pointing outwards illuminating the paths from the deck, really pleased with the finish and how easy and cheap it was to do.