Ham Radio Page

Made a few changes to the Ham Radio pages, this is a page that will continue to be under constant development, their are stacks of web sites dedicated to the topic and I’m refining mine to attract a general interest in the subject and a quick entry feature for hams to get search and discovery information.

If there’s anything specific that you would like considering for insertion in this page, please drop me a line using the contact form.

Modification to my setup

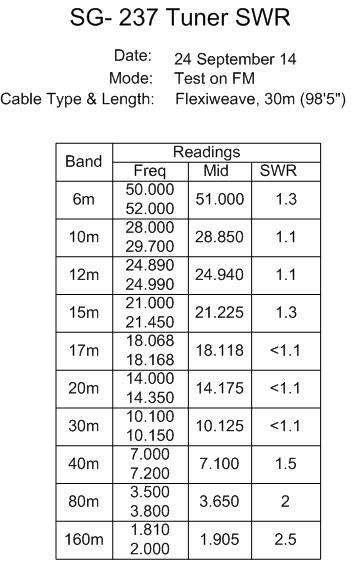
Not sure where to start with this, so the easiest first; I enjoy listening to the scheduled networks on FM, and as a member of CDARC I wanted to participate in their regular nets, unfortunately my Diamond X30 just could not quite pull in all the signals (Chatteris is not exactly the (highest point on the planet – not the lowest though!).

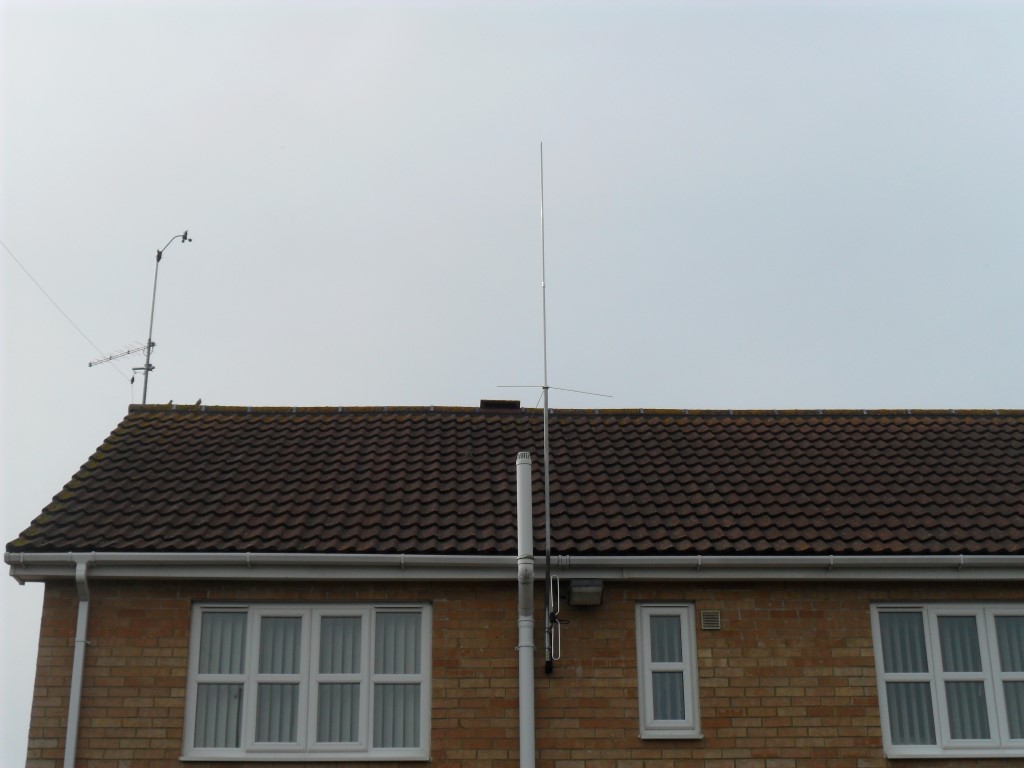
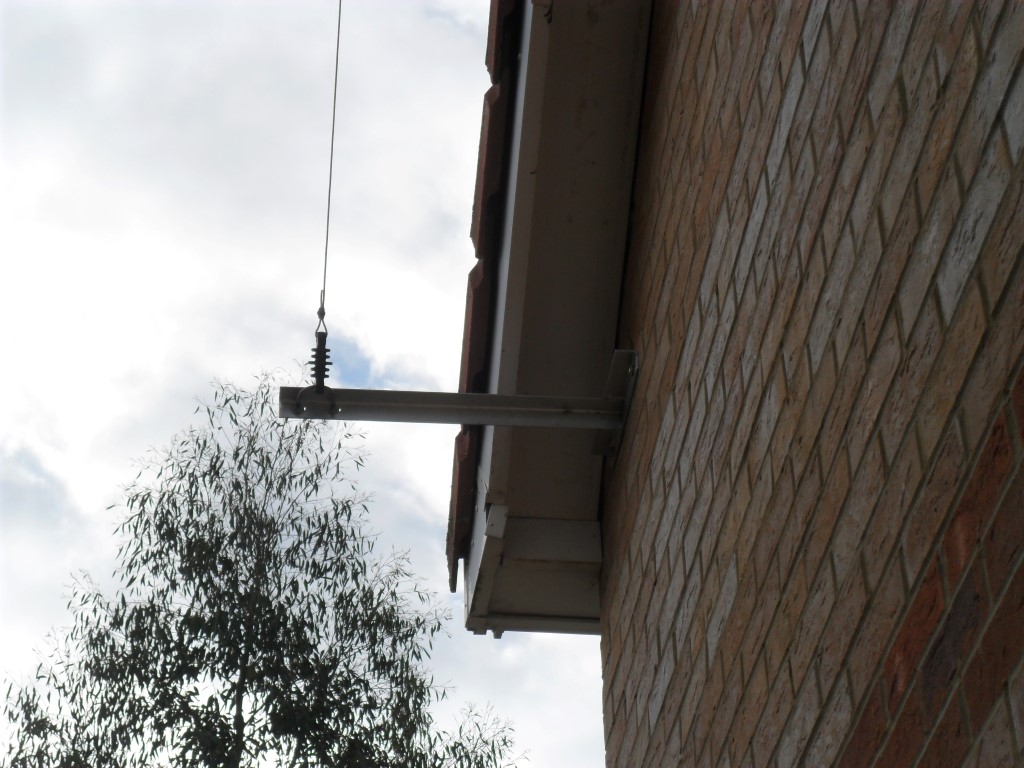
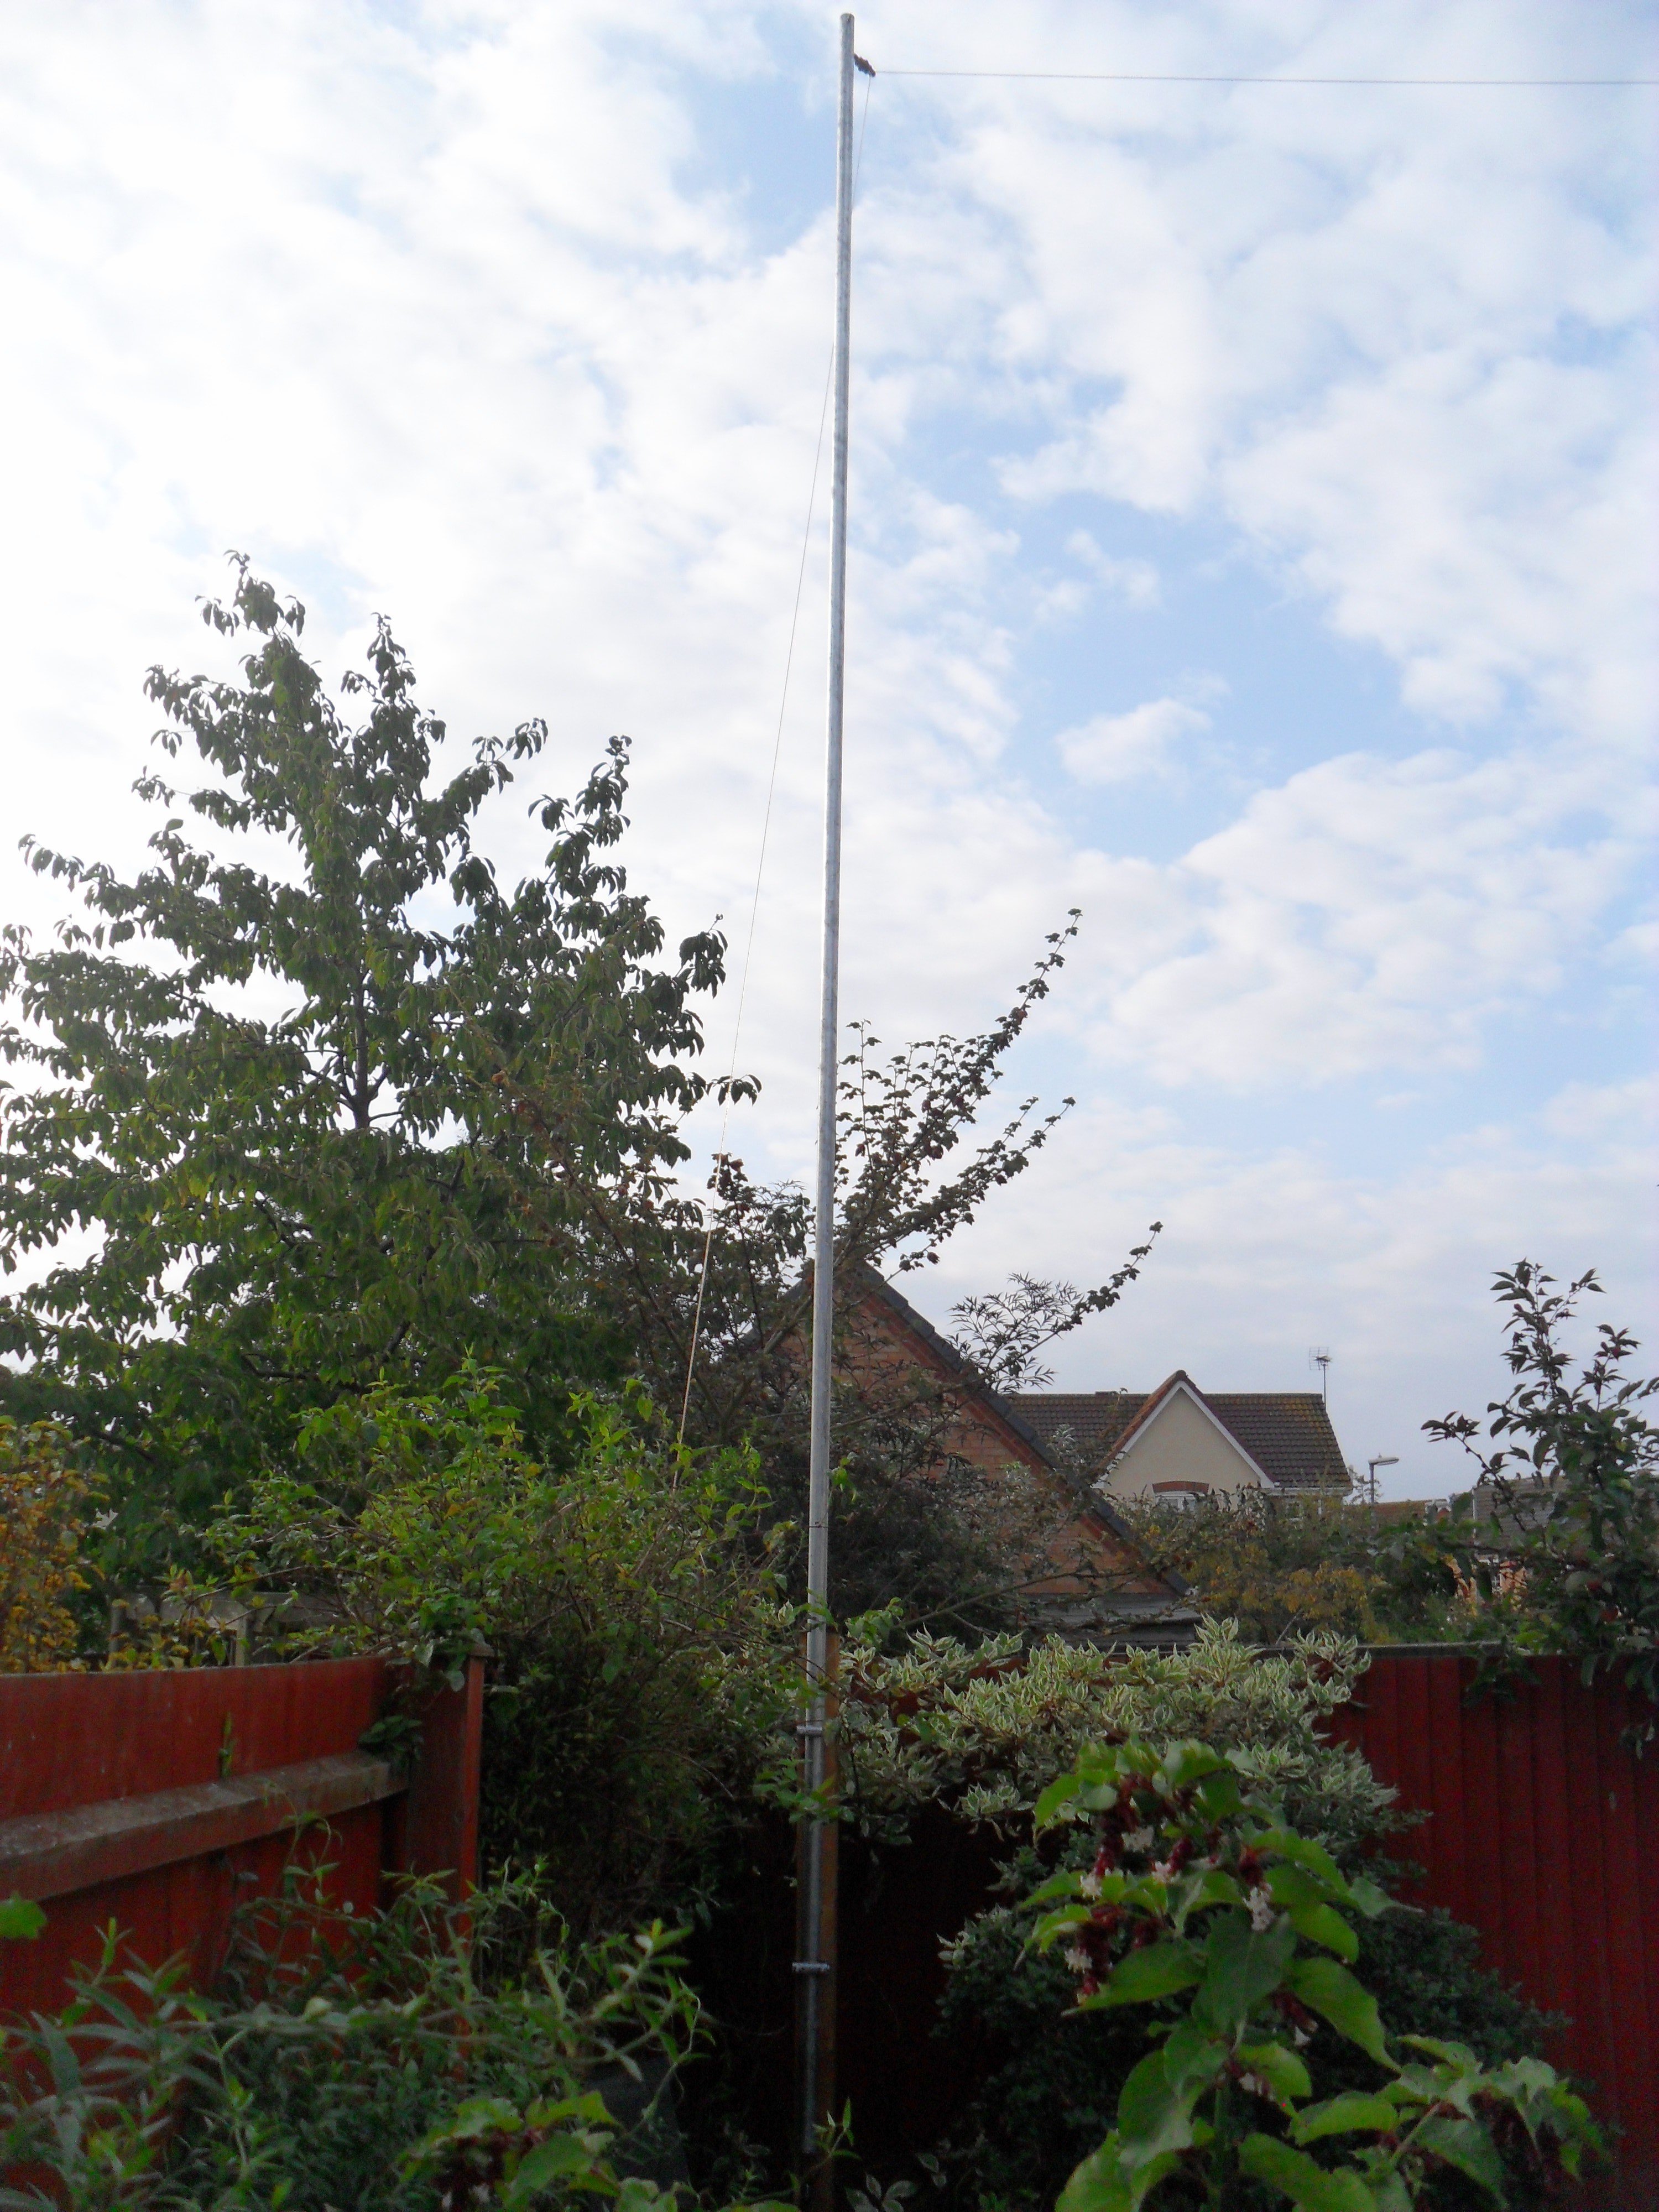
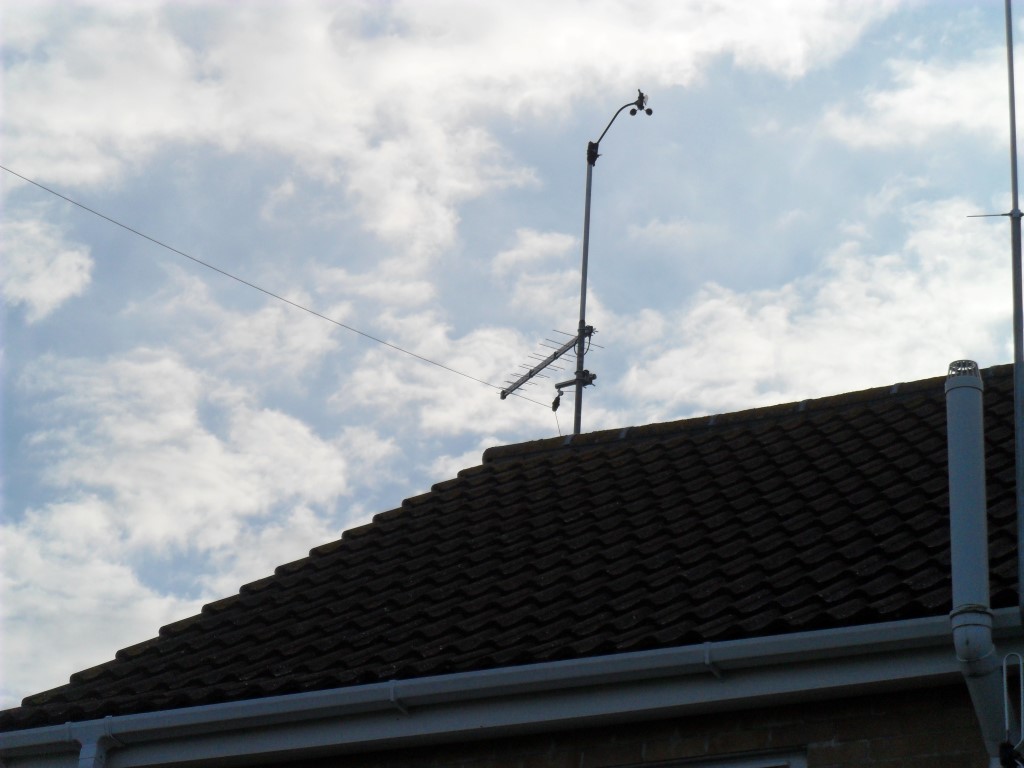
I opted for the SPA-X200-N from an ebay vendor due to the increase in gain, ability to be a direct replacement for the X30 and its price point. I tested the antenna for the first time today (12 Oct 14) and worked really well, this antenna is not a Diamond original so hopefully it will last, I have used silicon grease on the sealing gasket where the two sections screw together to keep the water out but I suppose that’s not much use if it snaps in the wind 🙁 -Watch this space!

SAM_5195 (Medium)
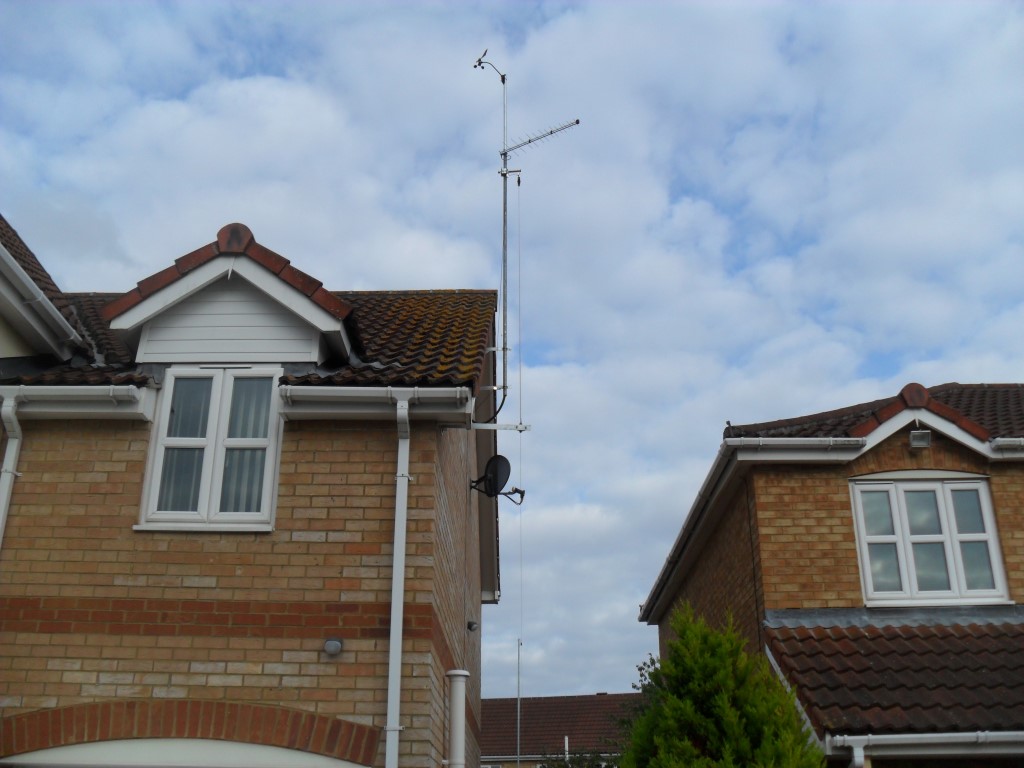
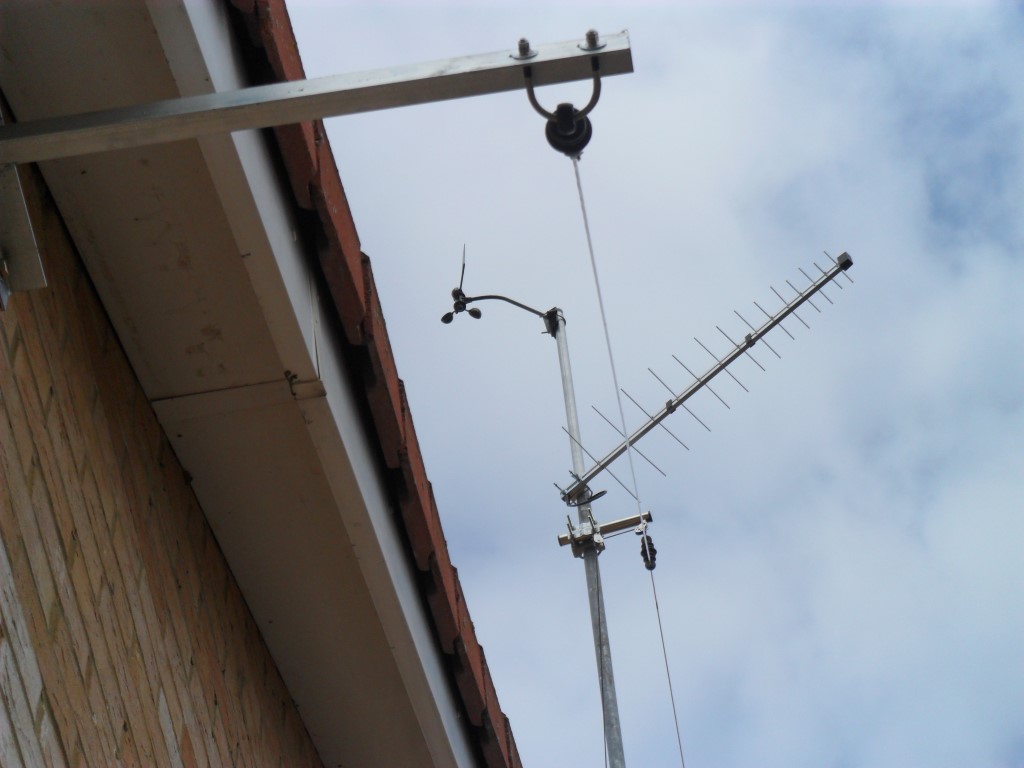
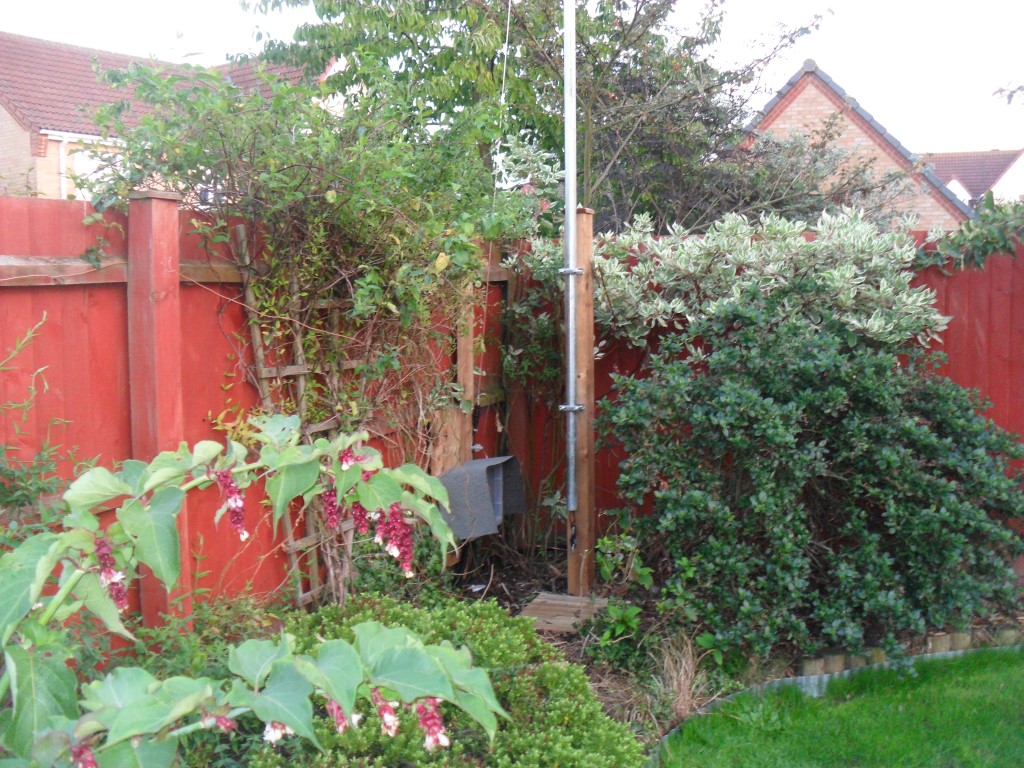
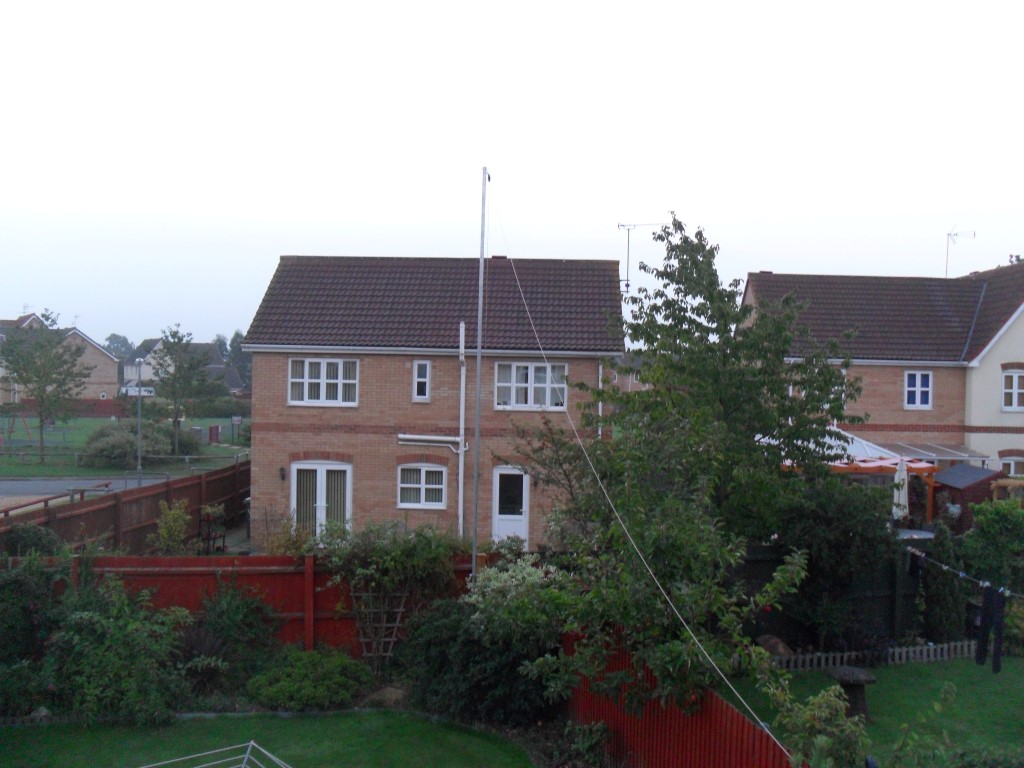
X200 which replaced the smaller X30

The X200 is connected to a coaxial switching relay in the loft, as my intention to remotely switch over to a dual band Yagi antenna for listening/transmitting on sideband, but that’s for another time.

Ok, the next saga was my lack of reception when using my random length antenna, the antenna would tune but the transceiver was quiet of activity, called Andy (G6OHM) for his advice and whist we were on the phone compared what he could receive on a particular frequency to me when tuned to the same frequency, yep something wasn’t right.

Andy came round armed with his experience and a 4:1 balun, right he said “back to basics”, so the SG auto-tuner, MFJ artificial ground unit and MFJ SWR/tuner came out of circuit and the balun went in, simply connected to the antenna wire and earth, their was a huge difference, but Andy noticed the really high background noise level causing signals to struggle to be heard, I was pleased that the signals had been increased, but a bit miffed that all this quite expensive kit was redundant, Andy loaned me the balun, and that night I ordered one from ebay for ÂŁ33.00.

A few days later I decided to power the rig from a battery and turn the house power off to try and locate the source of the background interference, it turned out that the biggest problem started around 29.700Mhz where S+60db signal noise is noted, I suspect is from a neighbours solar power inverter, outside of this frequency the background noise wasn’t that noticeable.

I relocated the rigs Power Supply to beneath the desk and started turning the power on, one circuit at a time, each time checking the radio for additional interference, I was hoping for a dramatic leap in background noise caused by electrical interference, but the background noise didn’t really alter which was strange, when Andy was here a few days earlier it did have a higher noise floor.

I have previously spent a lot of effort putting in a ground earth system, so I though I’d measure the resistance from the cable outer at the garden end to my earth terminal block which is robustly connected throughout back to the rig, when I saw the reading was into fluctuating Megohms rather than ohms, I thought ‘now that can’t be right’?????!

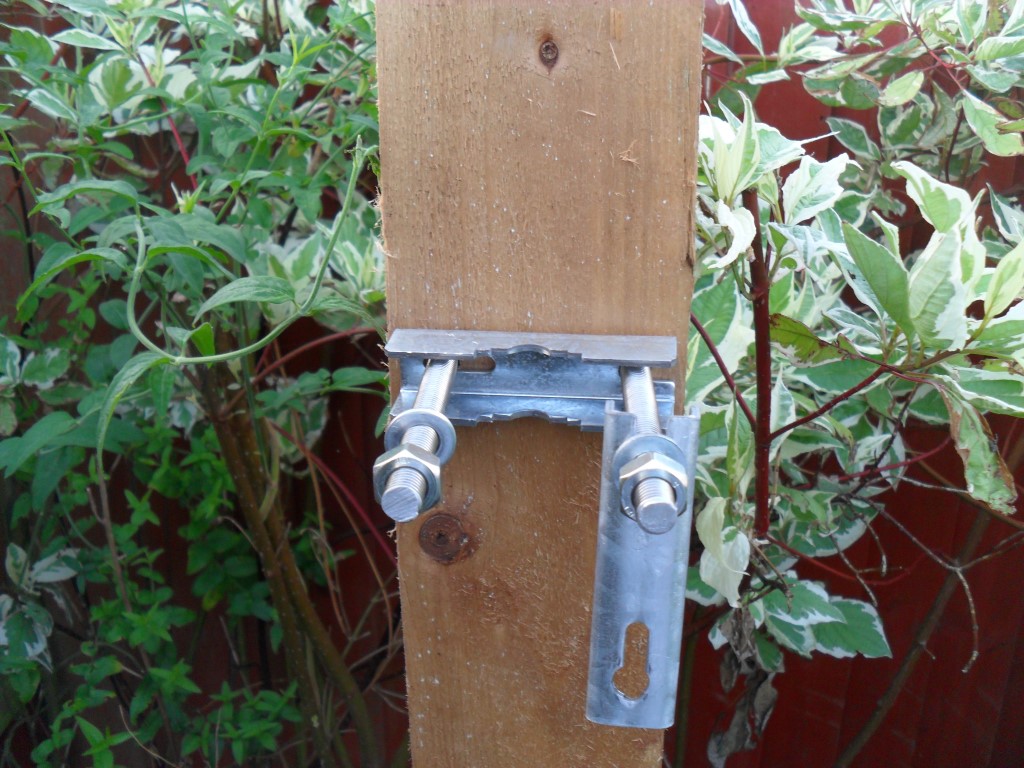
From the earth block at the bottom of the garden I ran a connected wandering lead with a multimeter inline set on ohms scale to track the where the problem was, at each of the earth rod positions measured the resistance of the copper earth rod connection back to the earth block (taking into account the additional resistance the wandering lead introduced), all read less that 1 ohm, that is until I measured the last one before it enters the house on route to the rig, where it was all over the place, it turned out that the brass bolt which secured the earth clamp to the copper rod had failed and the earthing connections had sprung open. Inspecting the bolt showed that the brass casting in the center of the bolt was flawed and the subsequent material stresses had caused a catastrophic failure.

Replacing the bolt and getting the integrity of the RF earth back to the rig and antenna tuner allowed me to put the SG tuner back in circuit and everything seems to be working and receiving just fine.

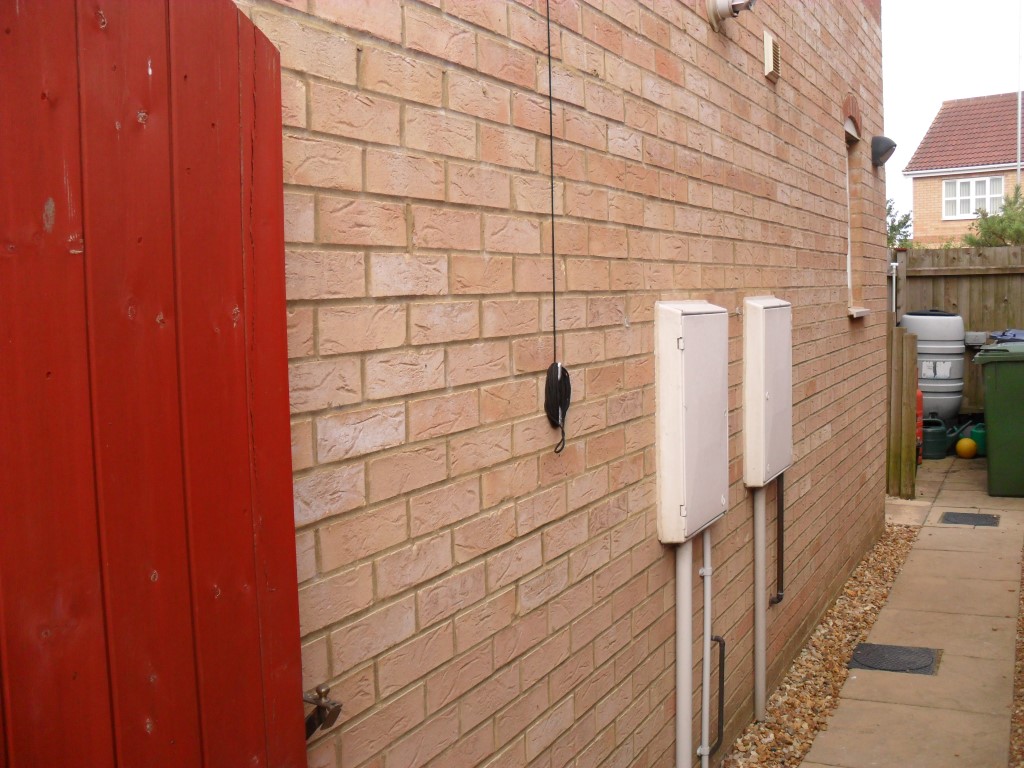
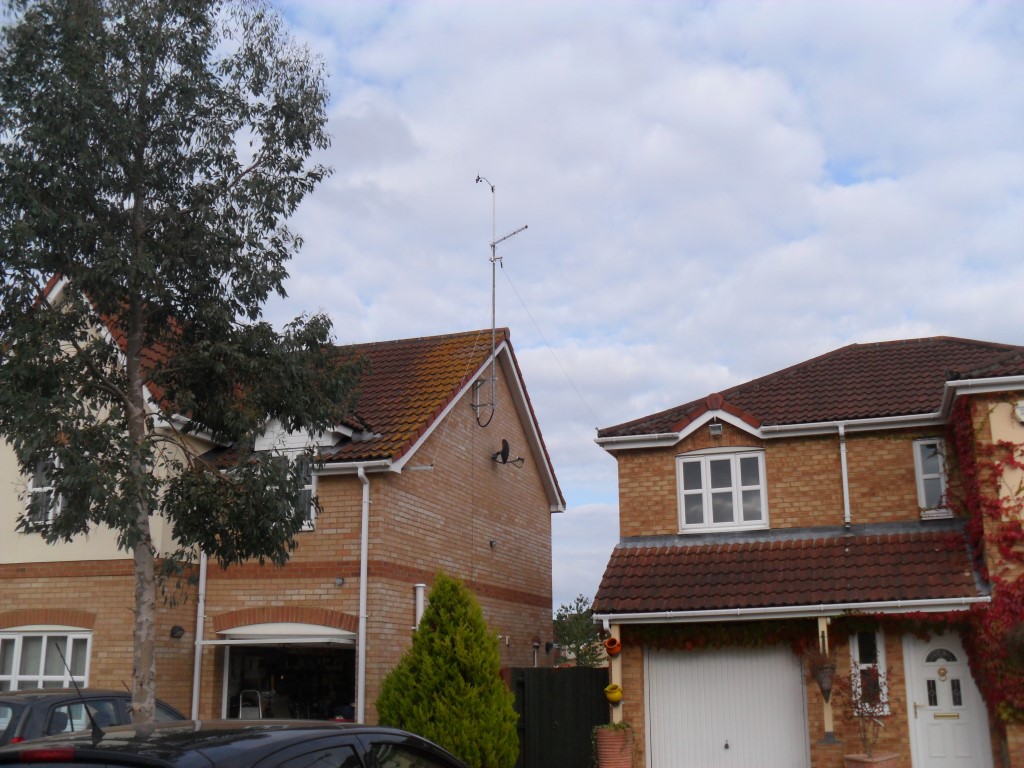
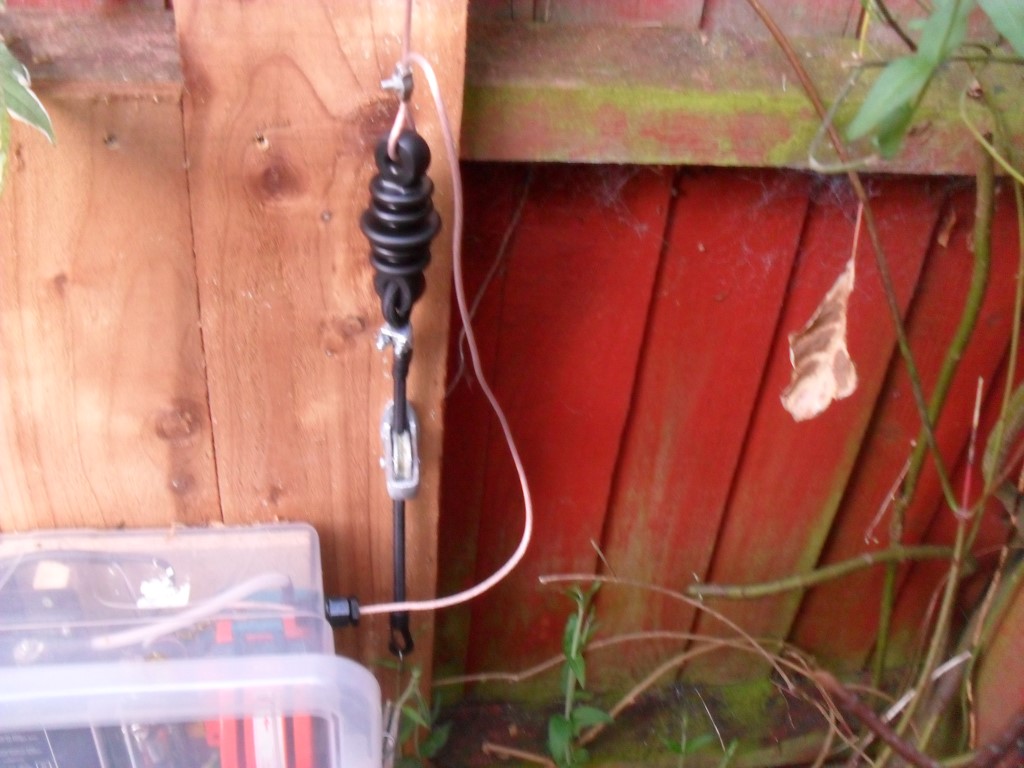
I have left the MFJ kit disconnected, hence the before and after pictures below:
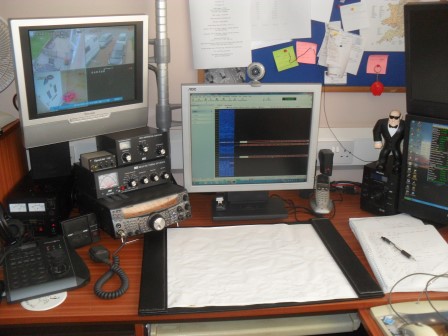
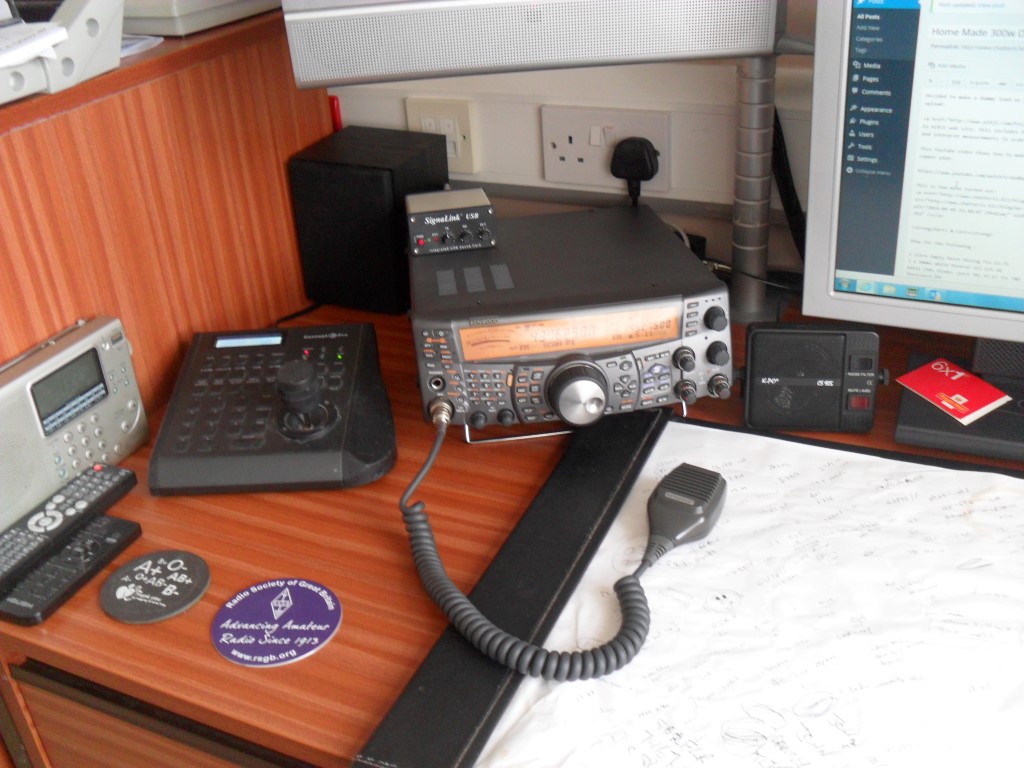
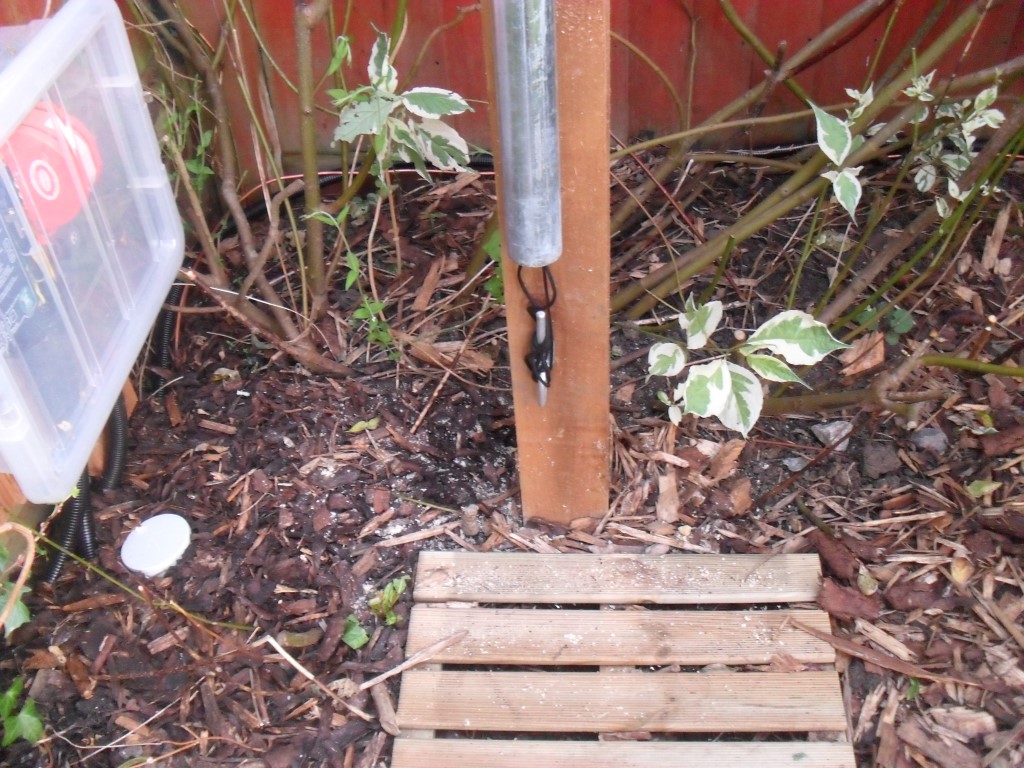
2014-07-16 23.40.11 (Custom)As was.

SAM_5191 (Medium)As is (can you spot the difference).

Hindsight moment – Don’t over-read looking for resolution to problems which you haven’t met or experienced yet, more importantly, don’t buy equipment until you know you need it, I also bought a tuner with a built in power and SWR meter, the rig has this already built in, hence it’s now in a box in the loft.

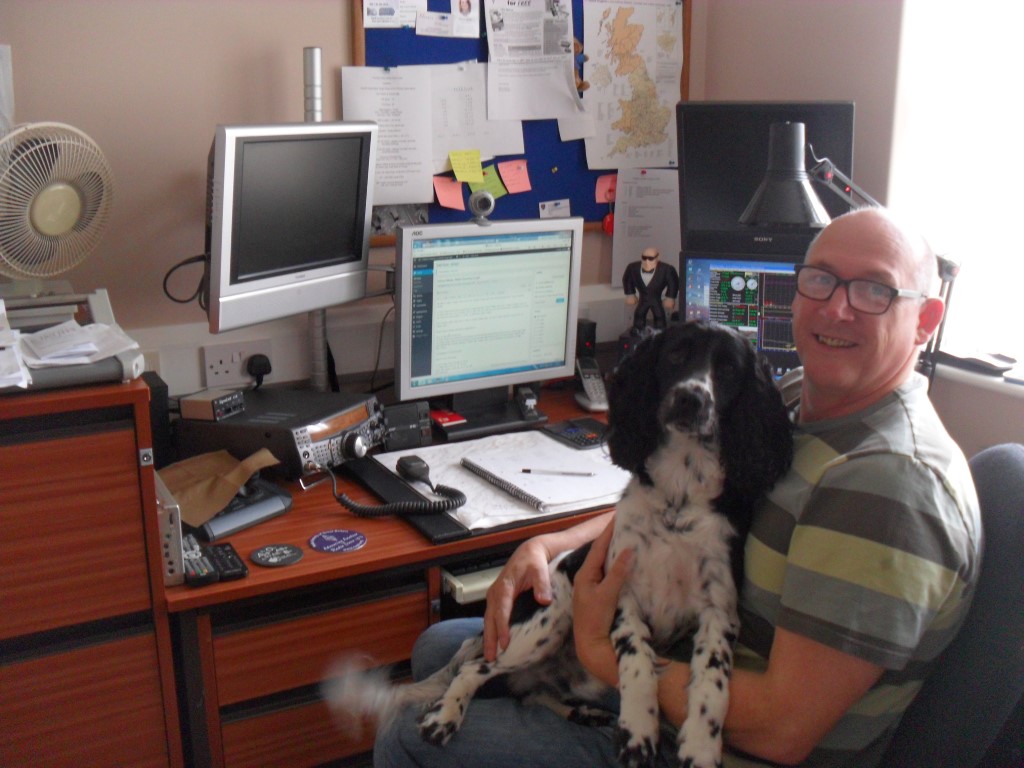
On a lighter note – Here’s me and Barney in the man cave.

SAM_5198 (Medium)

Study – Never to Old

I’m currently studying for the Advanced License exam which I would like to attempt in December 14, the sites that have training material freely available are:

BRATS
Chelmsford ARS

To test progress Hamtest have online mock exams, sample RSGB papers can be downloaded from here.

A superb downloadable program for your PC is available from G3KZB called QADV, this is a great program to assist learning as it has a huge range of sample questions allowing you to view your strengths and areas for development.

If you know of any more, please let me know using the contact form.

SWR of Inverted ‘L’

Their is a great saying that ‘if it ain’t broke don’t fix it’, I was reading about the optimal (link to random length article) length of antenna wire, my overall wire length is 30m rather than at one of the optimum lengths specified in the link, one of the indicators apparently was if the auto-tuner tuned to perfectly, then it is not optimized for all the bands that the tuner can tune to.

According to the article, my antenna length should be 25.6m, so I loped 4.4m off the end and gleefully went to the shack to see what a dramatic change this will have made, well it used to tune on 80m and now it doesn’t 🙁

The ladder came back out as did the soldering iron and heat shrink, I now have it back to as it was and I won’t make that mistake again!

The table shows the results of the SG-237 tuning a 30m inverted ‘L’ wire at 6m above ground:

SWR Tuned Readings
SWR Tuned Readings

Lesson learned or is it now Lesson identified.

Pt 4 Longwire Installation – Final

This is the final part in the installation journal, the first bit was to mount the end bracket which secures and terminates the antenna wire to the side gable at the front of the house, I used the ‘T’ from a galvanized TK type bracket, the one used was 24″ in length and secured to the masonry by 2 x 10mm expanding shield anchors.

To fit the insulator to the ‘T’ bracket I bent a small length of M6 threaded stud bar round a scaffold pole, to enable the insulator to slide of the exposed threads of the stud, I slid the braid from a length of coax over it and secured that with helleman sleeves at each end.

2014-09-13 04.38.46 (Medium)

The existing TV pole and brackets were removed and the ‘T and K’ brackets were replaced, as were the securing fixings and pole brackets, this TV Pole also support the Weather Station anemometer and Direction sensor, so this was the reassembly order:

Nipped the pole up in the bracket and inserted the wind & direction sensor and pole into the top of TV pole and secured with machine screws, the pole was then pushed up slightly to allow me to add a log periodic TV aerial, the reason for replacing the existing TV aerial was to reduce windage loading on the pole.

The cables for the sensor and TV aerial drop within the pole exiting at the bottom before using conduit to pass through the wall.

Below the aerial is a bracket which secures a small length of pole at 90 degrees to the main pole, this has pulley’s which enable me to lower the insulator for maintenance.

2014-09-13 04.38.17 (Medium)

The pulley parachord is secured with a halyard:

2014-09-13 04.38.31 (Medium)

Couple of pictures which show different views of the antenna wire up:

2014-09-13 04.37.34 (Medium)

2014-09-13 04.37.57 (Medium)

2014-09-13 04.39.04 (Medium)

SAM_5184
The mod to this arrangement will be to replace the parachord with Dacron cord as I believe this is a more robust cord against the elements including UV.

Modifications to Wind & Direction Height

Disabled the wind and speed sensor at 10:48 to completely disconnect the cable and drop the aerial pole, the purpose was to add height giving greater accuracy by placing the sensor above the TV aerial, this will also stop the birds sitting on the TV aerial and pooping on it.

This shows the original setup.

SAM_4338 (Small) (Medium)

The new configuration shows the sensor has been lifted 1.5m by sliding a smaller diameter pipe into the main pole, shimming it to fit before being secured by tapping two M6 galvanized roofing bolts, to reduce the overall windage on the pole I have replaced the existing TV aerial with a smaller footprint.

2014-09-13 05.32.56 (Medium)

Sensor reconnected and working satisfactorily same day at 16:45.

Pt 3 Longwire Installation

Planning permission was granted today (10 Sept 2014 –  Ref:N9ZIWLHE01U00 ) for the installation of the 6m pole and longwire, in preparation I had mounted the 100mm x 100mm post and drilled the holes ready for the fixing saddles, this is a photo journal of the antenna install, this will be updated as each part is added.

Saddle secured to post using 10mm stainless steel stud, on the reverse of the post is an additional saddle to spread the load on the studs and to prevent any ‘pull-through’.

2014-09-08 19.12.05 (Medium)

Pole secured to post using two saddles at 600mm centers, pole raised to insulate it from ground.

2014-09-10 06.57.12 (Medium)

Paracord threaded down the inside of the pole and secured, this allows the insulator to be lowered for maintenance, the slack is pushed up inside the pole.

2014-09-10 06.57.02 (Medium)

Tension on the wire is applied by the shock cord fixed to a hook, to reduce friction wear on the cord it is threaded through a galvanized pulley.

2014-09-10 06.57.34 (Medium)

Side view of the pulley arrangement showing the shock cord fixing at the insulator and the clamp used to loop the flexiweave antenna wire.

2014-09-10 06.57.42 (Medium)

View of completed antenna post, eventually the bush will grow to ‘soften’ the post.

2014-09-10 07.00.37 (Medium)

Post up and antenna wire ready for high level fixings.

2014-09-10 18.20.39 (Medium)

Click for part 4

Weather Display and PSK Digital Master 780 Macro in Ham Radio Deluxe

I dabble with PSK31 within Ham Radio Deluxe Digital Master 780 (DM780) software, one feature I was particularly interested in was the ability to set various macros to automatically read and insert text for transmission from a file.

Weather Display is the software I use for my weather station and is unbelievably flexible in what can do, in my case I have it set to generate a text file of current weather conditions (temperature, wind speed, direction and rain fall) every 10 minutes.

Configuration – Weather Display

Setup >> Log Files
Main Log Setting switch – ON

Custom Log Settings >> Produce a custom log file is ticked
Update Frequency >> 10 minutes

Open explorer >> wdisplay folder >> webfiles

Within webfiles locate customtext and edit with the information you wish to send as the weather macro in DM780, I have this:

The temperature here is %temp%C with an average wind speed of %avgspd%mph from the %dirlabel%, Chatteris rain today%dayrn%mm

As I only have one customtext file set, I simply saved the changes without renaming the file.

The weather tags within the % determine the information that Weather Display inserts, a full list is in a text file named testags is within the webfiles folder.

What does all this do?

The result of all the above is that an existing text file named customtextout in webfiles is generated and overwritten every 10 minutes with the information previously requested in the customtext file.

Ham Radio Deluxe – DM780 Macro Setup

With DM780 open, Tools >> Macros

Double click on existing unticked macro – WX to edit
Right hand side of the screen is a tab called – Text from File – clicking on this inserts –

Weather here is temp is File-contents-go-here

I changed this to –

<his:callsign> de <my:callsign>
<his:firstname>
<file:\\HEWLETT-NN43CTX\webfiles\customtextout.txt><eof> k <stop>

Data from my weather station: www.chatteris.biz

Click OK to save the Macro ensuring that the enable box is ticked and exit from setup, the Macro called WX should show in the Info pane.

Note – As the Weather Display program and Ham Radio Deluxe are on separate computers I had to give the webfiles folder share permission on my home network, this is why the link to customtextout starts \\HEWLETT-NN43CTX\, if both programs were on the same PC, the path would be –

<file:C:\wdisplay\webfiles\customtextout.txt><eof>

If you need help, contact me via the contact form.

Updated 15 Nov 2022

73

A blog about stuff that interests me or I have done.

Social media & sharing icons powered by UltimatelySocial