MFJ 1786 Magnetic Loop Modification

mfj

I bought at used MFJ 1786X (240v version) from Tony G3RGQ (sadly now SK), I have been after a magnetic loop for quite a while, so when the opportunity presented itself to buy one at a reasonable price, I went for it.

The 1786 covers from 30m through to 10m, looking on Youtube was a modification to increase coverage into the 40m band.

After looking at the video it was off to eBay:

  • K15U-1 47pF 10kV 8kvar Capacitors including delivery from Ukraine £13.57.
  • Vacuum Relay 10kV 3A including delivery from Poland £23.53.

Opening the case and looking at the butterfly capacitor, I located a way to securely mount the capacitors and relay.

butterfly

I had some left over copper sheet, so I cut a 25mm wide strip 100mm long and used this as the capacitor linking strap and mounting brackets, making sure I had a solid connection to one side off the butterfly capacitor.

caps

The relay was mounted to the opposite side of the butterfly capacitor using a similar strap to that on the capacitors. To avoid straining the glass relay switch connection, I used some RG213 braid to link the capacitors connection to the relay, I deliberately didn’t secure the base of the relay to the fibreglass insulating sheet, this is to make the relay ‘floating’ in an attempt to reduce the chances of relay breakage.

relay

I installed a ‘flywheel’ diode across the relay coil (coil voltage  27VDC) to protect the operating switch in the shack.

Once the loop case was refitted, the modification was tested and works fine, many thanks to the Youtube author for sharing his practical experience.

Update 1 June 18

I bought a offset pole and 9 x 9 bracket to mount the magloop on, the existing 6 x 6 bracket was too undersized and slightly in the wrong position, the new bracket was fixed with M10 sheild anchor rawlbolts.

The tricky bit was getting it mounted due to it being top heavy compounded by a cranked pole, the solution was to use a pully arrangment from the mast to take the weight to help get me up the ladder and also position the pole to put the ‘U’ bolts in 🙂

loop up

LED Emergency Light Kit

em kit

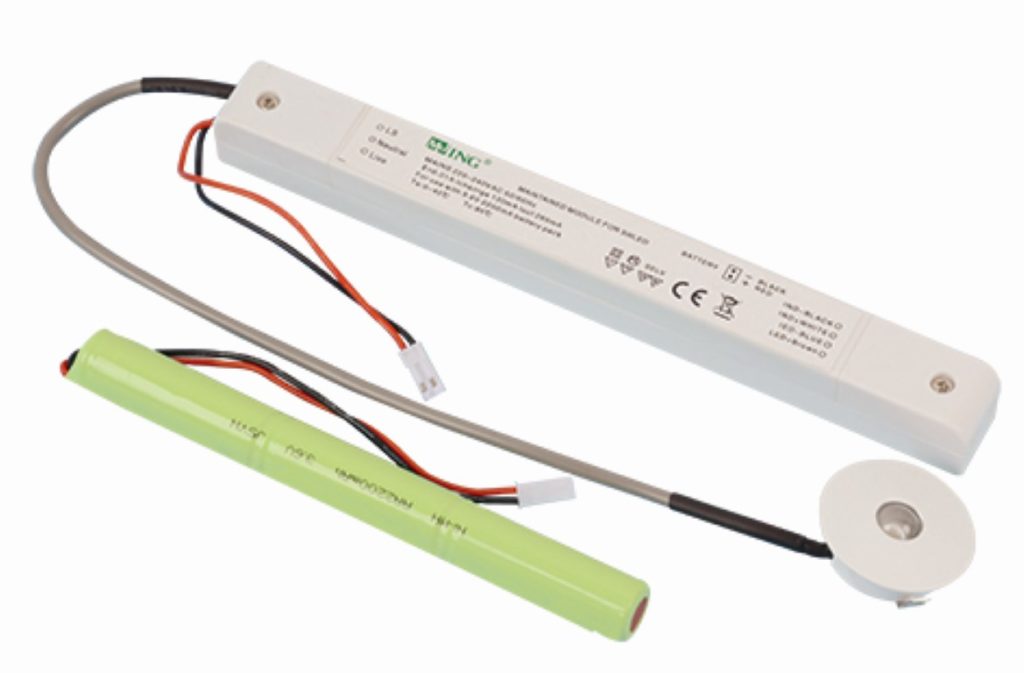
I saw a very similar discrete emergency light fitting recently and thought that would be a good idea over the stairs at home, looking on eBay I saw the above unit (MJ-LED-DZ09 by Zenergy) for £14.95 and bought one.

Prior to use, the instructions recommend charging the battery for no less than 24 hours before use as it comes discharged, this I did.

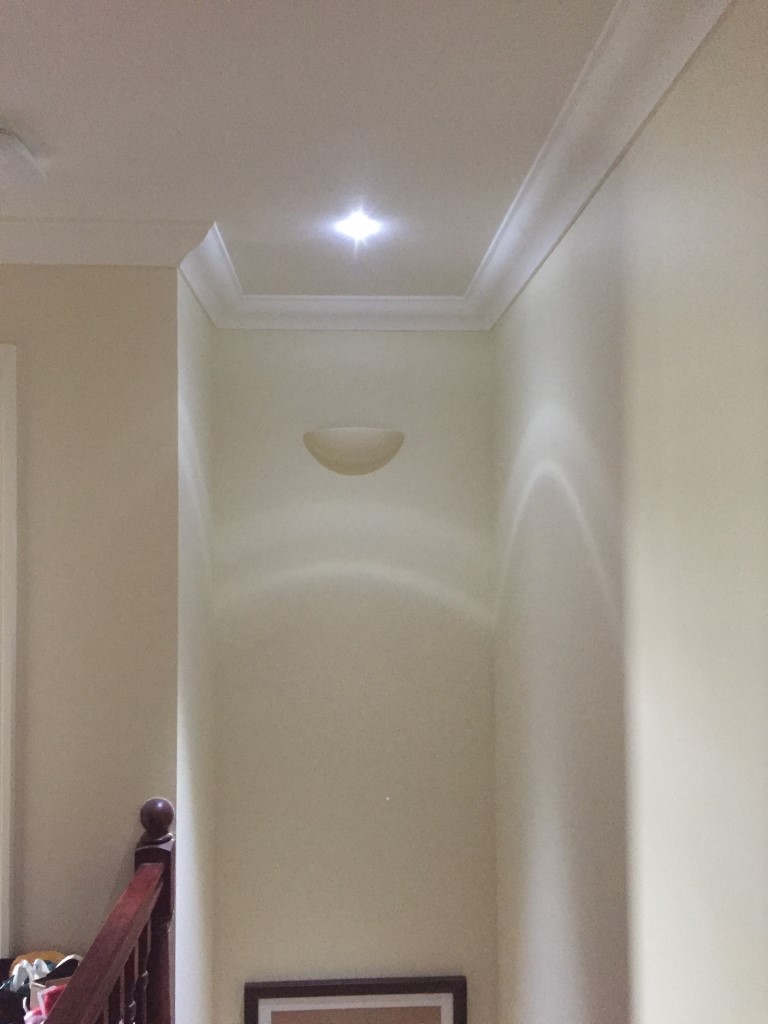
The LED light housing is really neat, it requires a 32mm hole (1 1/4″) drilling to accept the light body which is held in the hole by spring clips on either side, the electronics are in a low profile enclosure and this will easily pass through the 32mm hole.

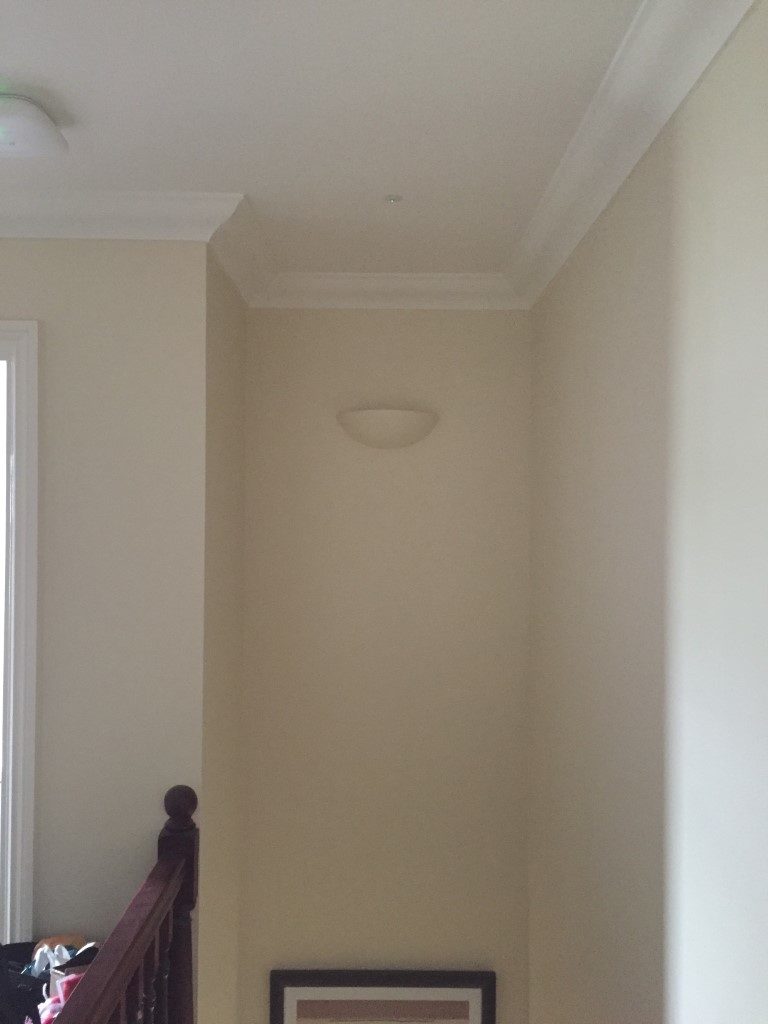
Installation was very simple, I marked the center of the ceiling over the stairs, using a 32mm hole saw, checking that their wasn’t any joists or obstructions in the loft  above the ceiling before drilling.

To stop plasterboard dust going everywhere whilst drilling the hole, I used a plastic fast food container as a ‘dust catcher’.

To make this, I cut a hole in the container so that the hole saw shaft passed through the container into the chuck, this allowed me to hold the container steady whilst drilling the hole at slow speed so that all the dust was trapped in the container.

After pushing the electronics enclosure through the hole, I used decorators caulk around the inside lip of the LED light, before pushing the light into the hole, the reason for the caulk was to form a decent seal to stop any draft marks appearing around the fitting at a later date.

off

In the loft, I connected the emergency light 230v power to the upstairs lighting circuit (after isolating the supply!), when the power was turned on, the battery was then plugged into the unit ready for testing.

With the power on, a tiny green healthy LED is lit, when the power is off, the green LED goes out straight away, and within 2 seconds, the main white escape LED lights, I assume the delay is to avoid and short duration blips bringing on the main LED.

The light from the unit is very bright and cool white is colour.

lit

Quick Details from Web Site
LED –   1 X 3W LED
Material-     Poly Carbonate for conversion body & aluminum LED body
Mounted –    ceiling mounted
Life time of battery –    4 years
Light Output –       (Emergency)    170lm
Lamp protection –   over charge and discharge protection
LED indicator –   Green indicator
Charging current  –  90mA
Convert voltage-    155V  AC
Discharging current –   500mA
Discharge duration –   3 Hours
Spec of battery-    3.6V  2200mAh NI-MH Batery
Packing –   38.5 x 35x 32.5cm     50pc/ctn
IP Rating-    IP20

NO.:MJ-LED-DZ09

Application:

The series use for emergency lighting. The unit will provide 3W maximum output power at emergency mode.They are designed to be highly efficient and highly reliable, and with short-circuit protection; overcharge protection;over discharge protection and over temperature protection.

Important information for the installion:

The unit uses dangerous mains voltage,(220-240Vac, the converter will be with the emergency mode when the mains voltage is less than 65% of rated voltage) it should be installed by a qualified electricians only according to European safety standard or relevant nation regulations.

Connect the LED spotlight to the emergency LED converter with correct polarity according to the schematic drawing.

Connect the unit to AC power only after the wiring completed between emergency converter, battery and spotlight.

If the emergency converter is used for purposes other than originally intended or it is connected in the wrong way, no liability can be taken over for possible damages.

 Specifications:

Model Main power supply Main power cut off
MJ-LED-DZ09 LED Spotlight off, green indicator on LED spotlight on, green indicator off

I’m really impressed with the product, and its another safety related home improvement which we hope is never needed in anger.

Update 6 June 18

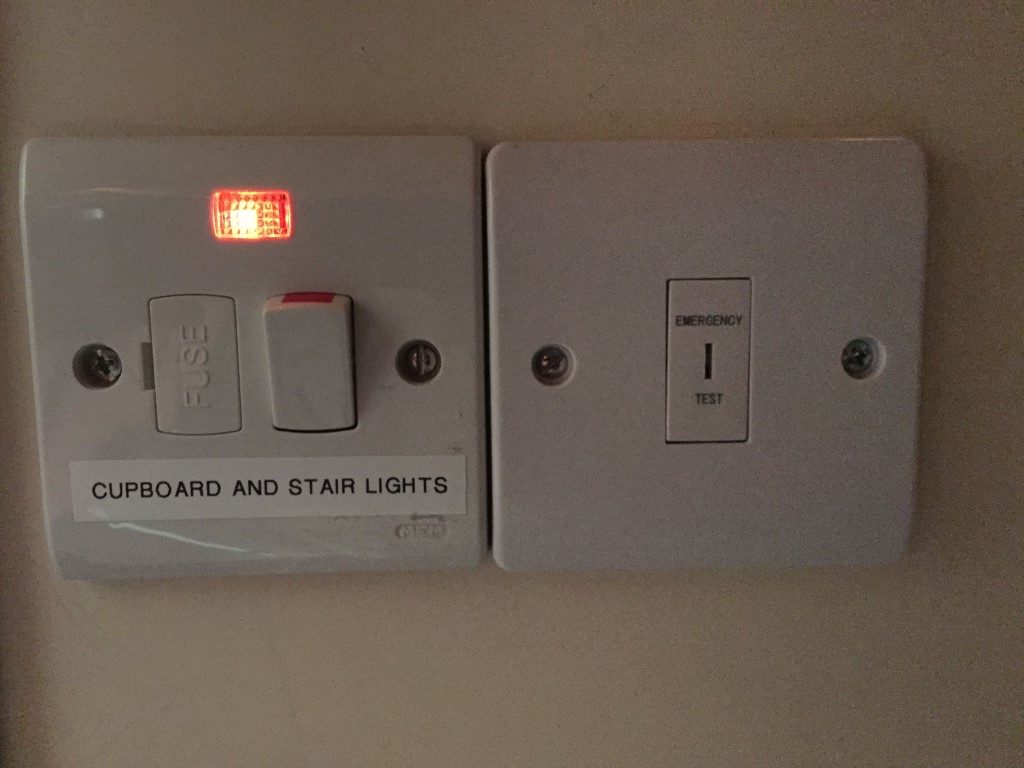
Installed a Emergency light test switch rather than turning the lighting power off, these are just under £3.00 and include the ‘fish tail’ key.

Em Switch

The switched fused connection unit is for a cupboard light and Hive light fitting which are fed with 0.75mm cable, the emergency lighting is fed with 1.5mm cable and is not fed from the fused side of the fused connection unit.

PCB Etch Tank

I decided to build a PCB etch tank for some up and coming projects, so this is a quick blog on how I did it.

etch tank

For ease I bought four pieces of 5mm thick clear Acrylic (Perspex), each piece pre cut to A4 size (210mm x 297mm) off eBay for £5.41 per sheet, the height of 297mm is also ideal to accommodate the immersed heater.

You only actually need three sheets, from this two full sheets are each side with the third sheet requiring cutting to form the sides of the tank, whats left over is the base, the idea is minimal cuts and make best use of factory cut edges to cement forming a leak tight joint.

I used a tenon saw to cut a 40mm strip the length of the sheet (40mm x 297mm), once cut, I turned the sheet round and marked 40mm in from the remaining factory cut edge, and cut the second wall strip.

The piece left over, I used as the base of the tank after shaping it using a jig-saw with an Acrylic cutting blade, I found that better results for straight cuts were with the tenon saw, rather than the jig-saw even though I used a straight edge.

Once the base was shaped I flame polished the edge.

With all the pieces  cut, the edges were rubbed with 1200 grip paper and cleaned with IPA, before being cemented.

The cement used was Model X Pro plastic weld, 50ml costing £6.69 from eBay, this came with an syringe applicator which was invaluable for accurate use.

I used butt joints ensuring factory cut edges only are cemented to the flat surface of the sheets, once the parts are checked for alignment, the plastic weld which is like water, is applied and ‘wicks’ along the joint giving a really strong joint, reaching full strength in 24 hours.

I did make a couple of brackets for the heater and a lid for the tank out of the remaining Acrylic sheet, but this was not absolutely necessary.

sideUsing the dimensions above, you should end up with a tank which is 45mm deep, 215mm wide and 297mm high, to cover the heating elements ‘water line’ will take 1.3 litres of etchant and will cope with 1.5 litres.

From a local aquatics shop I bought 6mm air line, air pump and bubble wall to agitate the solution, the heater is a 300W 230v EPH-20 Kinsten Etchant version from eBay and was quite expensive at £16.53,  this has adjustable higher temperature settings than normal fish tank heaters (33°C to 55°C), the tank is set for 40°C.

ready

Exposed photo resist board ready for immersion in Ferric Chloride to remove the unprotected copper.