
Last Updated – 27 March 2026
Robert Ballard (M1ATV) has asked for help in promoting the following petition:
I moved from virgin but they are now trying to get There. hands on Youfibre but I will then have no choice but to go back to them.
See my full details on the following LINK , Kind Regards Alfreton Derbyshire UK
I have blogged extensively on Netomnia coming to my home town HERE, and I didn’t take up the service earlier for various reasons, however, my TalkTalk email account was hacked and I needed to rapidly distance myself from it, so better late than never, here we go!

NOTE – Use this code for cash back on the referral scheme https://aklam.io/yf9oO1
Process
First job for me was to cancel my contract with TalkTalk, I was contracted until August 2024 after taking their fibre upgrade, so this cost £90.54 penalty for early cancellation.
Due to my hacked TalkTalk email being used for fraudulent activities, this is a cost I was prepared to pay in order to totally disassociate myself from TalkTalk.
Next step was to ask and existing You subscriber if I could use their You referral code, the package I wanted was You 1000 which gives an average upload and download speed of 900mbps, using the referral code at the point of ordering will give each of us £50 after the first bill has been paid, which makes my early TalkTalk cancellation fee slightly more bearable.
The You ordering online was easy with an installation date within 3 weeks of ordering (15 November 2023), I did add to the order a static IP, this took my monthly total to £32.99 for a 24 month contract period which is only marginally more than TalkTalk for a 6x faster service.
Pre Installation
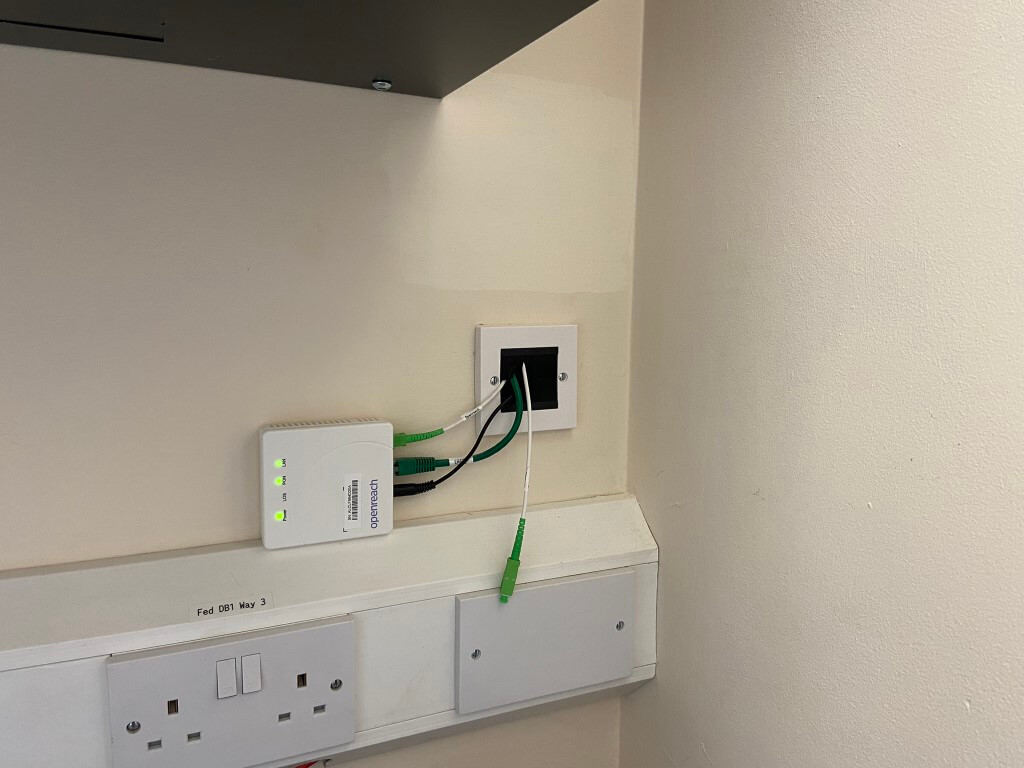
My existing Openreach fibre carrying the TalkTalk service terminates in an upstairs cupboard and this is where I wanted the You fibre to terminate as well.
The route from where the Openreach duct stops at the house to the upstairs cupboard is rather protracted and I have used PVC conduit for most of the run, this was no problem for the Openreach engineers and they helped me to thread the fibre, I wasn’t sure if the You engineers would be as equally amenable on installation day.
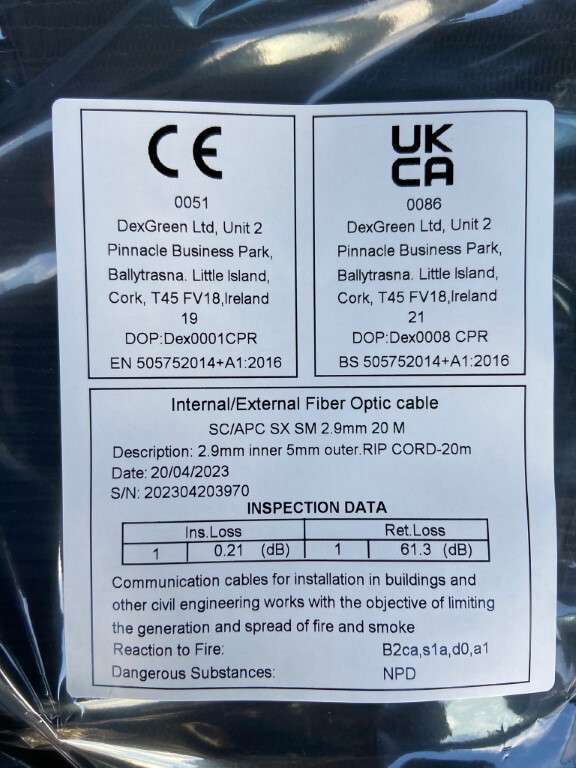
As luck would have it, I spotted an installation in progress further down the road, so stopped and asked them if I could install my own fibre in advance of the installation date, the guy was great, he walked to my house and had a look at the fibre route and gave me a 20m roll of In/Out fibre for me to install.
With domestic assistance, the fibre was quickly installed, in the cupboard picture you can see the terminated end ready for connection into the router when its installed, the other end is coiled up by the duct for splicing.
Installation Day
The appointment was scheduled between 8am and 1pm and I had plenty of email reminders in advance, the installation engineer arrived at 9.45, Mikolaj was the same engineer who gave me the cable to install, so he was very familiar with my layout.
He checked each end of the fibre I had installed, and whilst in the house, he installed the Optical Network Terminal, (ONT), which in my case was an Adtran SDX 631q 2.5GBE XGS and the eero6 wifi router.
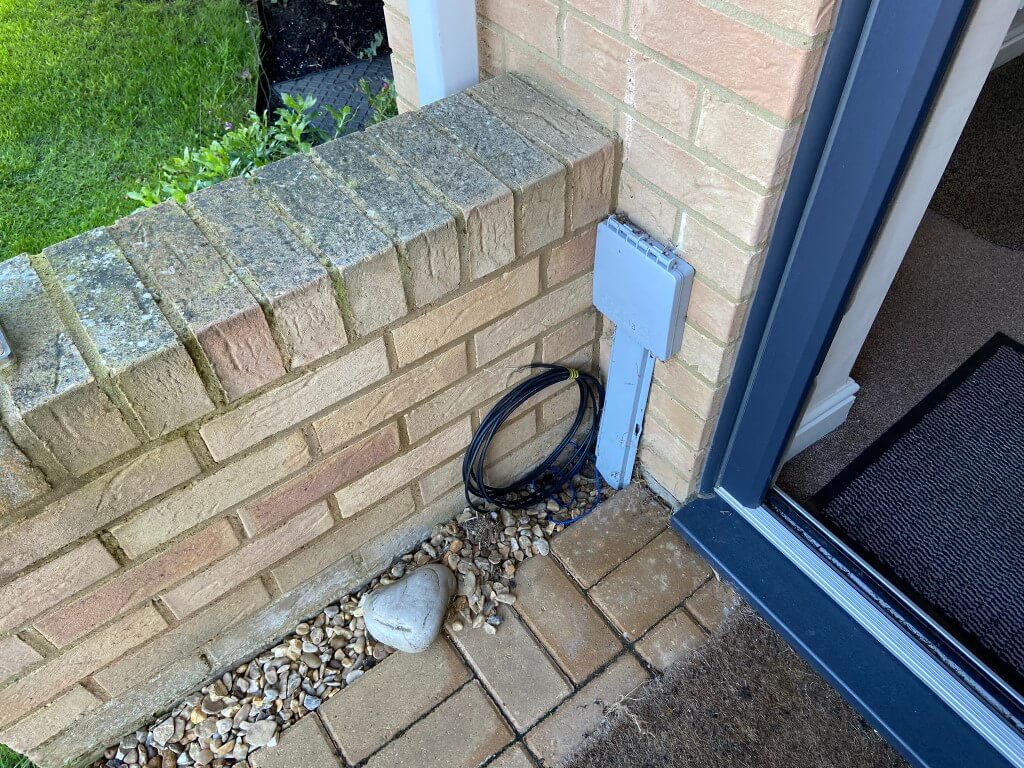
Installation mirrored my Future Fibre install by Openreach engineers, a flexible rod (Cobra), was pushed down the duct at the house emerging in a footway box some 50m away.
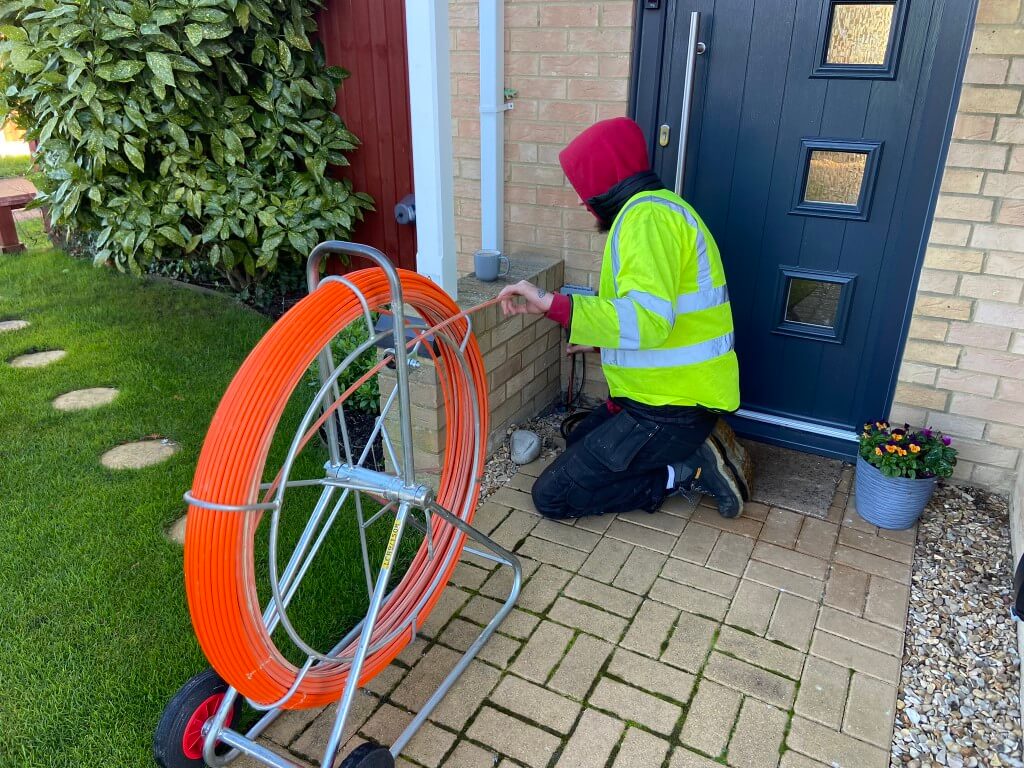
A fibre ‘Drop Wire‘ was taped onto the Cobra and then pulled back to the house, once the drop wire had been fully pulled through, an optical signal test was carried out on the Connectorised Block Terminal (CBT) in the footway box and the pre-connectorised end of the drop wire connected to one of the tested ports on the CBT.
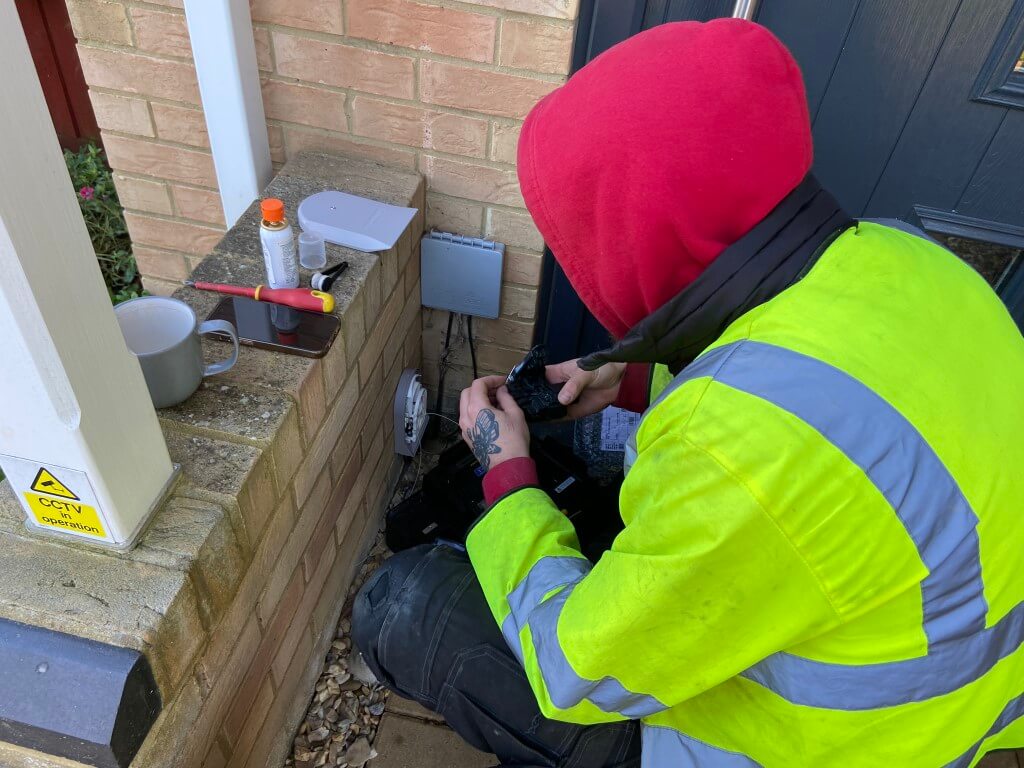
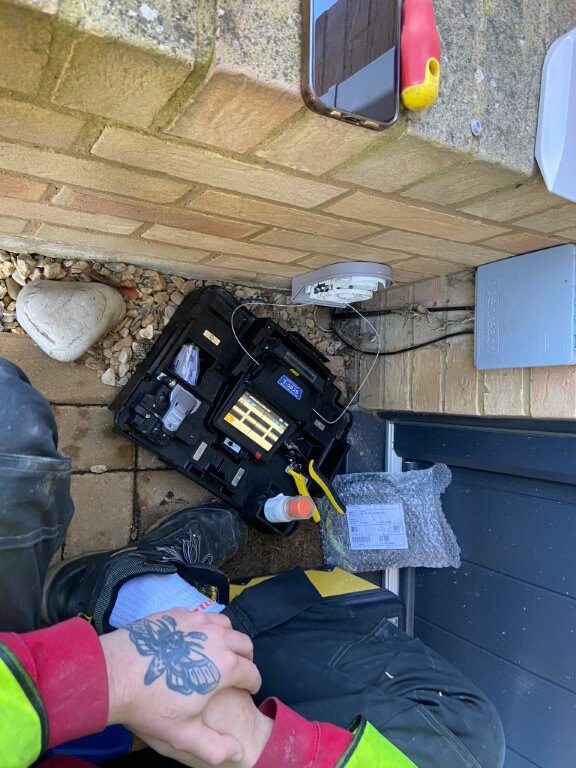
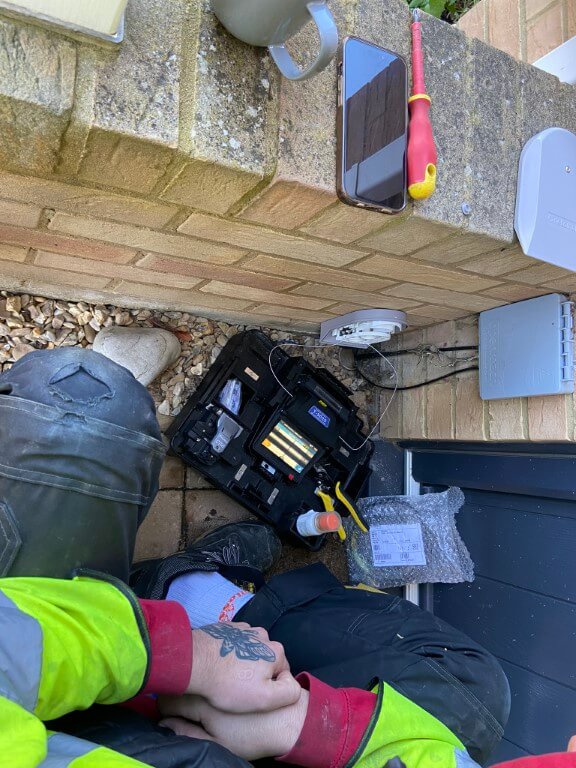
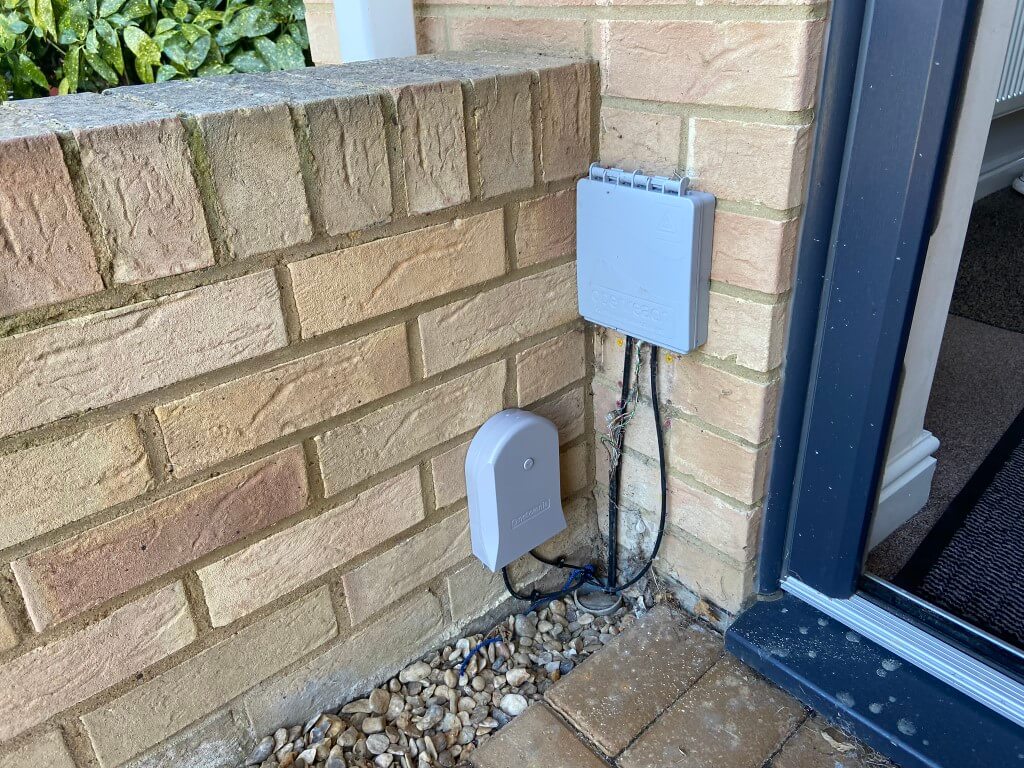
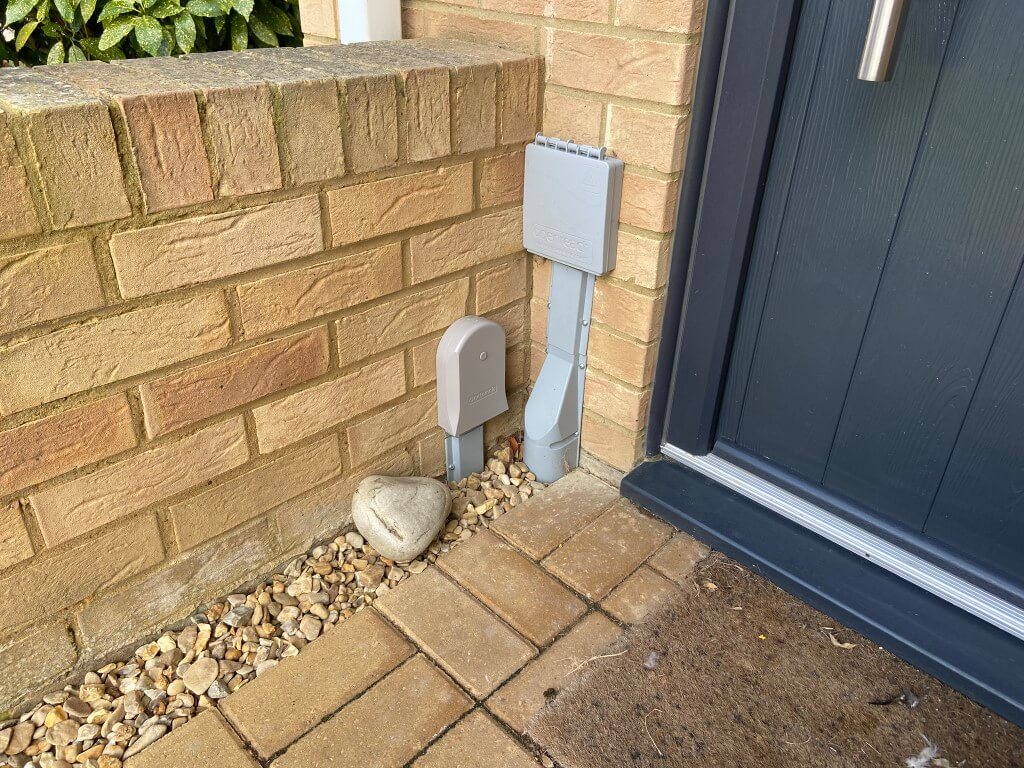
Back at the house, a ‘Drop Box‘ was drilled and screwed to the wall, this is also referred to as the ‘Customers Splice Point’ or CSP, the purpose of the CSP is where the fibre splice between the external ‘drop wire’ and the internal ‘outside/in‘ cable is located.
Mikolaj carefully preparing the fibre for splicing.
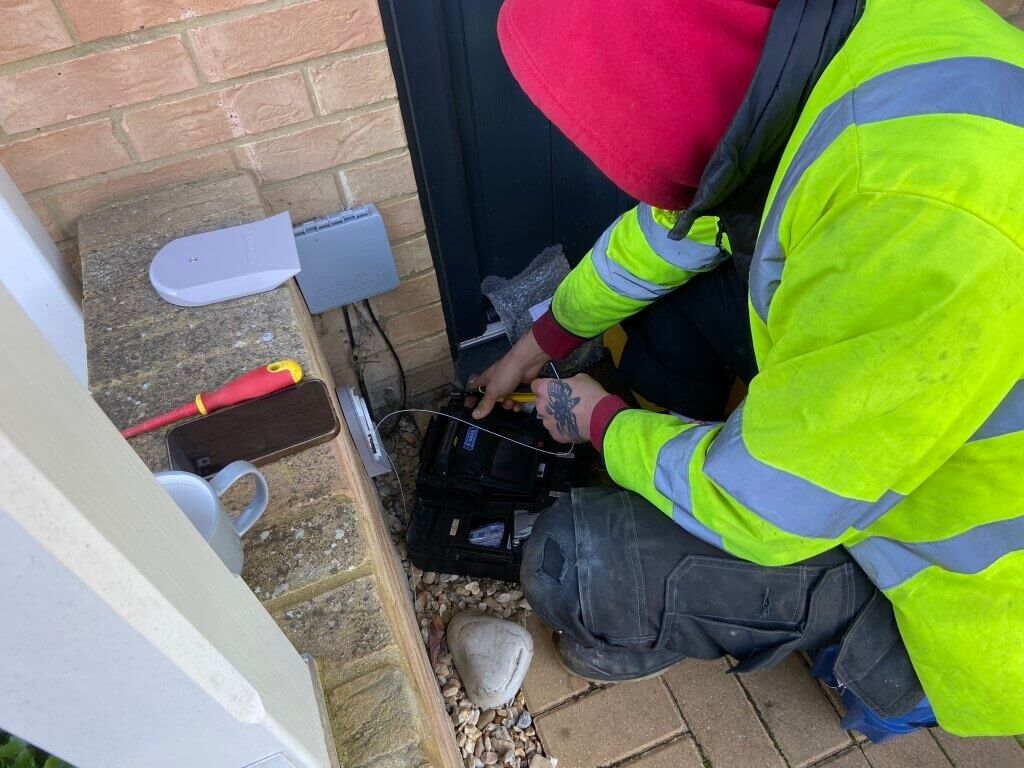
YouTube video of correct splicing process for CSP – LINK
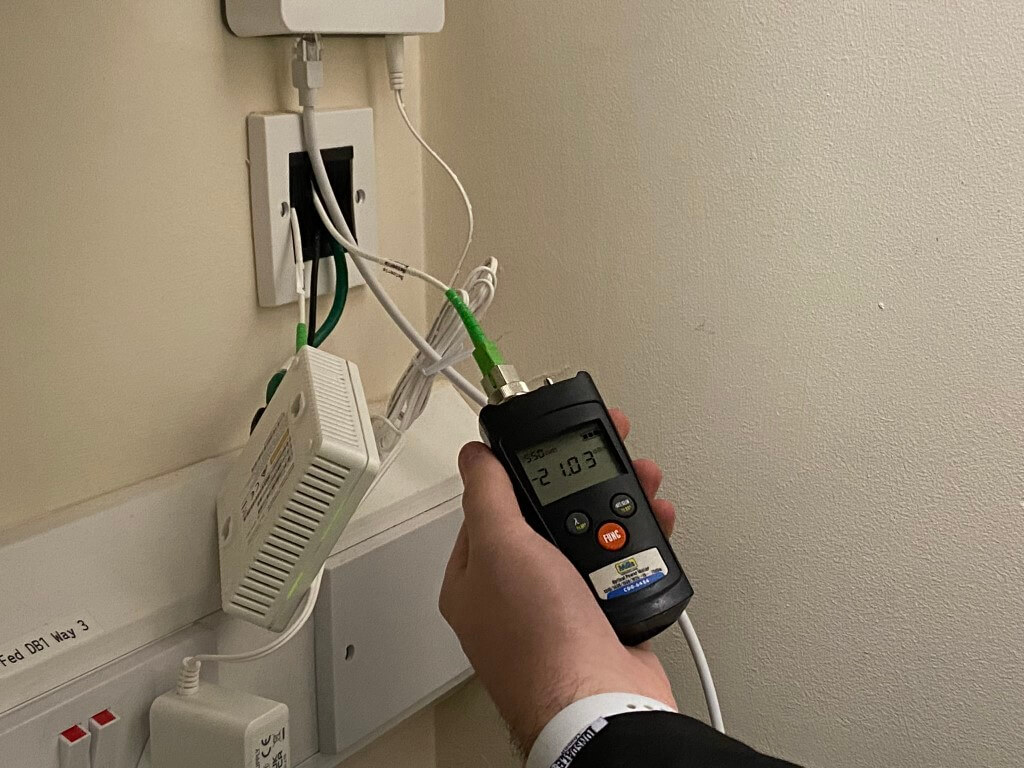
At this point Bobby the apprentice arrived and Mikolaj asked him to go to the ONT to check the quality of the optical signal which was a pass, (this test confirmed the splice was good).
Mikolaj then plugged in and powered up the ONT and eero6, also he connected a Cat 6 RJ45 into the eero6 and ONT, after making a phone call, the service was enabled.
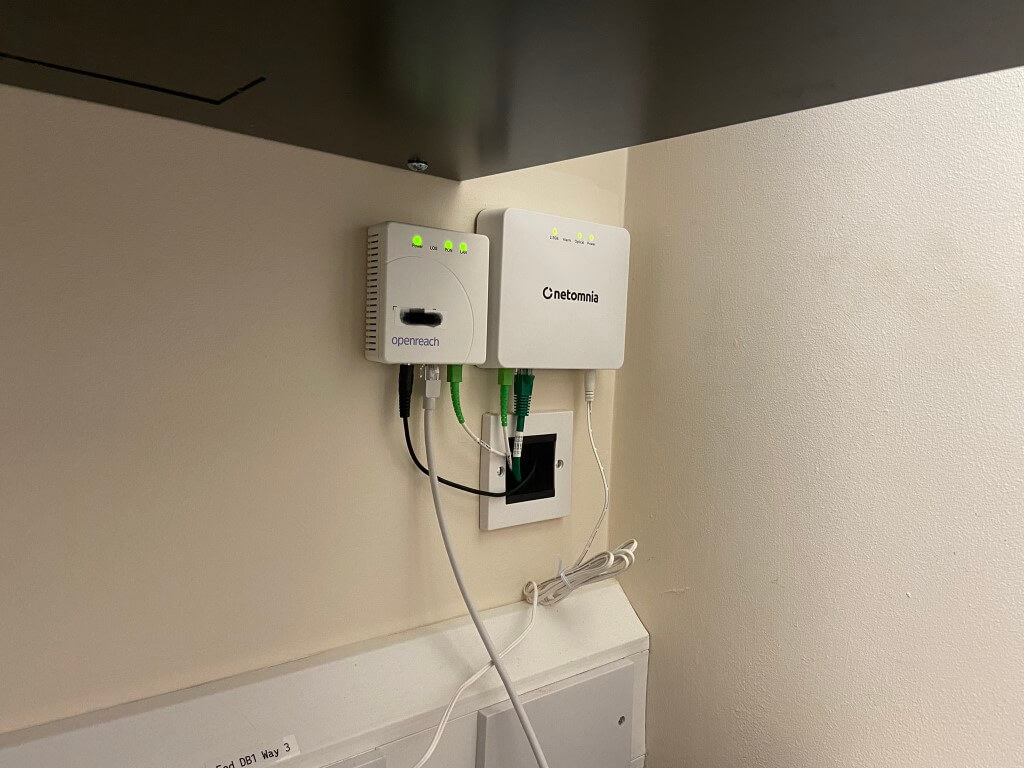
The eero6 serial number is used as a validation for service on initialization, once this had been done the eero6 was set up as a new network on my phones App.
You must have a smartphone to enable and manage the eero6, I’m sure virtually everybody has one, but one is needed if you haven’t.
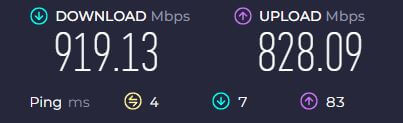
The OLT indicator lights were explained to me and the system was left working after a speedtest giving me:
The guys were here for 21/2 hours and when they had gone, I used some BT Capping 25 and a Connector Bend #4 I had bought from Telenco to cover and neaten up the external cables.
Overall Impression
The guys were respectful of my property, removing shoes inside and being very courteous.
Installation and billing communications were on point as is the speed.
The thing I need to get used to is that you don’t have an individual user portal online so you can’t check your account, thats said, I would defiantly recommend Youfibre.