
Updated 6 January 2022
I have two BRK 86RAC Ionisation type smoke detector, one in the Hall and the other on the upstairs Landing, these were installed by the builder and in 2008 I added a heat detector (690MBX) in the garage, all three devices are mains powered with battery backup and are interlinked so that they all alert to a detection.
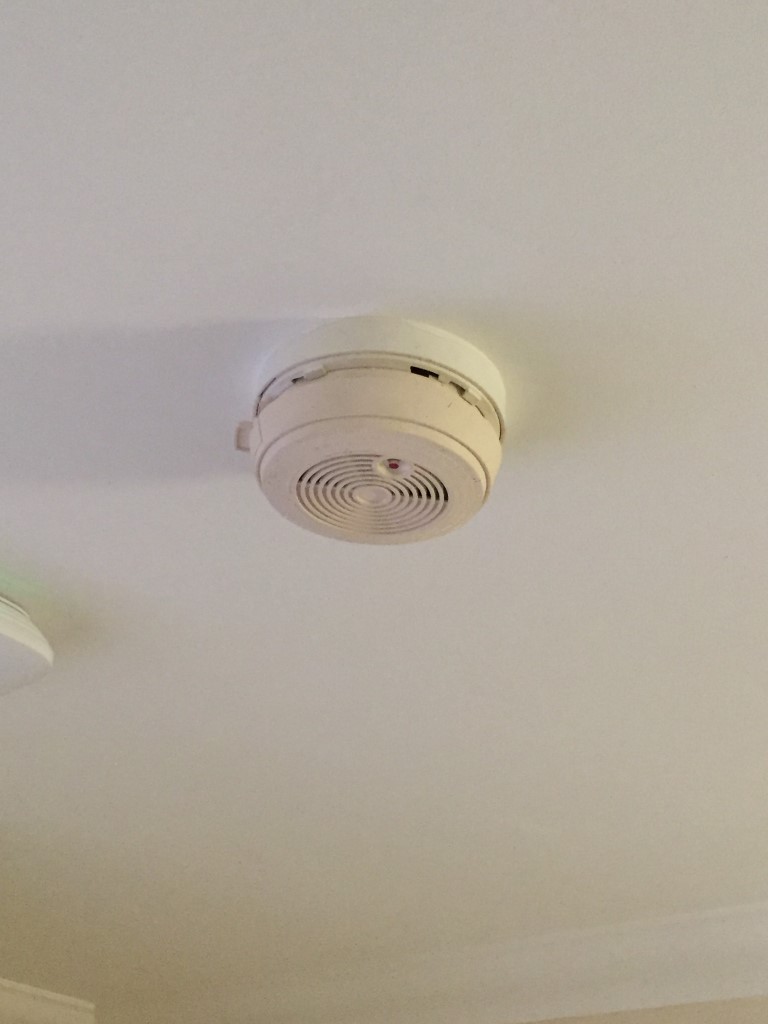
Checking the batteries in the smoke detector I noticed the unit has a life of 10 years from date of manufacture which was 21 June 2002, as the date of noticing this was 4 March 2018, they are well overdue for replacement!
The BRK 86RAC is no longer produced and has been replaced by the BRK 670MBX.
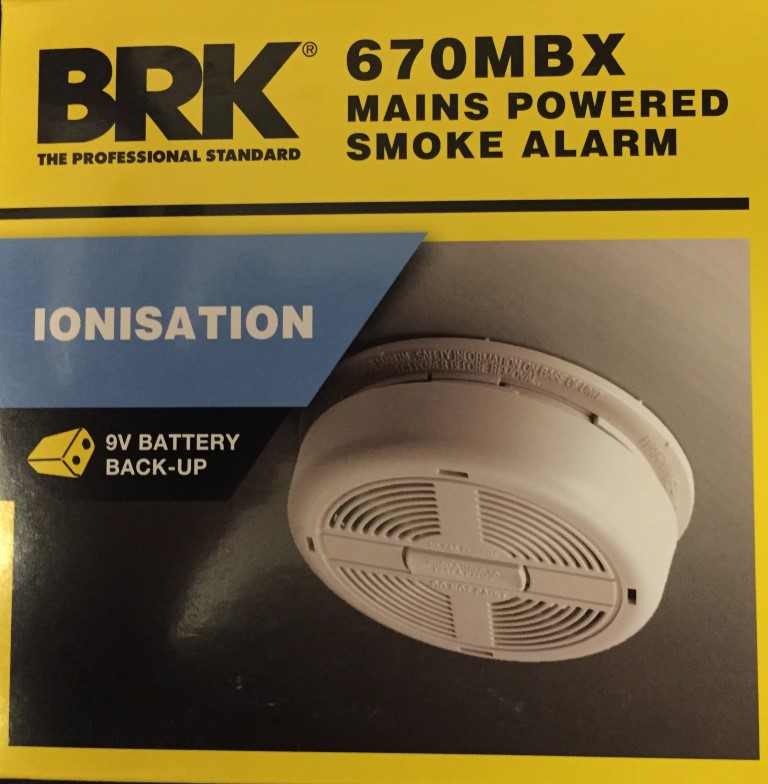
Checking my local Screwfix had BRK ionisation smoke dectors (part number 81969) for £12.99 and the surface mounting kit (part number 30152) for £2.99, I thought I would add two more to my system, so bought four of everything.
On opening the boxes, I didn’t realise that the detectors came with 9v PP3 type batteries, so wasted £6.00 buying them, and the other thing was that they are not a direct replacement, the 86RAC base is a smaller size and the plugin connector is a different style.
Fitting –
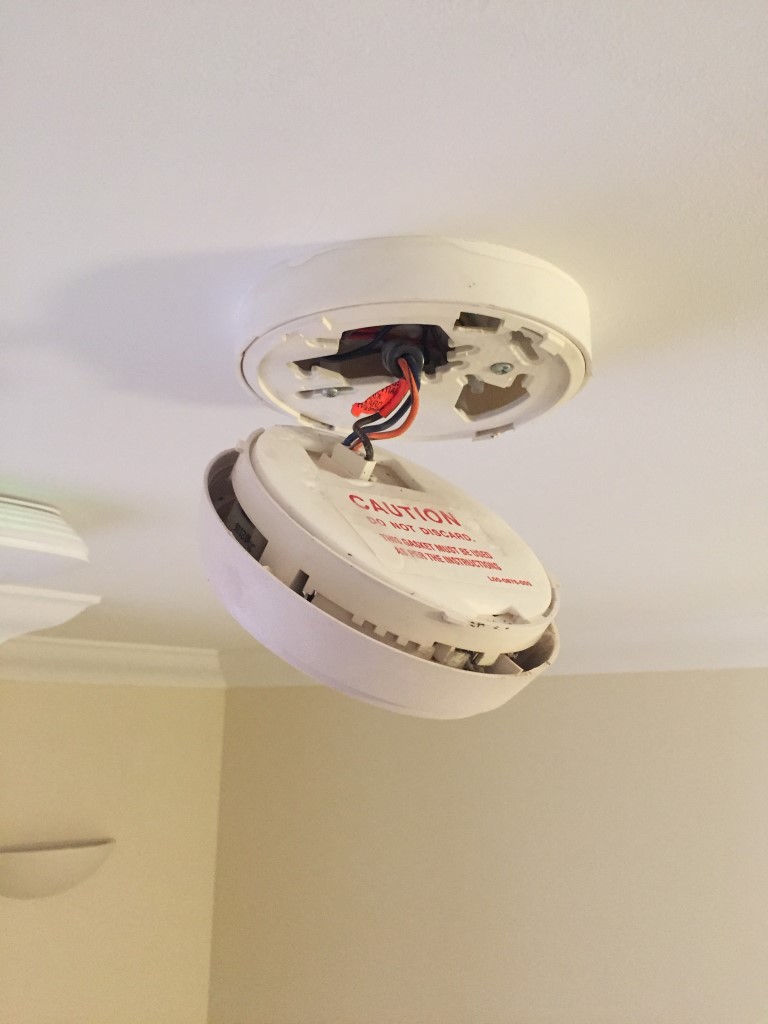
First job was to isolate the mains supply to the existing detectors which are on their own dedicated circuit, once this was done I twisted the detectors from the base to allow me to take photographs of the wiring.
The existing wiring was Black to Neutral, Brown to Live and Orange striped is the interconnect wire, 670MBX uses Blue for Neutral, Brown to Live and Grey for the interlink, the existing detector had a ferrite bobbin through which all the detector wires passed, whereas the new model doesn’t, I decided to reuse these on the replacement units.
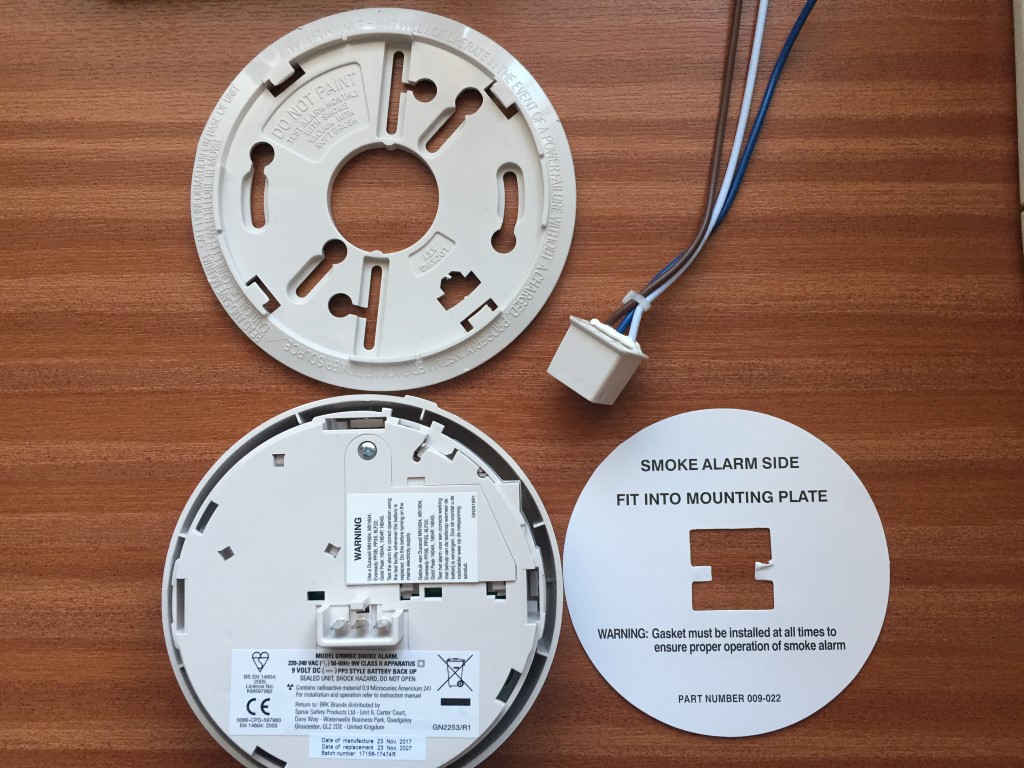
Once the cable colours were recorded, the detector was unpluged and the base completely disconnected to allow the replacement of the new base, once this was screwed into place, the connections were remade.
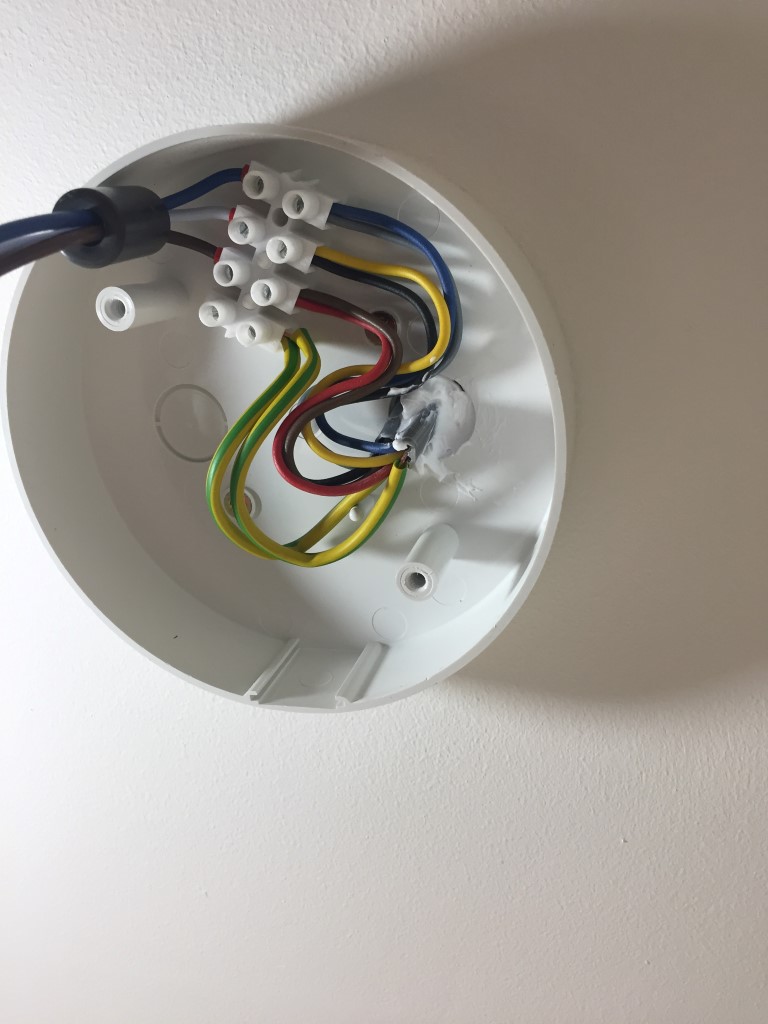
The wiring in the base looks more complicated than it should due to the change of cable colours, the existing 1mm CSA 3 core and earth used the pre EU harmonisation wire colour convention of Red, Yellow and Blue, the cable to the new additional detectors which I have installed are in the office and IT cupboard, uses harmonised colours of Brown, Black and Grey, as the installation has mixed wire colouring, a warning notice to this effect is fixed to the consumer unit.
While the new detector was on the desk, the battery was dated and connected, without a battery installed the detector will not engage in the base, this is a safety feature.
After making the connections, the detector base was fixed to the surface fitting by two supplied screws, the cardboard sealing gasket was then pressed into place covering the detector base fixing holes, the next step was to plug the lead into the base of the detector and lastly twist the detector into the base.
Within the baseplate of the detector is a small plastic extrusion which can be removed, this is used once the detector is installed as a locking clip preventing the detector being removed from the base with the clip in place.
With all detectors connected and new ones installed, mains power was turned back on, and each detector was then checked that it showed a continuous green LED for power healthy and a flashing red LED every 60 seconds to show the detector is functioning.
The center test button on each detector was pressed and held, this caused the local unit to sound, followed a moment later by all the other interconnected heads.
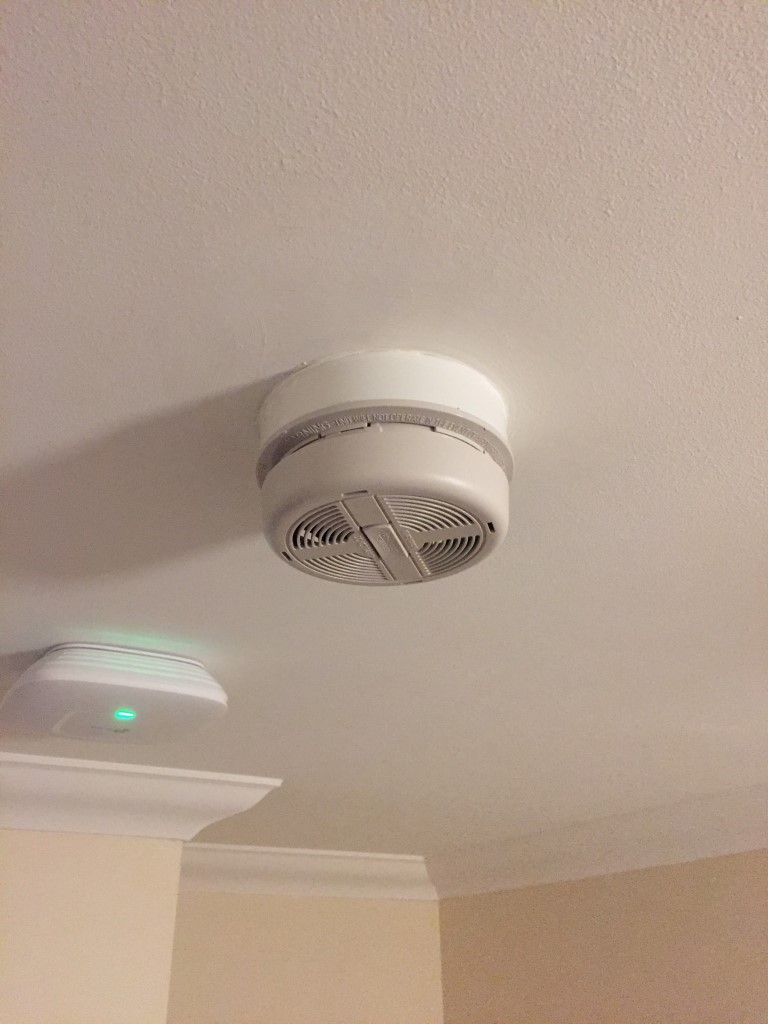
I had already sealed the cables passing through the ceiling, the final job was to seal the base to the ceiling and paint the exposed part of the ceiling as a result of the base being smaller than the original one.
A point to note was that I was going to use flushed in circular dry lining boxes to make the connections in and hold the base, this would have made the smoke detector sit closer to the ceiling but would of meant a large hole being made, so I decided against it.
Job was very straightforward, adding new detectors was easy as I looped off the landing detector to the other units which were only a few meters away.