Davis FARS Upgrade to a Monitored PC Fan

Link to original Davis Fan Motor change

When the original Davis FARS motor failed I installed a new motor and kept back some spare motors, waiting for the inevitable motor failure to occur, reading online, changing from the Davis Fan to a PC varient made a lot of sense and not only is the life of motor excellent, but it is possible to monitor the motors output for operation.

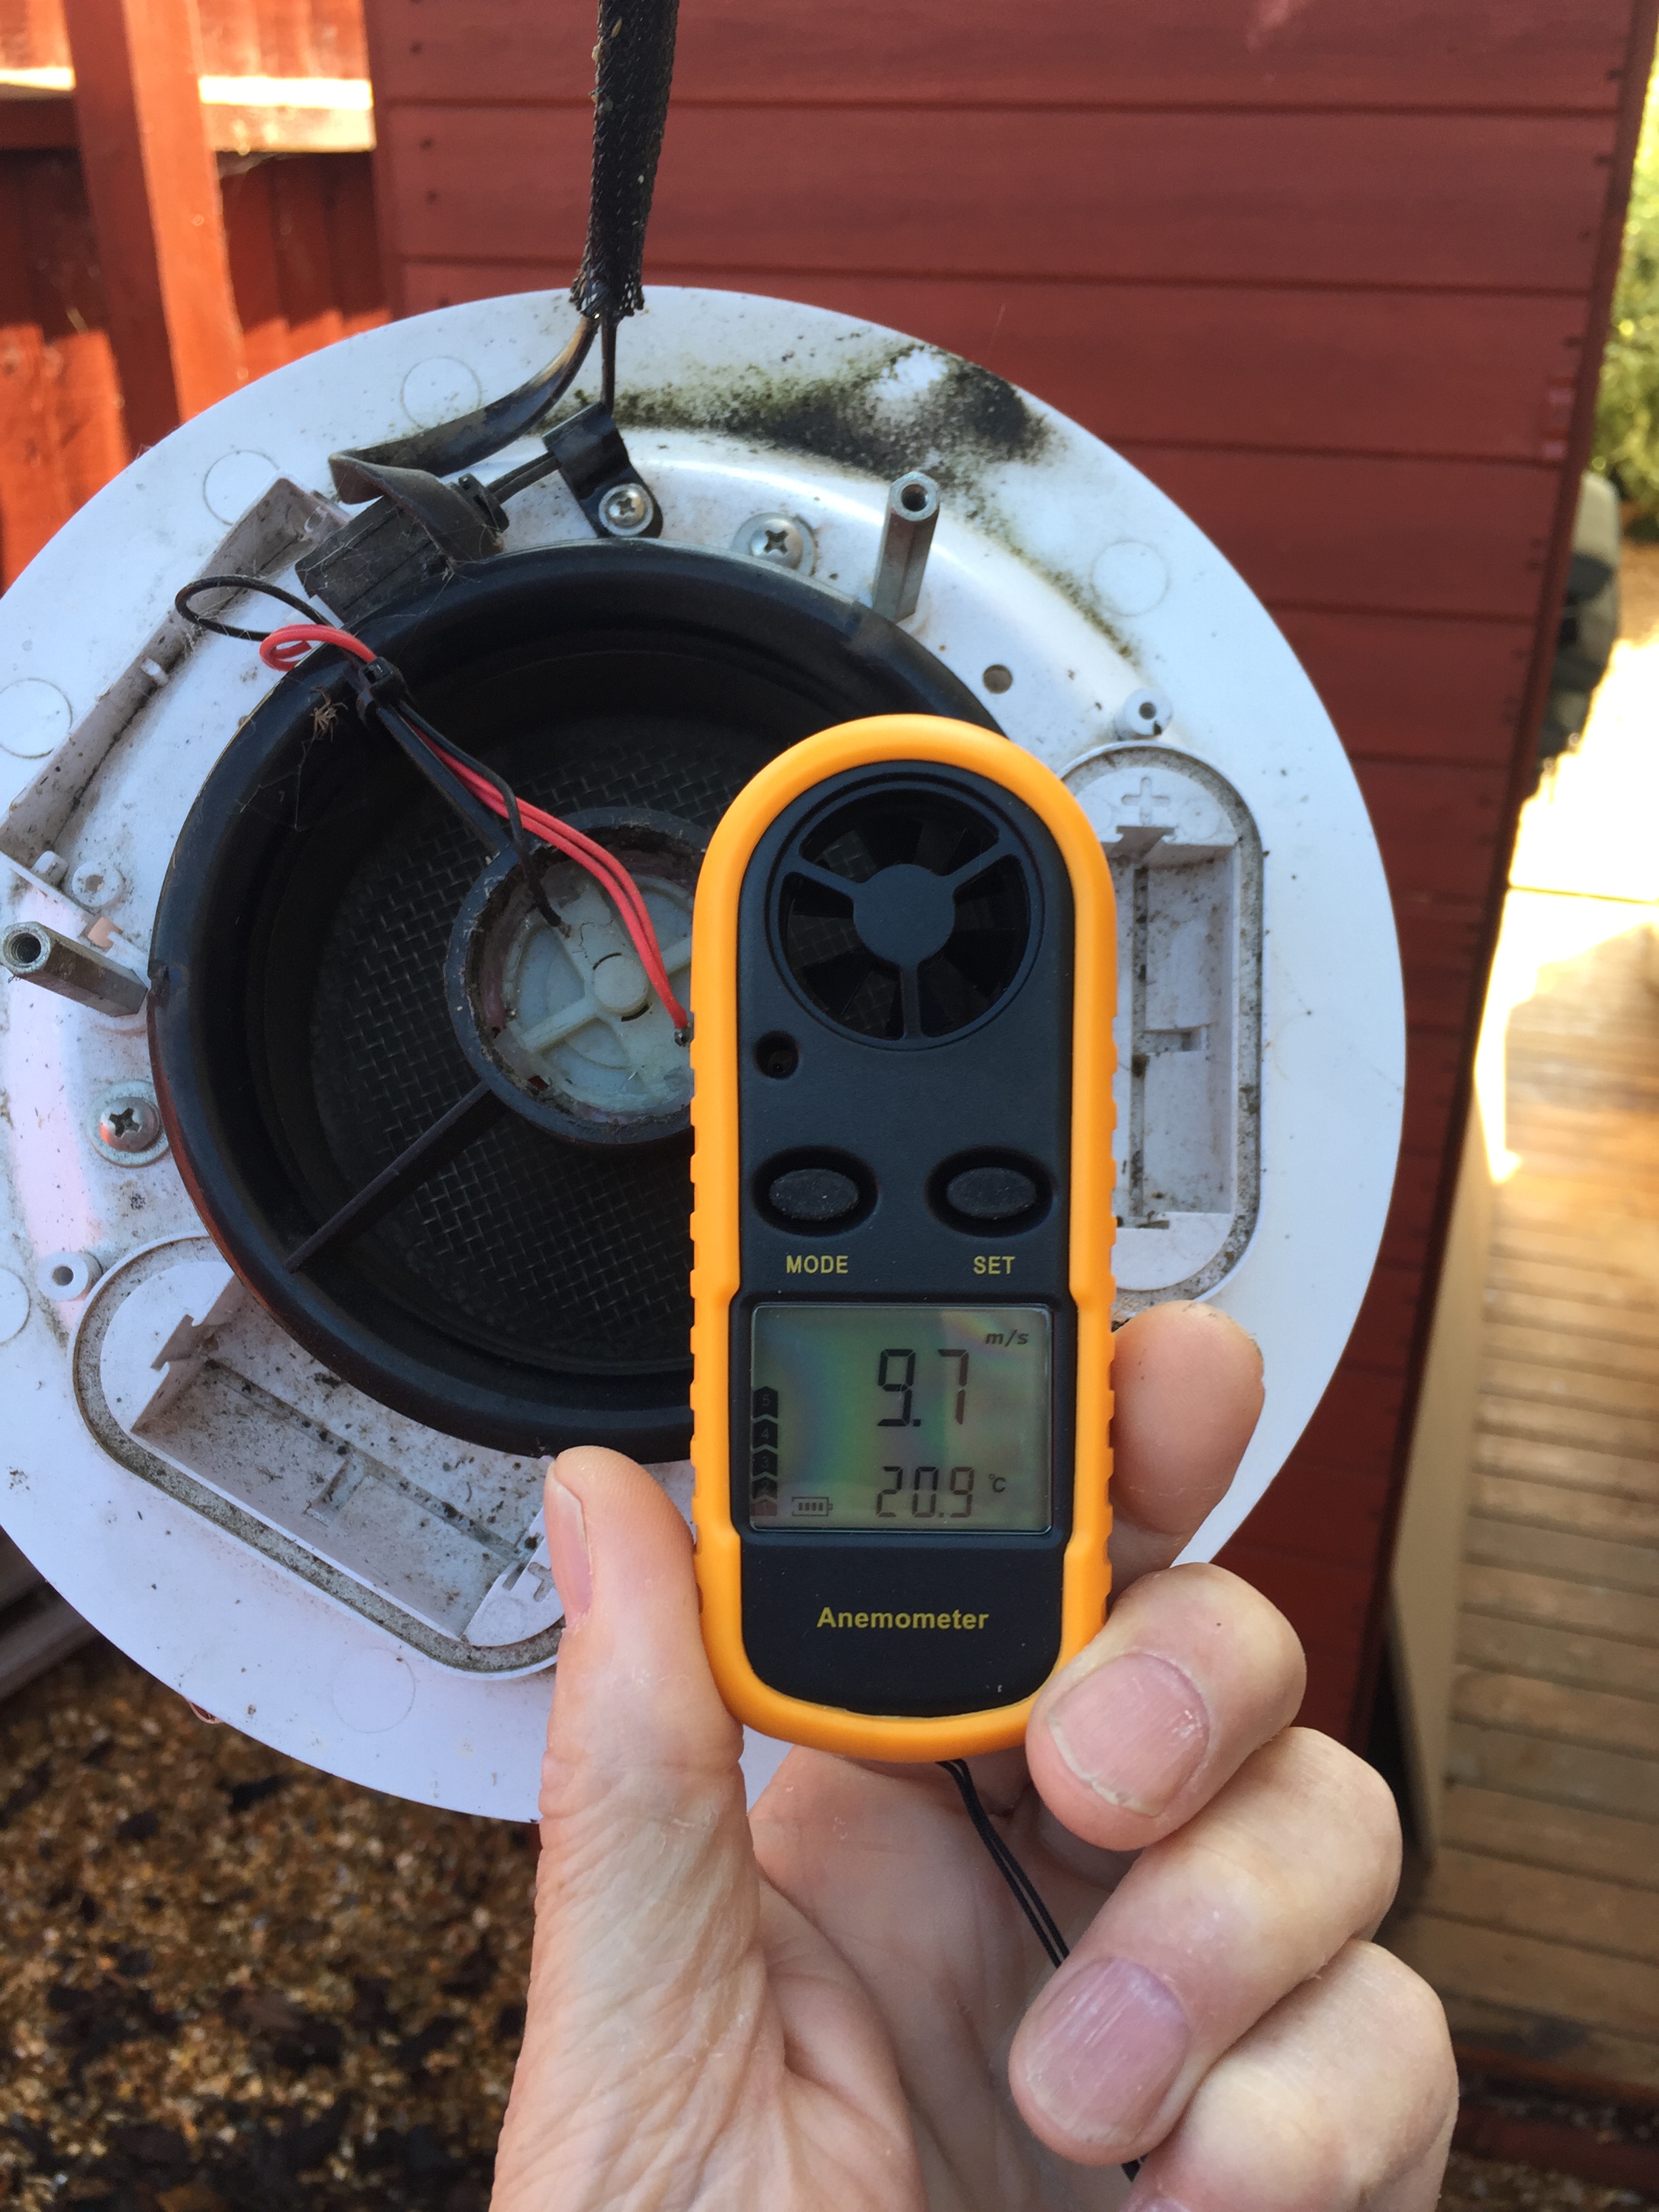
I was interested to know the existing Davis fans air flow, mine was running at 2.4vDC and showed 9.7m/s:

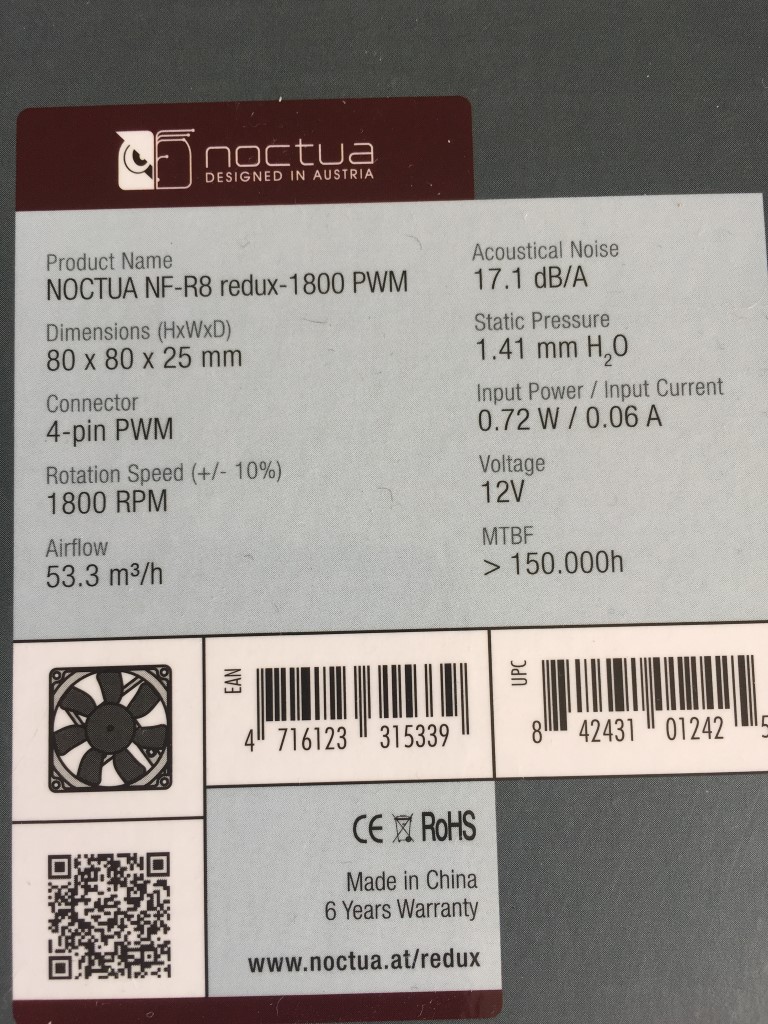
The PC fan I bought was a Noctura NF-R8 redux -1800 PWM for £9.99 of eBay.

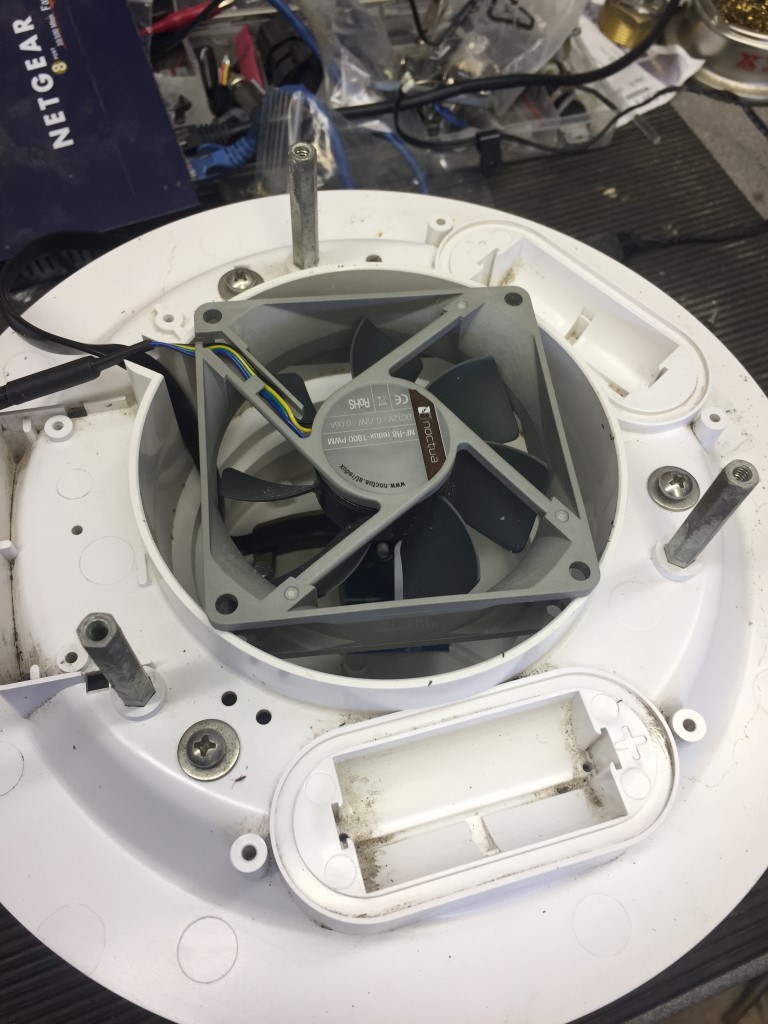
With the David FARS removed, the existing fan assembly slides out of the housing as a complete fan & surround, the hole left will take the 80 x 80mm fan with only a very minor filing of the fan case body to make it slide into the body of the FARS.

No modifications are made to the existing FARS body allowing reversion back to the existing fan if I wish (can’t think why, but you never know!).

To form a seal around the gaps, I used self adhesive door/window strip seal.

The finished fan after the seal is applied and checking that the fan is sucking, rather than blowing:

The oringinal fan ran on 2.4v, I replaced the voltage regulators fixed value resistor for the correct one to give 11.54vDC output and this feeds the motor and the motor monitoring Tacho.

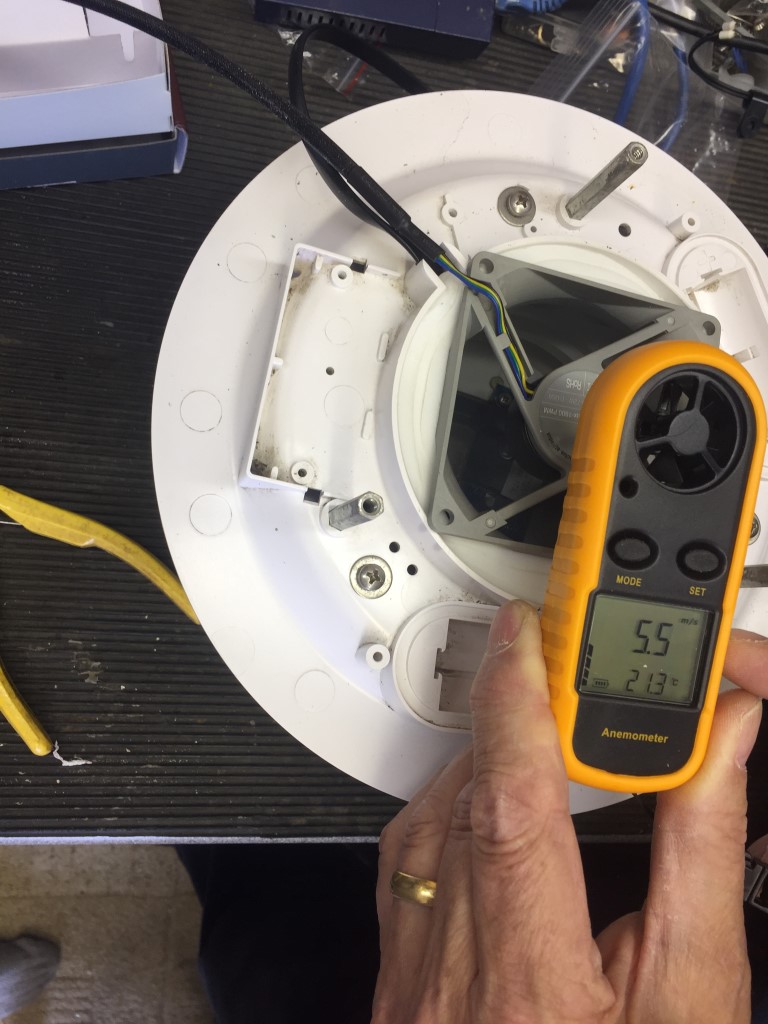
The air flow of the PC fan when installed and connected was 5.5m/s, this is less than the original davis fan, but this is still better than static air within the sensing chamber.

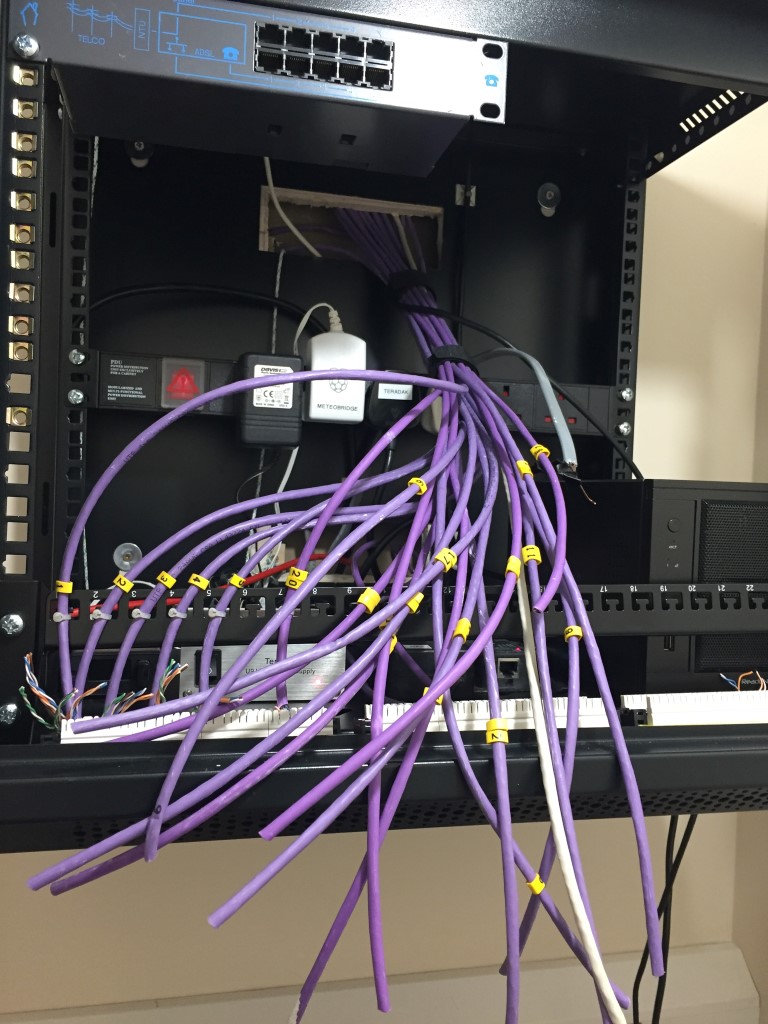
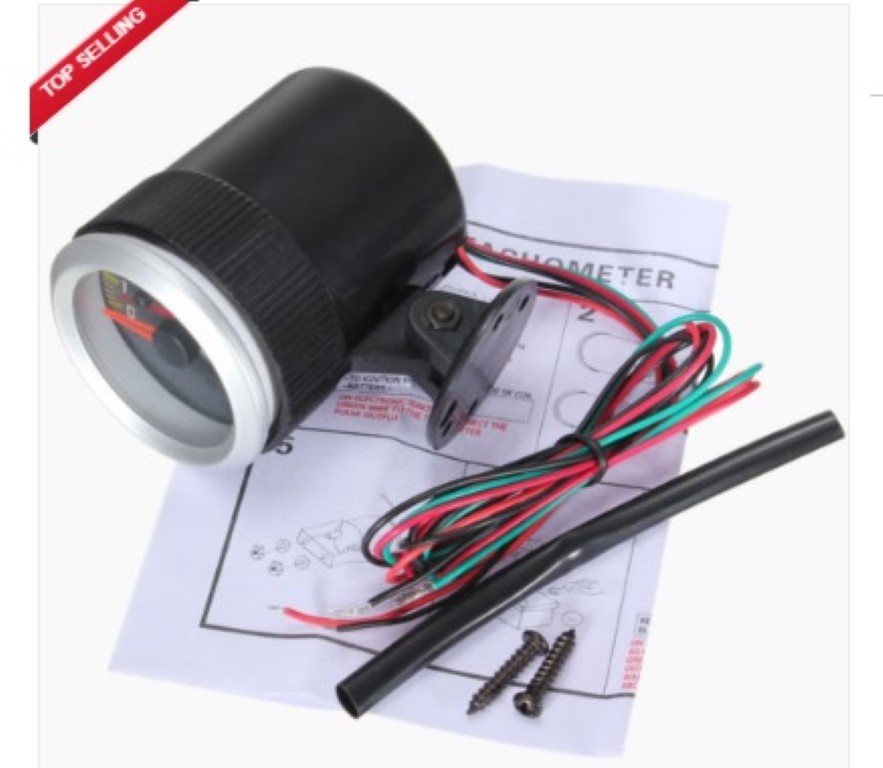
The Davis weather station I have is the wired version, and I used Cat5e cable rather than the supplied 4 core cable from the ISS to the console, using the Cat5e unused cores, I fed the supply voltage to the fan and the Tacho pulse into the house where they are connected to a 52mm (2″) counter tachometer guage RPM, this was bought off eBay for £6.70 + £1.69 postage.

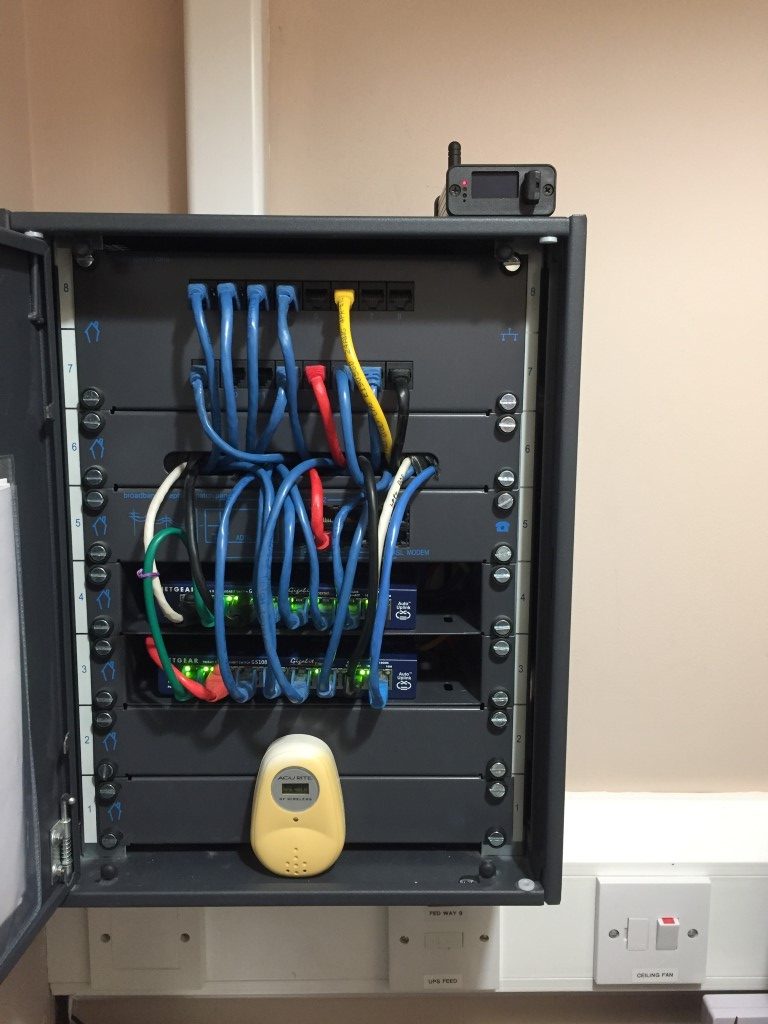
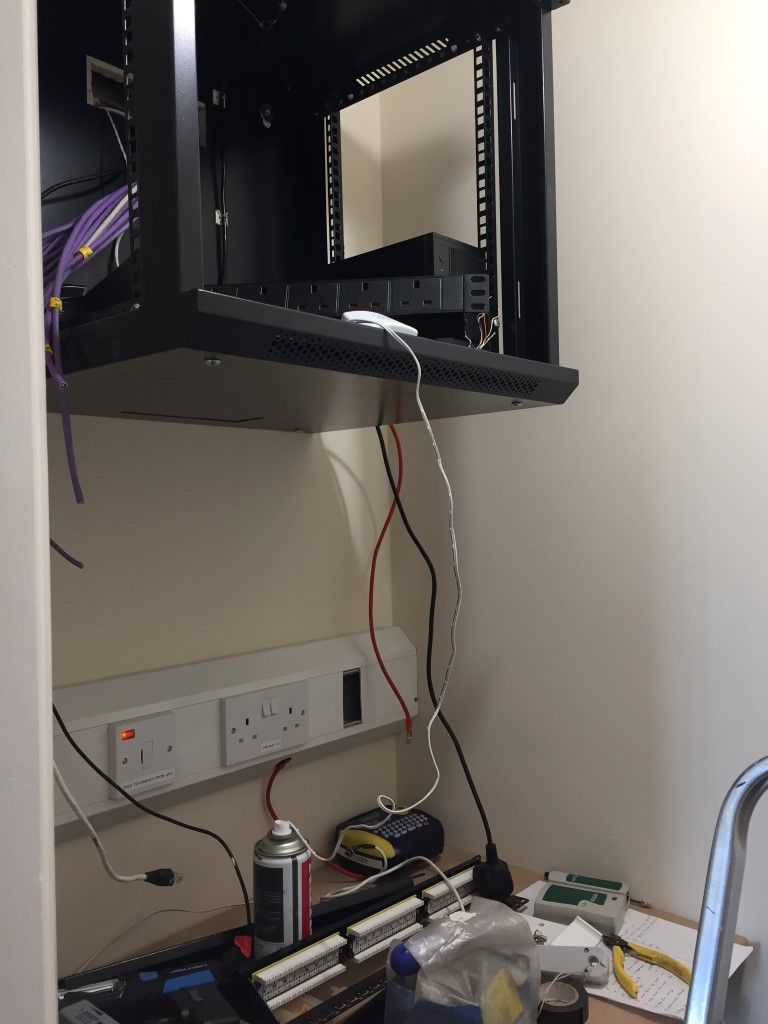
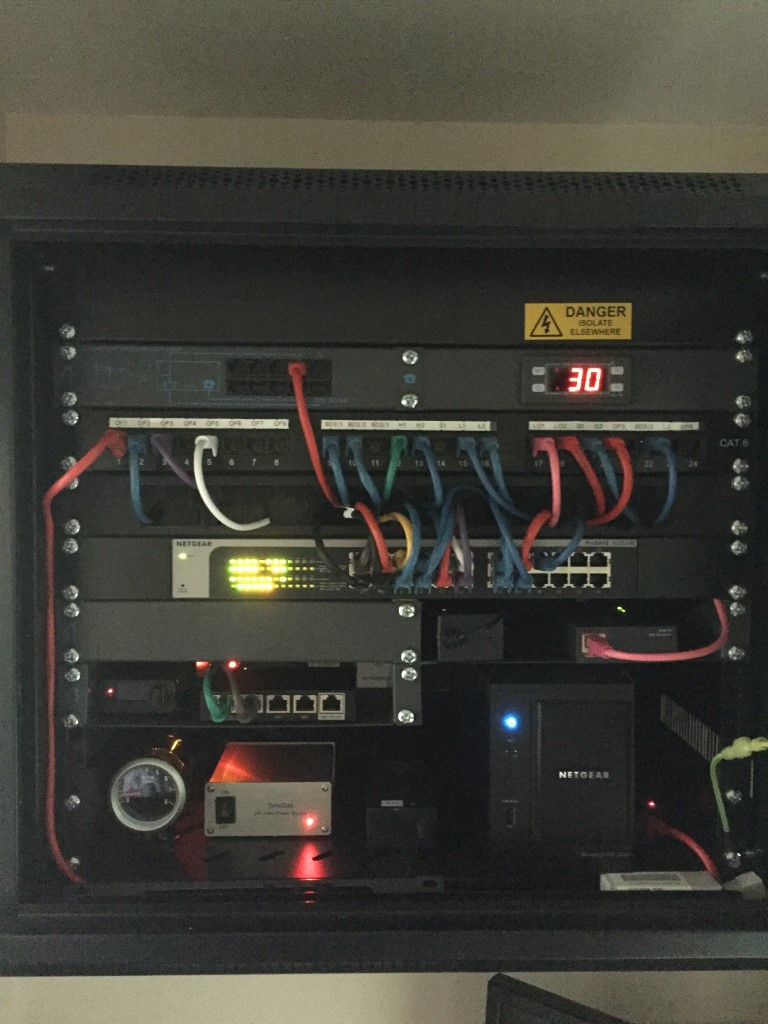
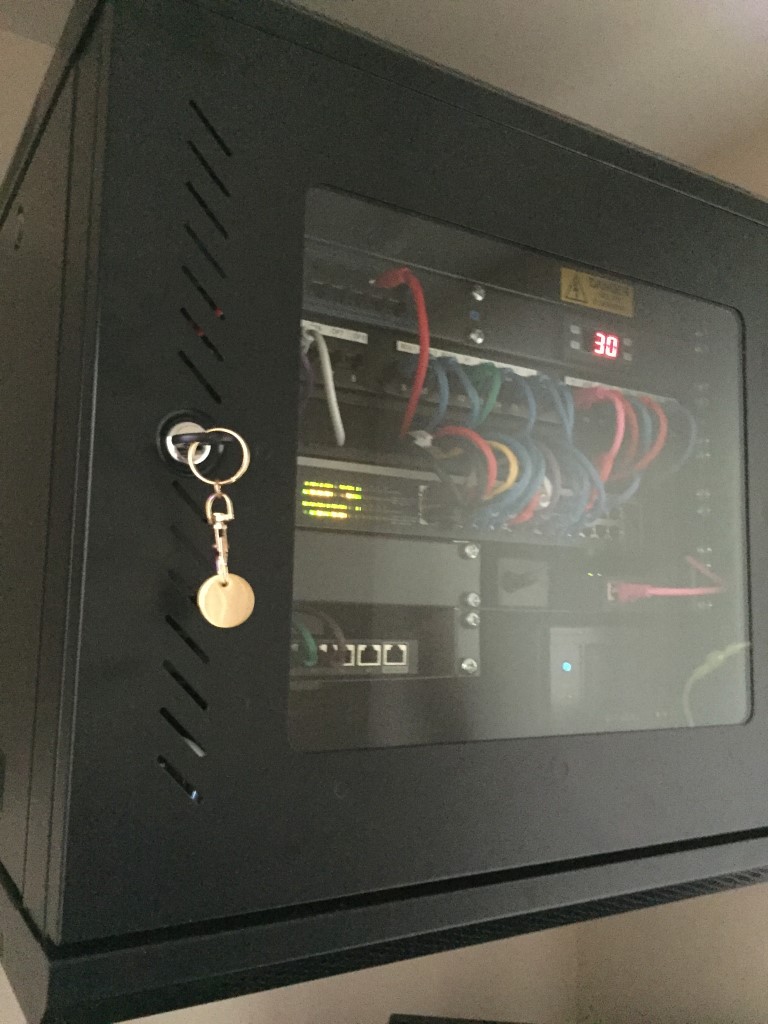
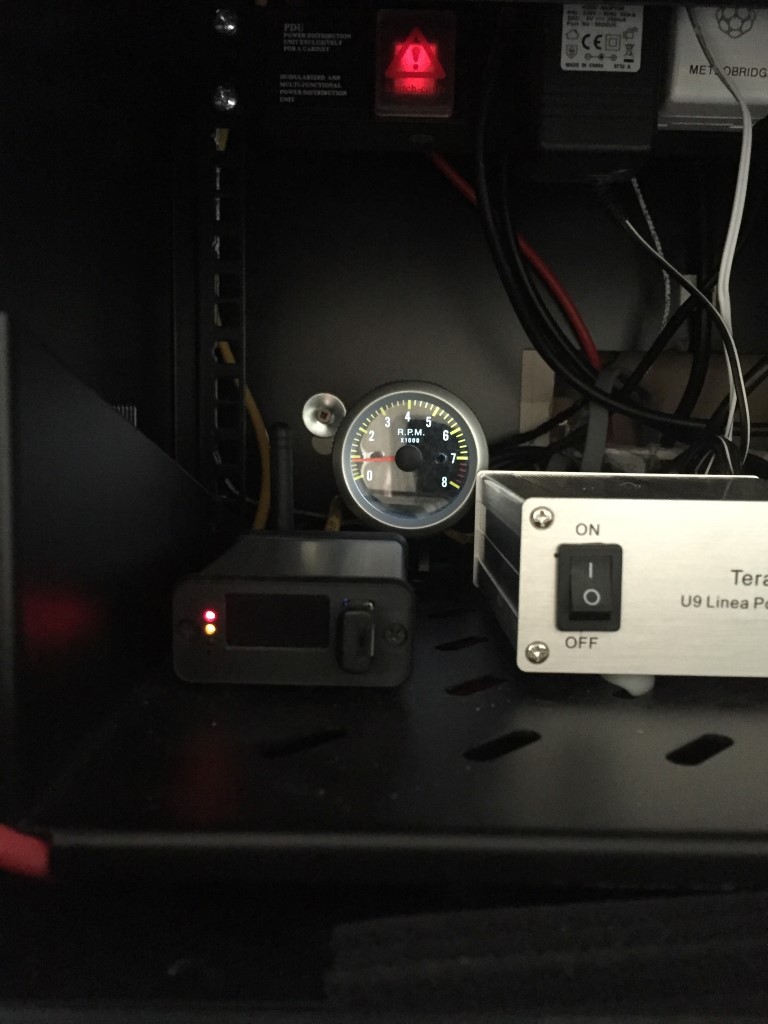
Tacho installed in the equipment cabinet:

The PC fan connections are:

  • Black – Negative 12v
  • Yellow – Positive 12v
  • Green – Tacho Pulse
  • Blue – PWM (Not Used)

The Tacho is set for a 4 cyclinder engine using a switch on the back of the unit, with the fan running the backlit RPM display is showing just under 1000RPM (reading slightly low due to voltage drop introducd by the distance from the ISS to the end point), to the left of the Tacho is my Meteobridge Pro  weather station server to the internet.

The motor is guaranteed for 6 years, replacement will be very easy and I’m able to remotley monitor that the fan is functioning, all for less than £20.

Update

16 September 2018, after 14 months continuous use, the motor failed, not even close to 6 years!!

I wrote to Noctua who are based in Austria and after asking me to perform some basic fault finding and requesting the fans data markings, agreed to send me a replacement fan, I in return was asked to send then a picture of the faulty fan with some of the blades broken off when the new one arrives.

While this correspondence was going on I bought a new fan off eBay for £12.50 which was installed on 22 Sept 18.

Update 2

12 April 2020, whilst we are in virus lockdown I thought I’d clean and service the weather station and I noticed the fan had stopped working, so replaced it with the one sent to me by Noctura a couple of years ago, looks like the average continuous running life is two years for these fans.

Update 3

30 March 2021, Nocura fan gave up, so much for a 6 year warranty, decided to go with a cheap and cheerful PC fan off eBay for £5.83.

Shack/Office Refurbishment

Well what a job!!

My home office is also my shack and like most things, the infrastructure grew rather than was managed, so I knew the electrical power was not ideal and the network patch panel was full. The thing that brought it to a head was the need for a new floor covering, and so it began.

First job was to put in a new final circuit ring main to the office dado trunking and add a couple of additional power points for the UPS and mobile air conditioning unit.

As the cables are ran in the loft, I decided to install a decent fold down loft hatch and sliding ladder for ease of access, the loft lighting was also improved by installing 4 x 4′ fluorescent operated by a pull switch fed from its own dedicated circuit, this lighting made a huge difference.

To move everything out of the office to get access to the floor meant it needed to go somewhere, and the obvious choice was the loft, so off to Homebase for loft flooring and loft legs and of course it was boarded during the hottest days of July.

Once everything was out, I could start tearing down to rebuild:

The existing home network hub needed to come out:

MB Pro fitted

No going back now!

New cable drops for additional tap points near the TV and existing TalkTalk router are shown, I did move/rationalise other tap points around the house and in the garage. In the lounge I drilled through to the external wall and installed conduit in preparation for when Virgin Media install fibre to the home.

The network cables were in and tested using a cheap and cheerful wire mapper and did find a faulty tap point, so well worth £2.59.

Once the power was sorted out, it was time to start on the cabinet, this is a 12U wall mounted jobbie and cost £48.49 from eBay, the power distribution unit is fed via an 800VA MGE Pulsar Evolution UPS as is the red sockets.

Cables identified and marked up, rather than numbering the tap points, I opted to use a convention which accommodated change easily:

  • OFnn =Office, tap point nn
  • BD2/nn  = Bedroom 2, tap point nn
  • BD3/nn = Bedroom 3, tap point nn
  • LOnn = Loft,  tap point nn
  • Lnn = Lounge,  tap point nn
  • Gnn = Garage,  tap point nn
  • Hnn = Hall,  tap point nn

I, well me and my XYL took the opportunity to start to spruce the place up with a coat of paint as well. This shows the wall ready for the roller.

Wall cabinet finished, I added a small temperature controller which switches on the cabinet fan and the ceiling mounted fan within the cupboard where the cabinet is fitted.

Working top down:

  • 2U blank plate
  • Telephone line IN, OUT via ADSL filtered ports
  • Temperature controller
  • 24 port patch panel wired in Cat5e, two ports spare
  • Brush strip to hide surplus cable or manage surplus cable if your a purist
  • Netgear JGS524E Managed Gigabit switch
  • 1U blank plate (91/2″) (behind this is a 6 way PDU fed via UPS)
  • 1U 91/2″ Shelf with PoE to TP EAP245 Access Point
  • 1U 91/2″ Shelf with Metobridge Pro and EdgeRouter X
  • 19″ 350mm deep shelf

Bottom shelf from left to right:

  • Tach display for weather station aspirated sensor fan speed
  • Low noise linear 5v PSU for Blitzortung lighting detector
  • 12v PSU to Network Attached Storage (NAS) and CCTV interface
  • Netgear Duo 500Gb dual hard drive NAS
  • CCTV controller interface

Cabinet closed and locked after making sure it didn’t hit the ceiling light.

Room with everything put back in and tidied up.

To make life easier for working on the radio equipment cables and connections, I didn’t push the desk right back to the wall and also no radio related equipment is on the floor (PSU), apart from the foot operated PTT.

Radio wise I didn’t do much, I added a separate 12v PSU for auxiliary equipment, such as the led signage, VSWR panel lights and SG autotuner to name a few, I also added a common RF earth board for the shack equipment to connect to.

Radio all put back together and cables tidied up, not sure how long the office will stay this neat 🙂

Update

The cheap and cheerful cable tester unfortunately didn’t last the test of time and started giving some strange mapping indications, returning to eBay, I found a SC8108 Network Cable Tester for £17.98, this is superb value, and hopefully it will last longer than the last cable tester.

The SC8108 is very easy to use and has a number of useful, menu driven features, but for my small home network, wire mapping is the primary focus.

£17.98 SC8108 Network Cable Tester showing the mapping test results for a remote tap point from the patch panel.

Davis 7346.174 – Pro2 Upgraded Digital Temperature Humidity Sensor

I decided to give the weather station a revamp, the two mini projects are the replacement of the Fan used to asperate the temperture/humidity sensor and the replacement of the original Davis temp/hum sensor with the more accurate chipset SHT15.


I bought the Davis 7346-174 upgrade from Scaled Instruments in Florida for $67.50 delivered (£51.94), the unit arrived very quickly as expected as I have used Scaled Instruments before and the service is exceptional.

Disassembly was quite straightforward after putting the station in install mode, what I was suprised by was the amount of dirt that had been drawn into to the fan guard and other parts of the Stevensons Sheild which all need a good wash with soapy water:


The original sensor is secured with two machine screws and the cable by a ‘P’ clip:


The replacement sensor was a direct fit as you wpould expects apart from the fact that instead of a ‘P’ clip, the environmental coating was used to form a cable clip, thit need a stand-off and additional machine screw to enable the sensor wire to be secured.


Once the housing was reassembled, sensor plugged up, fan reconnected and the station taken out of install mode everything worked just fine.

I’m awaiting the new fan to be deivered, so the second part of this will be blogged soon.