My weather station software is Weather Display which is unbelievable in what it can do, the author of the software is very receptive to ideas and modifications and has introduced a feature which I and others have asked for, that is the ability for a physical relay to change state when a condition has been met.
Weather Display used to have the feature to operate a 1-wire single relay, but this has been superseded by an 8 Relay module which was not coded to work with the program.
I bought a board and sent it to Brian Hamilton of Weather Display, and within one afternoon had it working (it did take a few days to get there as Brian lives in New Zealand)!
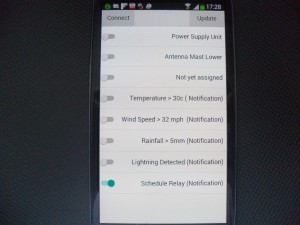
The feature Weather Display offers is not only control of relays via Weather Display, but using a Phone or Tablet app.
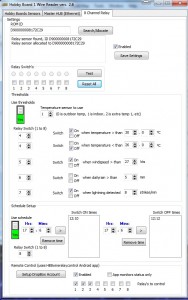
The relays can be assigned to Temperature, Wind Speed, Rain, Lightning (depending on sensors) or a timed schedule, these parameters are set and adjusted from a tab within the program.
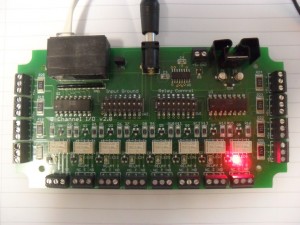
The relay board is powered by an external 12v supply with a 1-wire data lead going through a USB interface to the PC, activated relays are indicated by the LED.
The app allows full control of the relays if configured, or for relays that have been set to ‘monitor’, the state of the relay is reflected on the app.
This addition has brought a new dimension to the weather station, and I will be connecting the ham radio mast motor to the relays, so that on detection of high wind or lightning, the mast will automatically retract (and maybe ground all the antennas so the transceivers wont get damaged).
A further benefit not related to weather is that a relay could be remotely switched to operate the heating or lighting etc, I’m using one to turn on a power supply unit so I can remotely operate power to my transceivers.
Note: The HobbyBoard relays are not rated for high currents, I will be using these relays to operate higher switching capacity relays.
8 Channel Input/Output Manual shows the versatility of this module.


