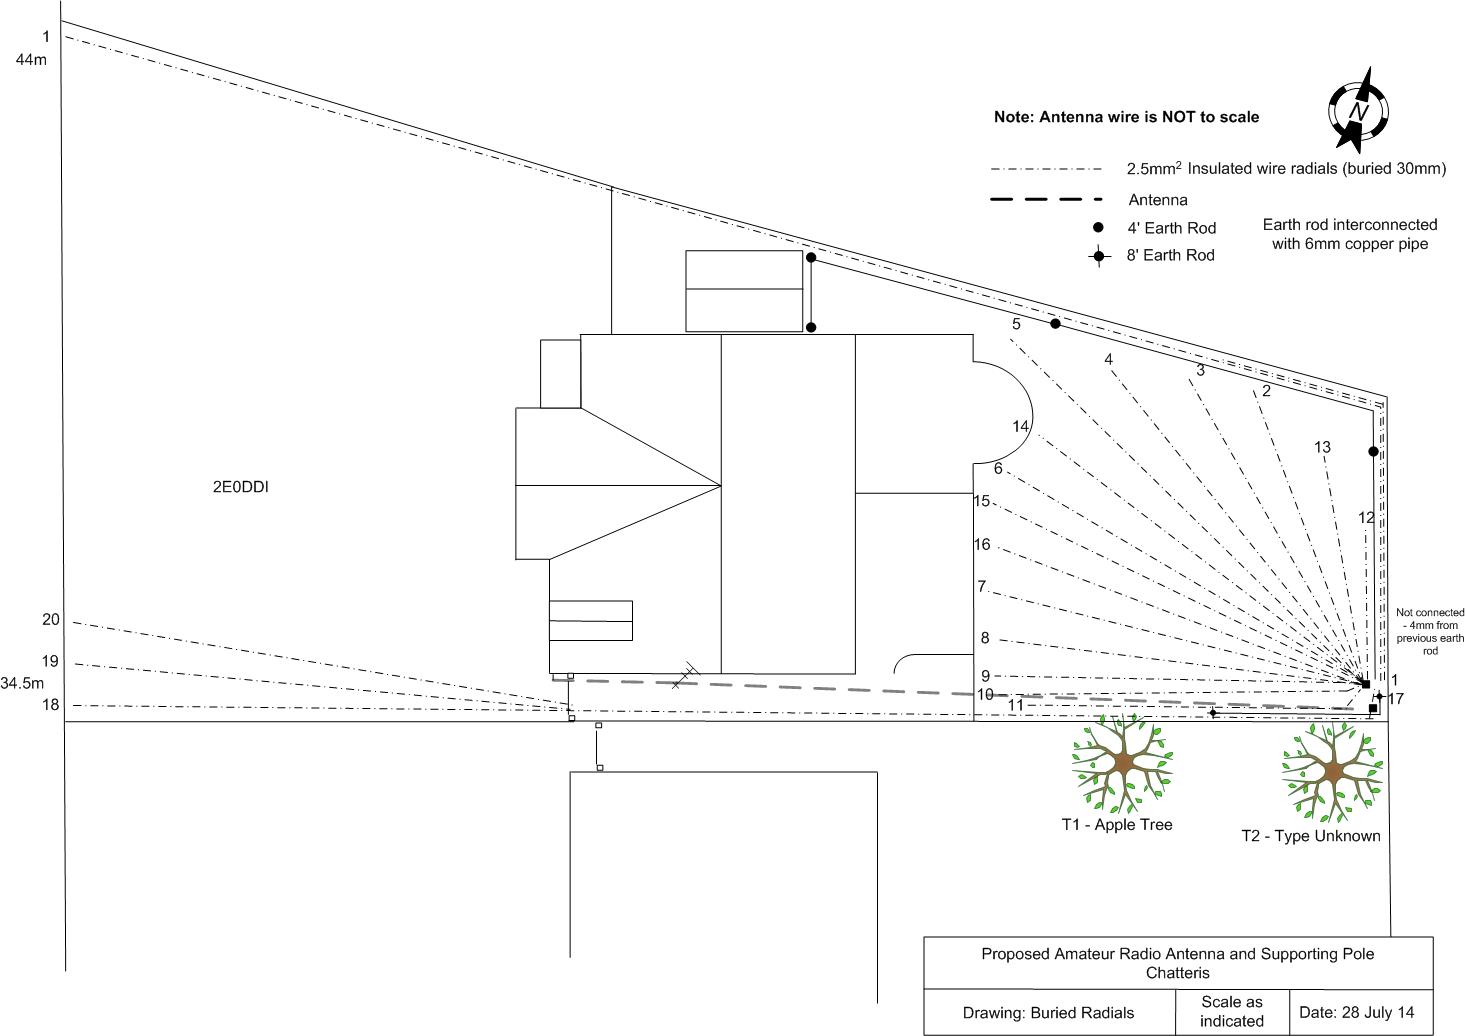
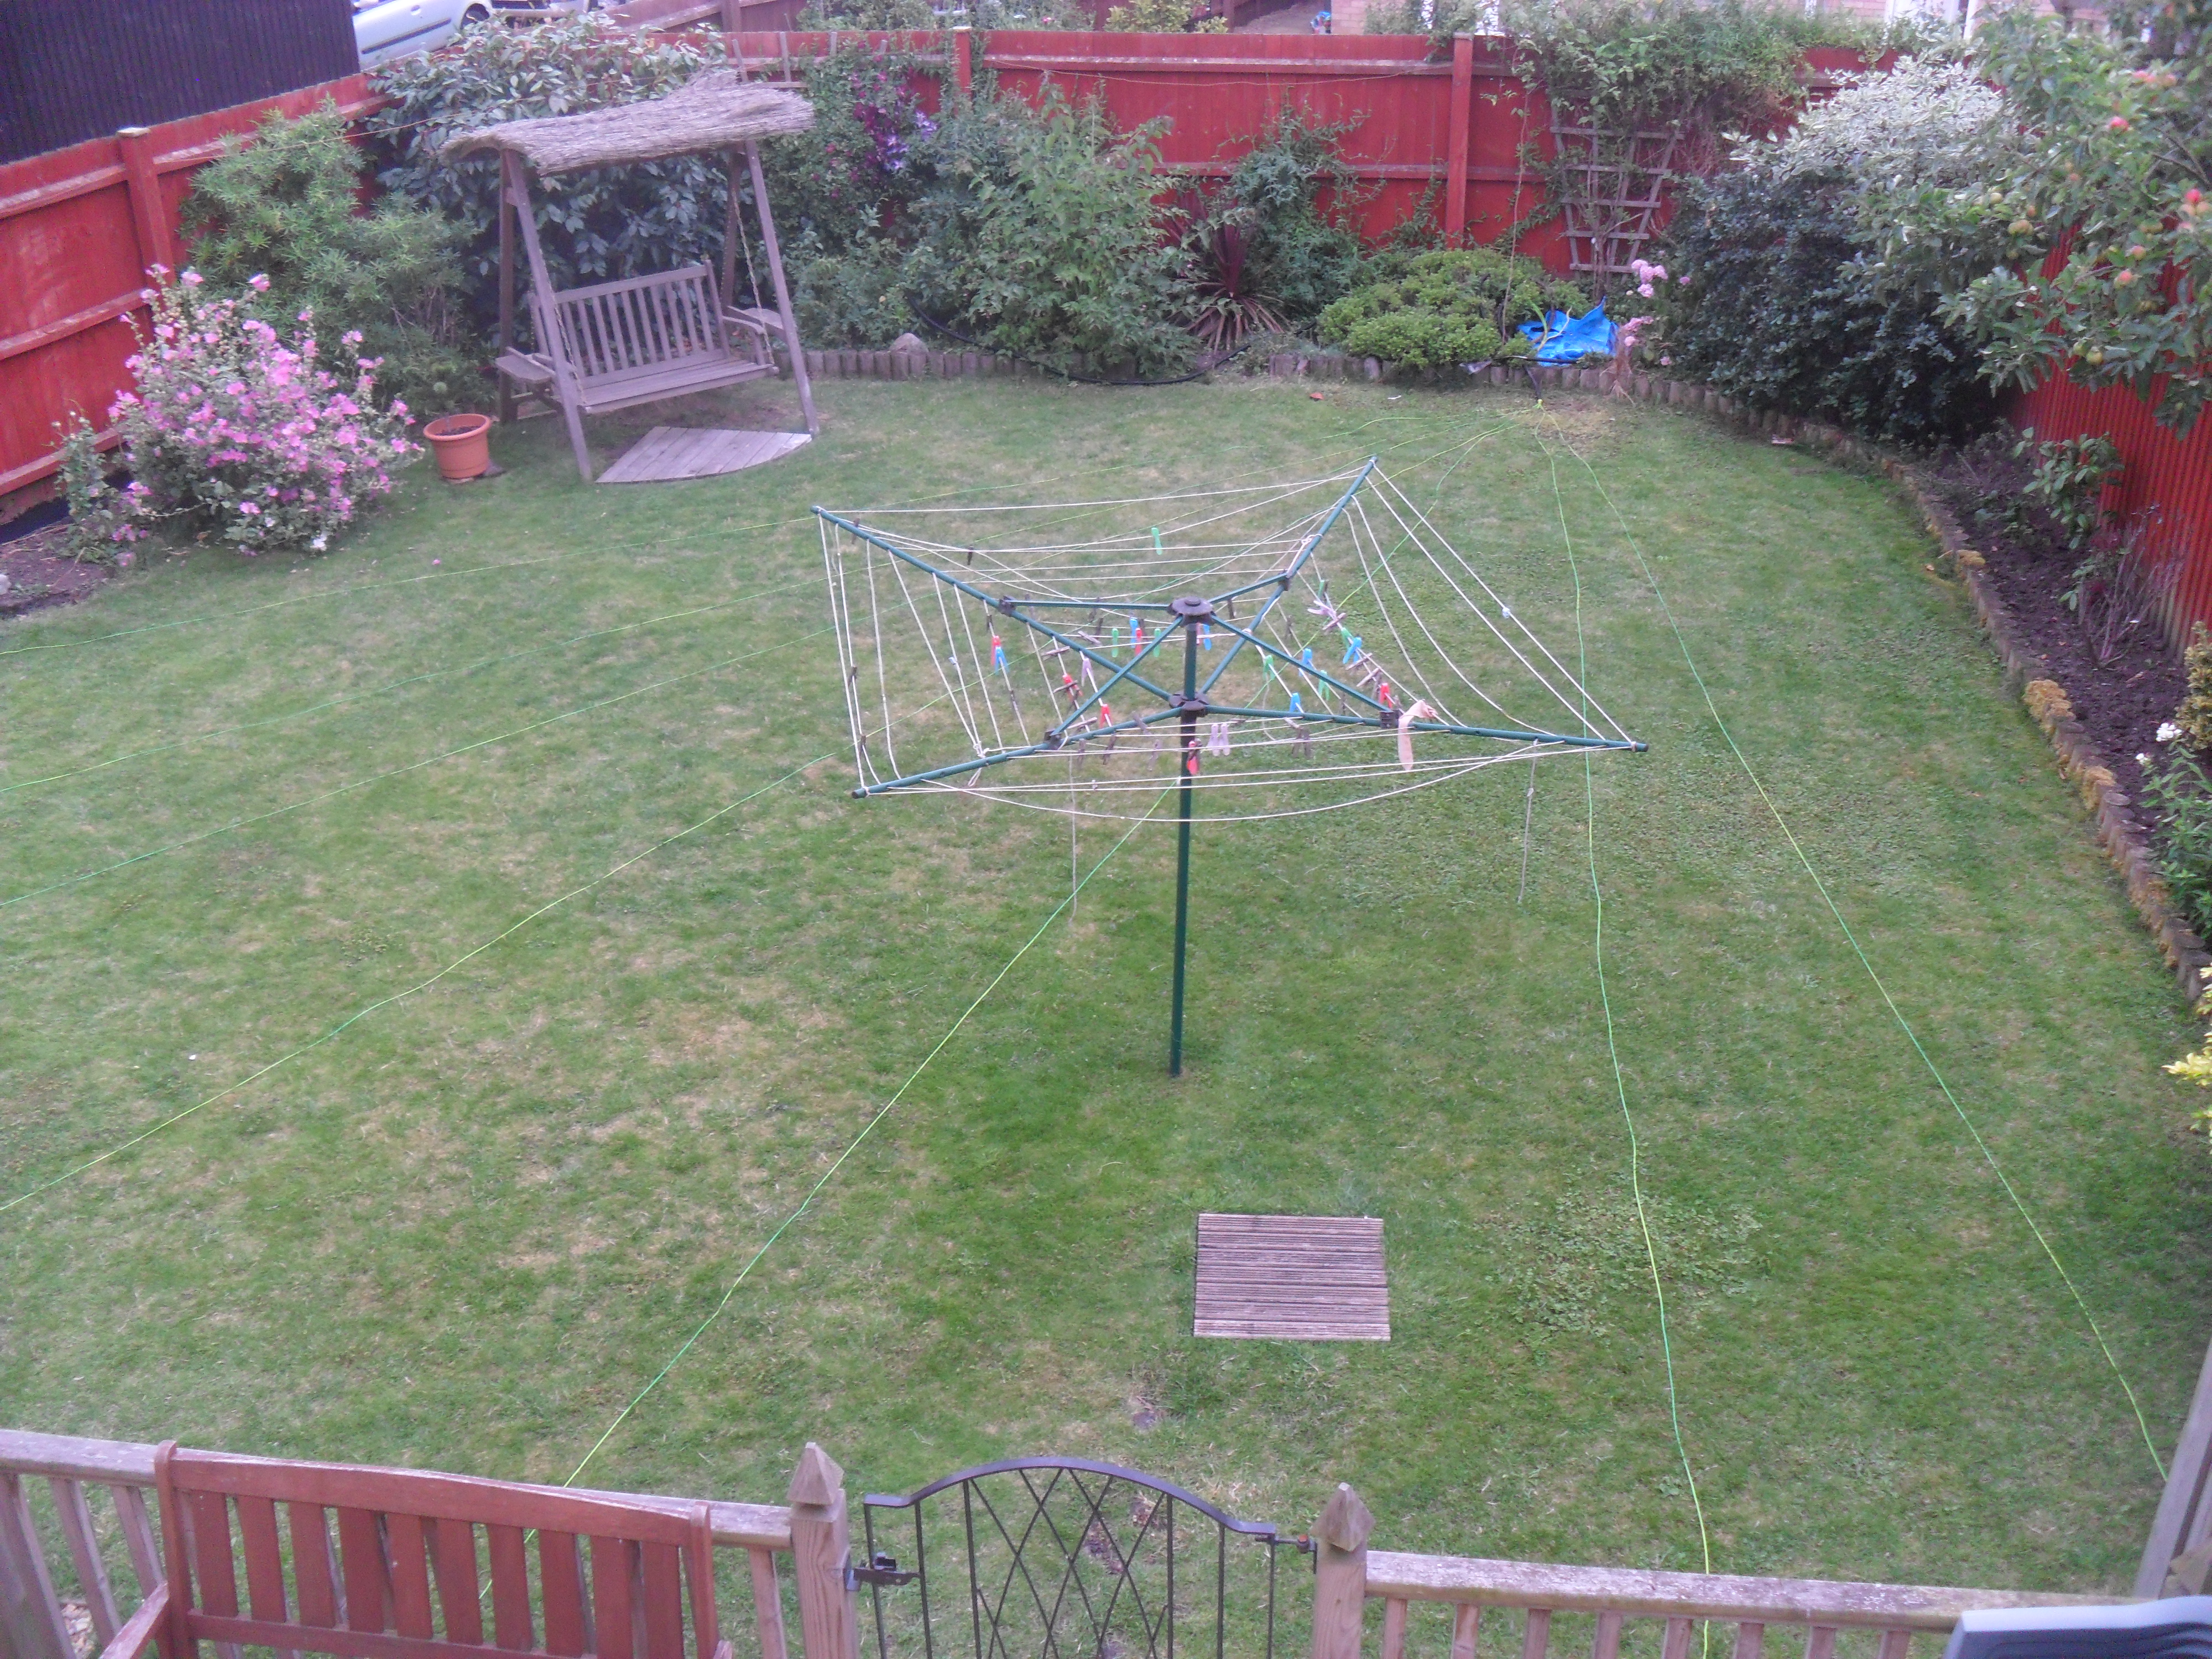
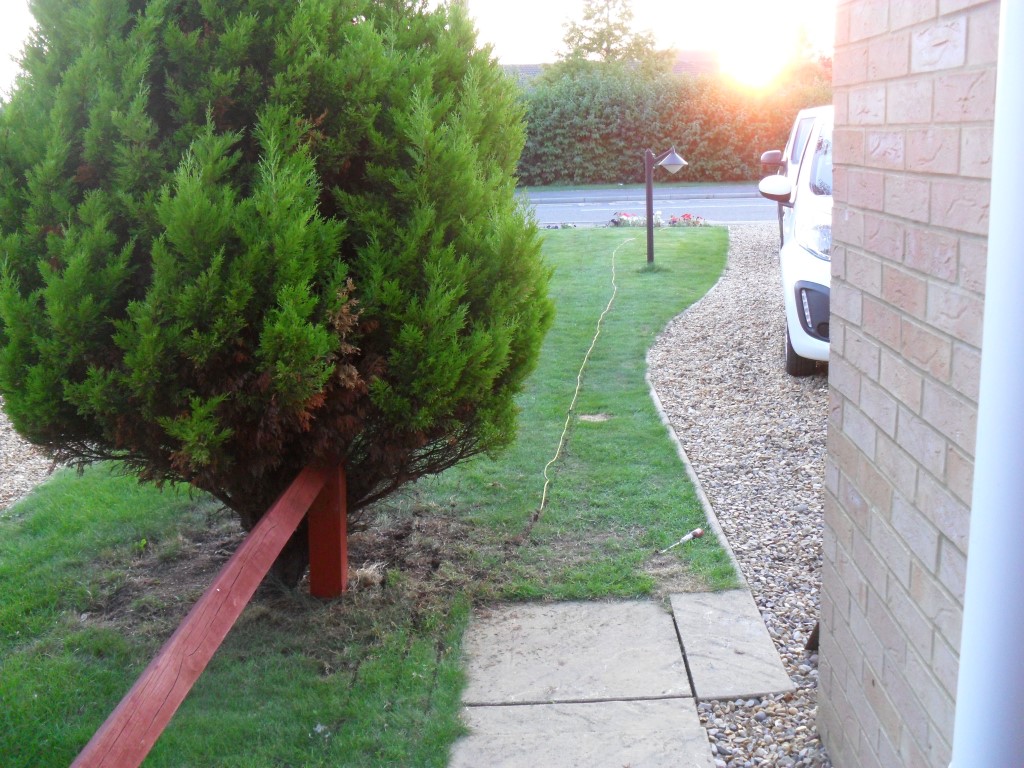
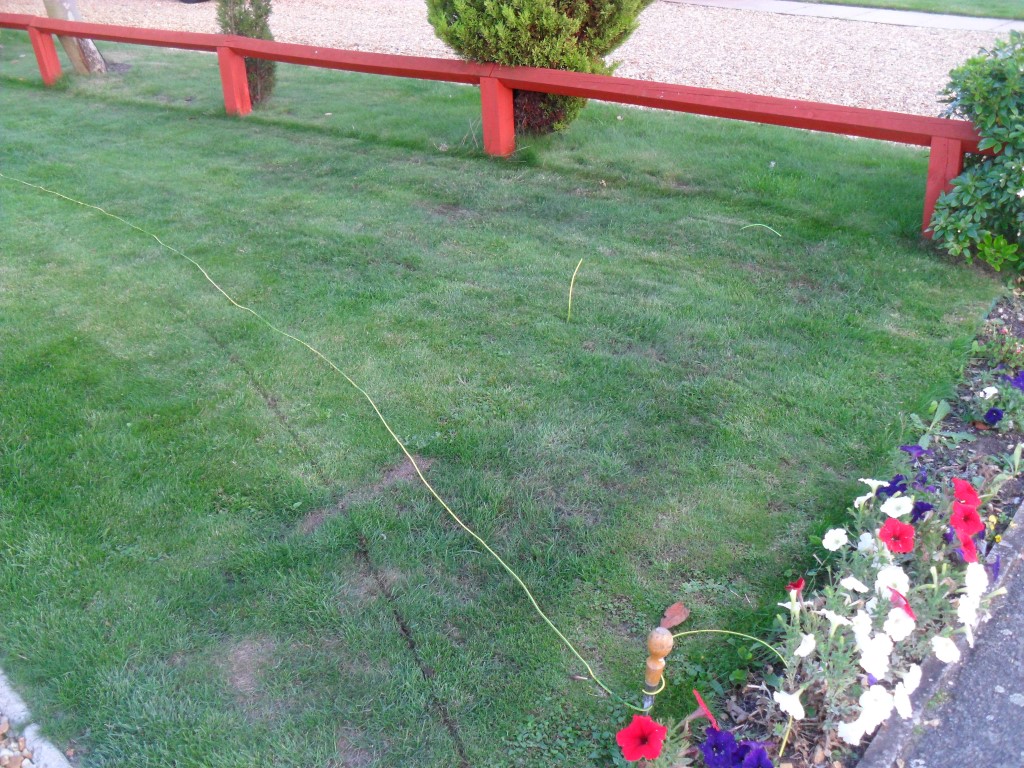
Installation of the radials for my antenna started by laying them out to get the correct spacing, the first lawn picture shows 7 wires, the total in the lawn was 15 in the end, additional radials extend to the front of the house, the SG Tuner guidance says to extend the radial past the length of the antenna, hence the radials on the front lawn, the layout plan shows the dimensions to fit my plot:

Wires dry laid ready for cutting in:

This picture shows the last radial ready for the grass to be cut with the Edging Knife, unfortunately on the start of the last radial the end broke off the shaft!!, time for a trip to Toolstation for a new one (£4.80).
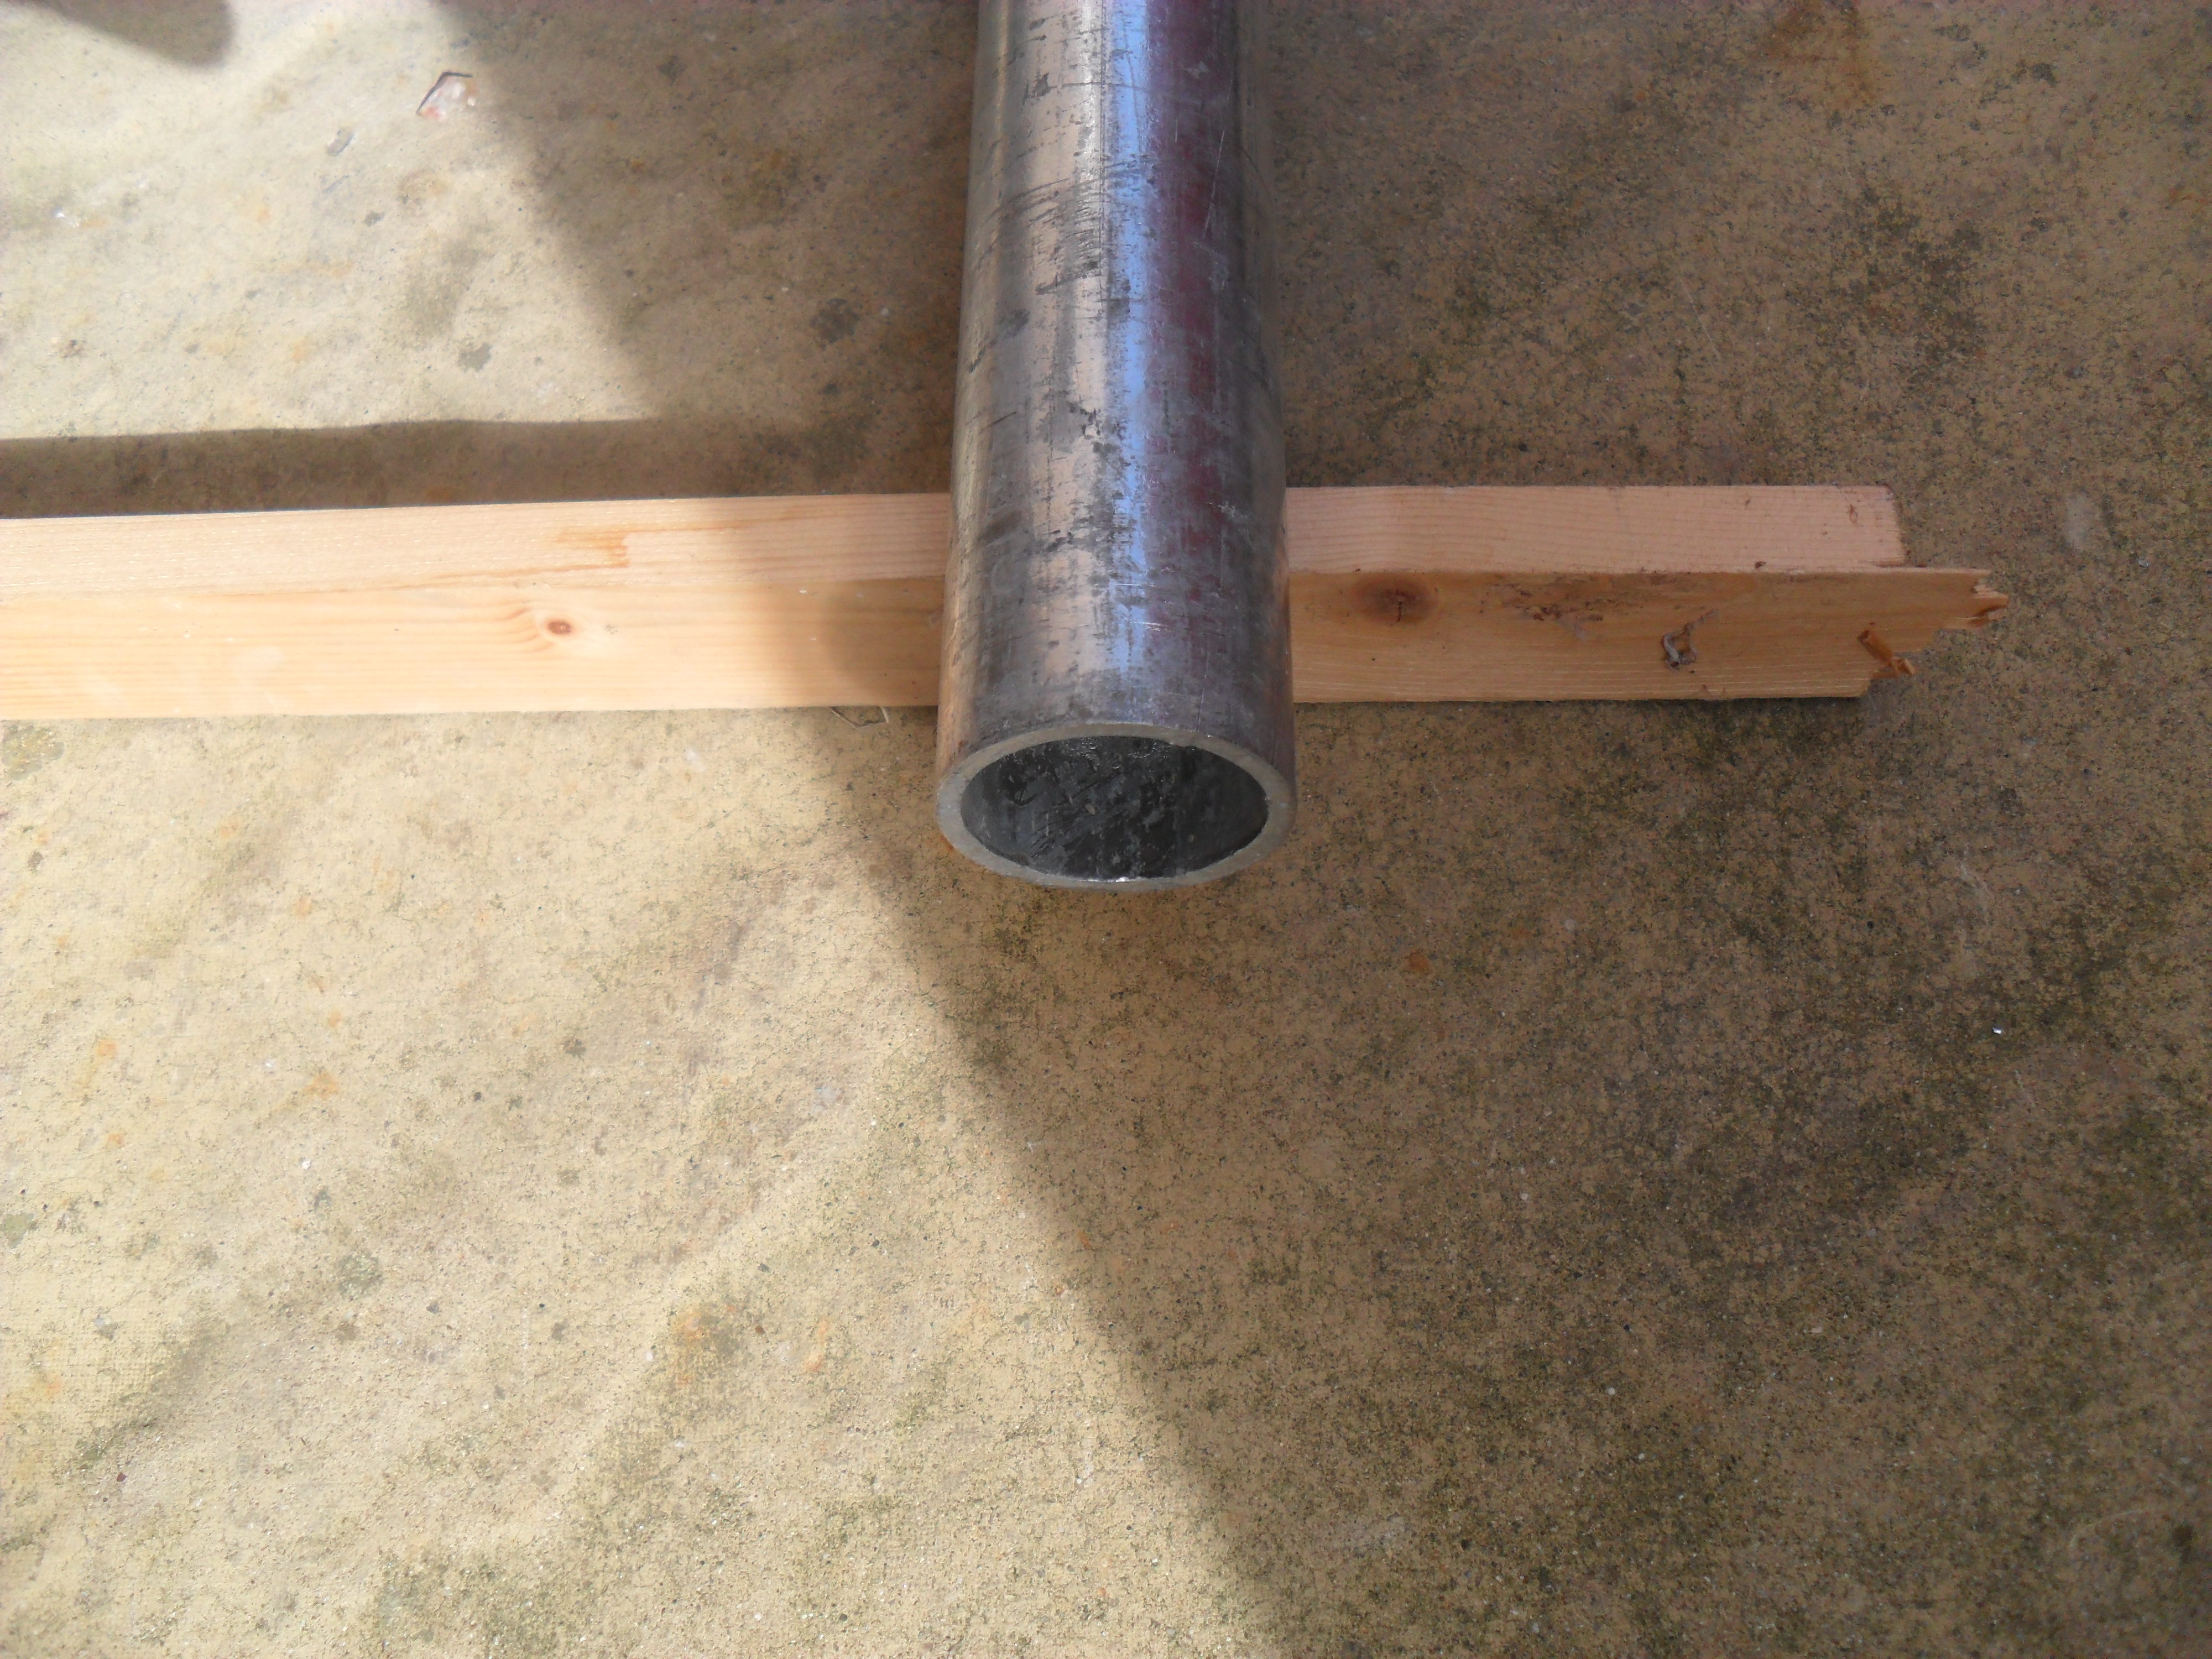
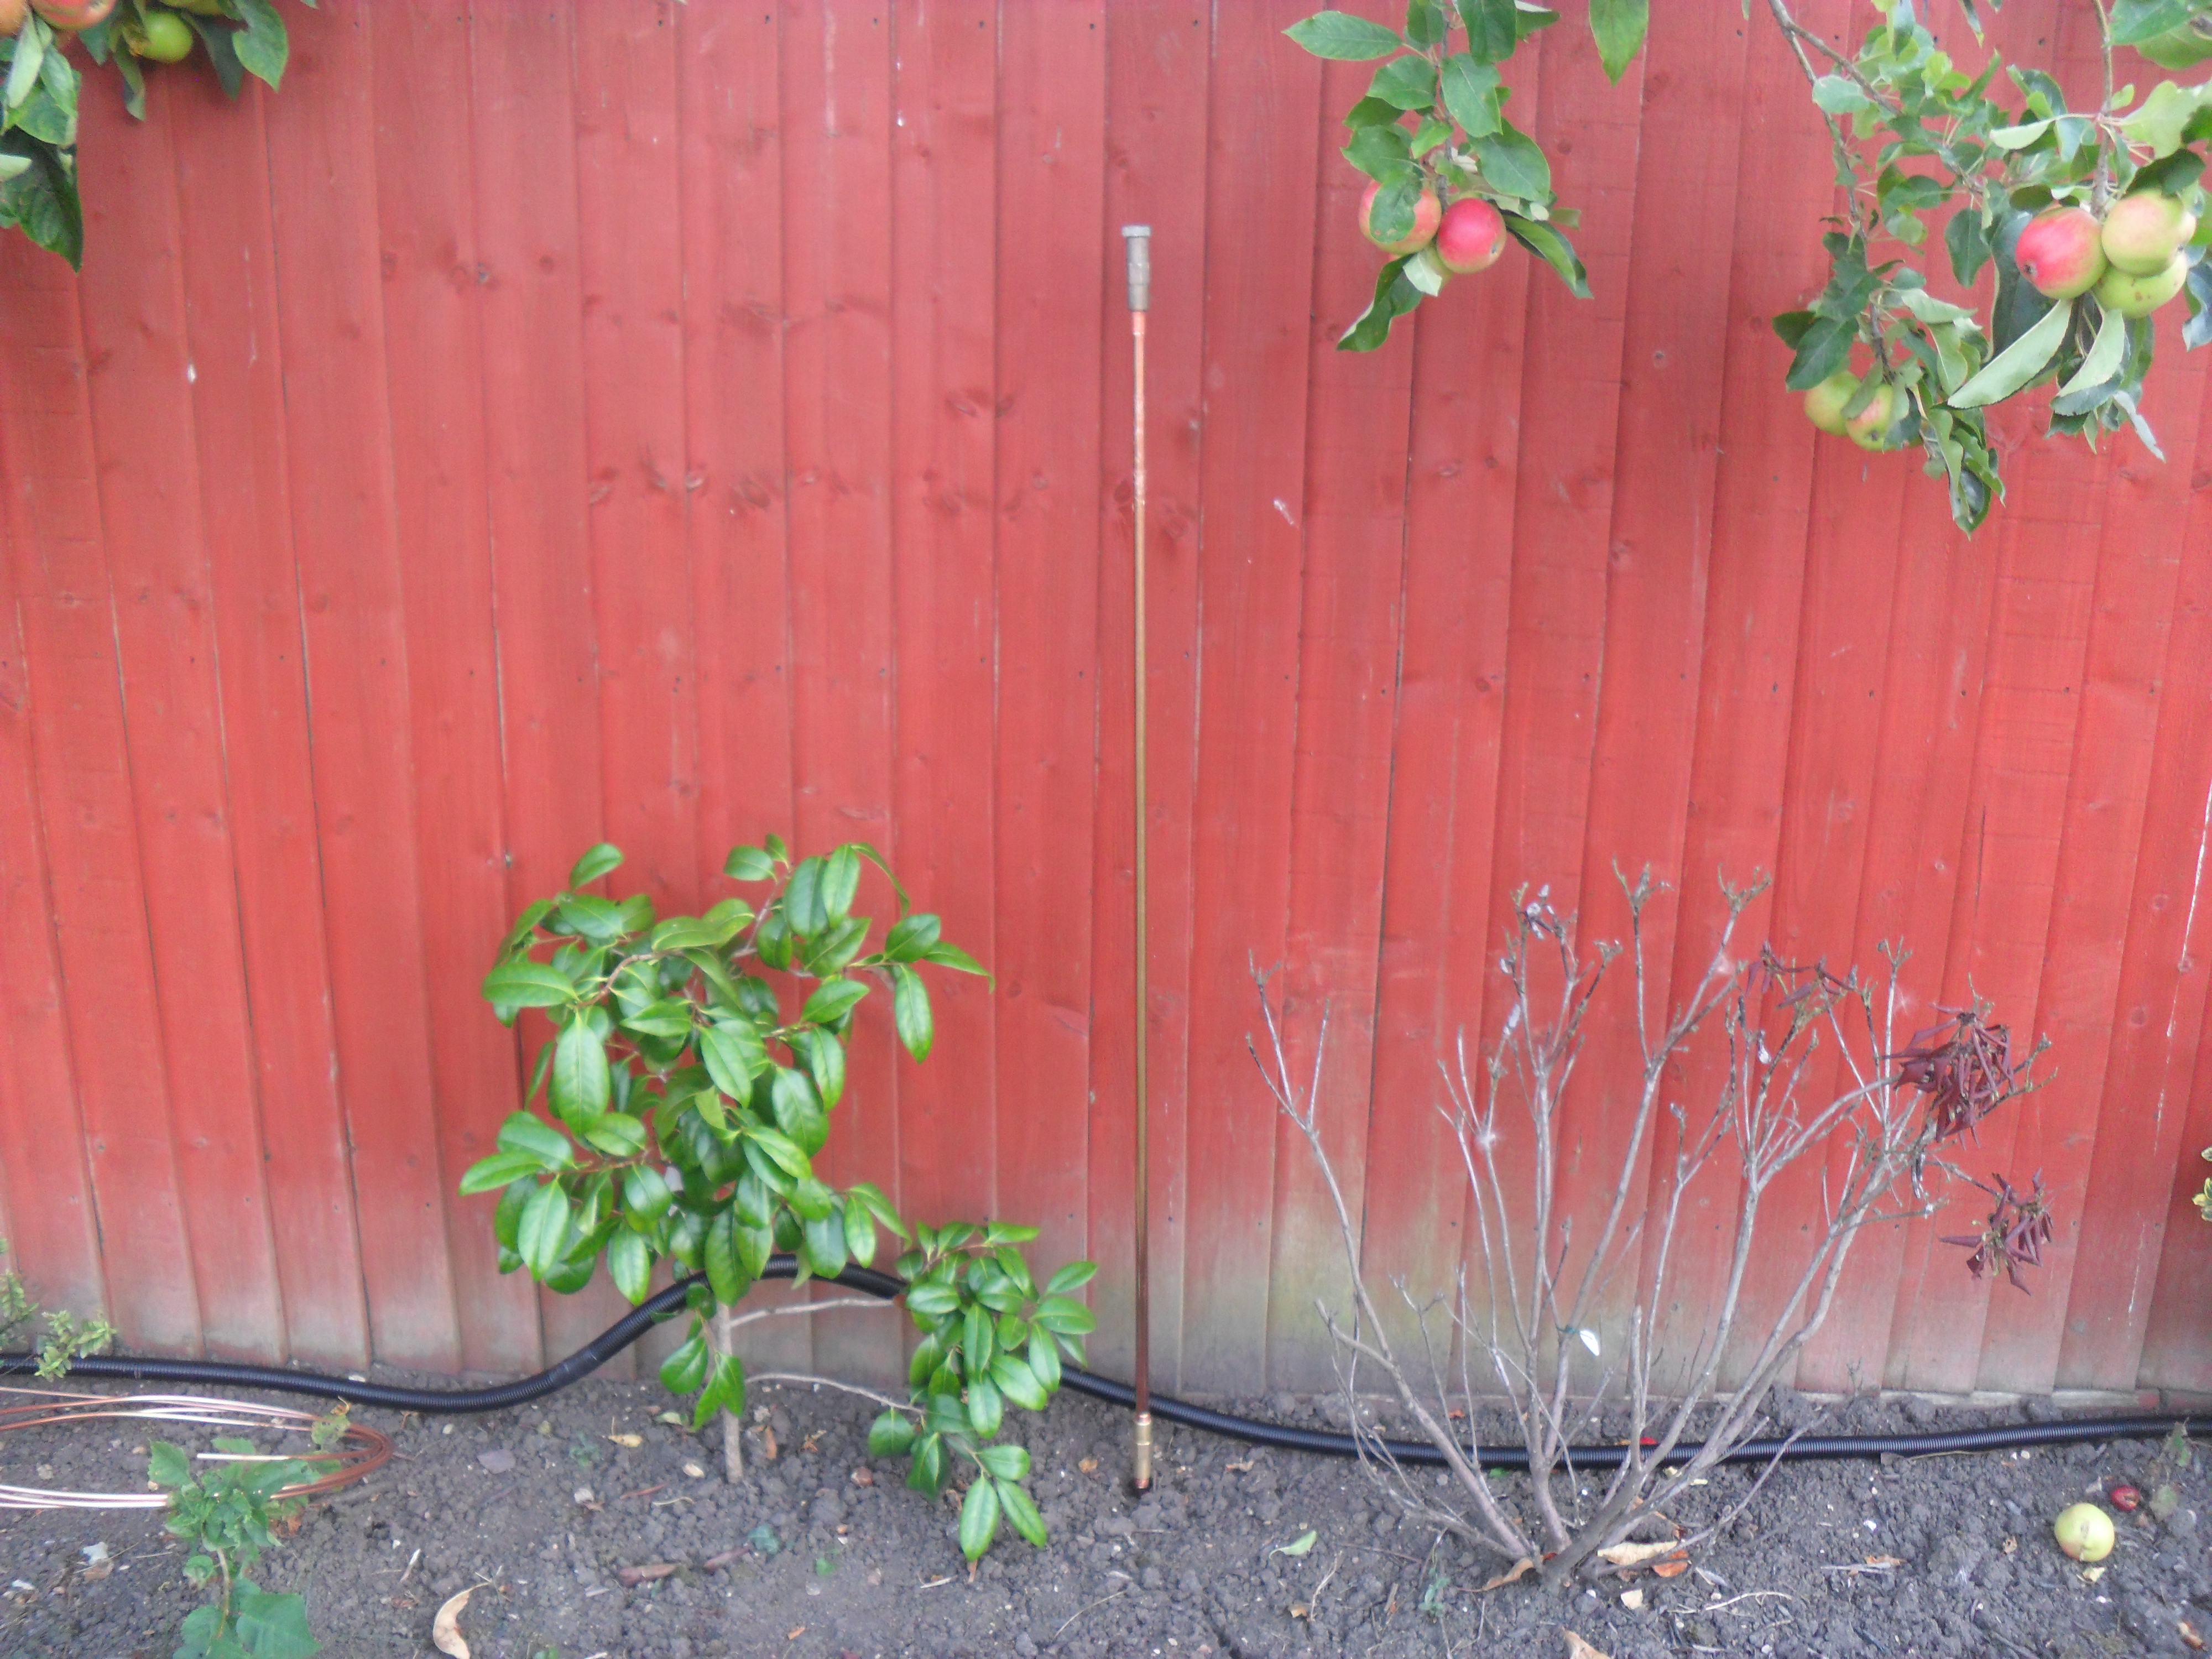
The wires will be routed to the base of the antenna tuner in 25mm plastic flexible conduit.
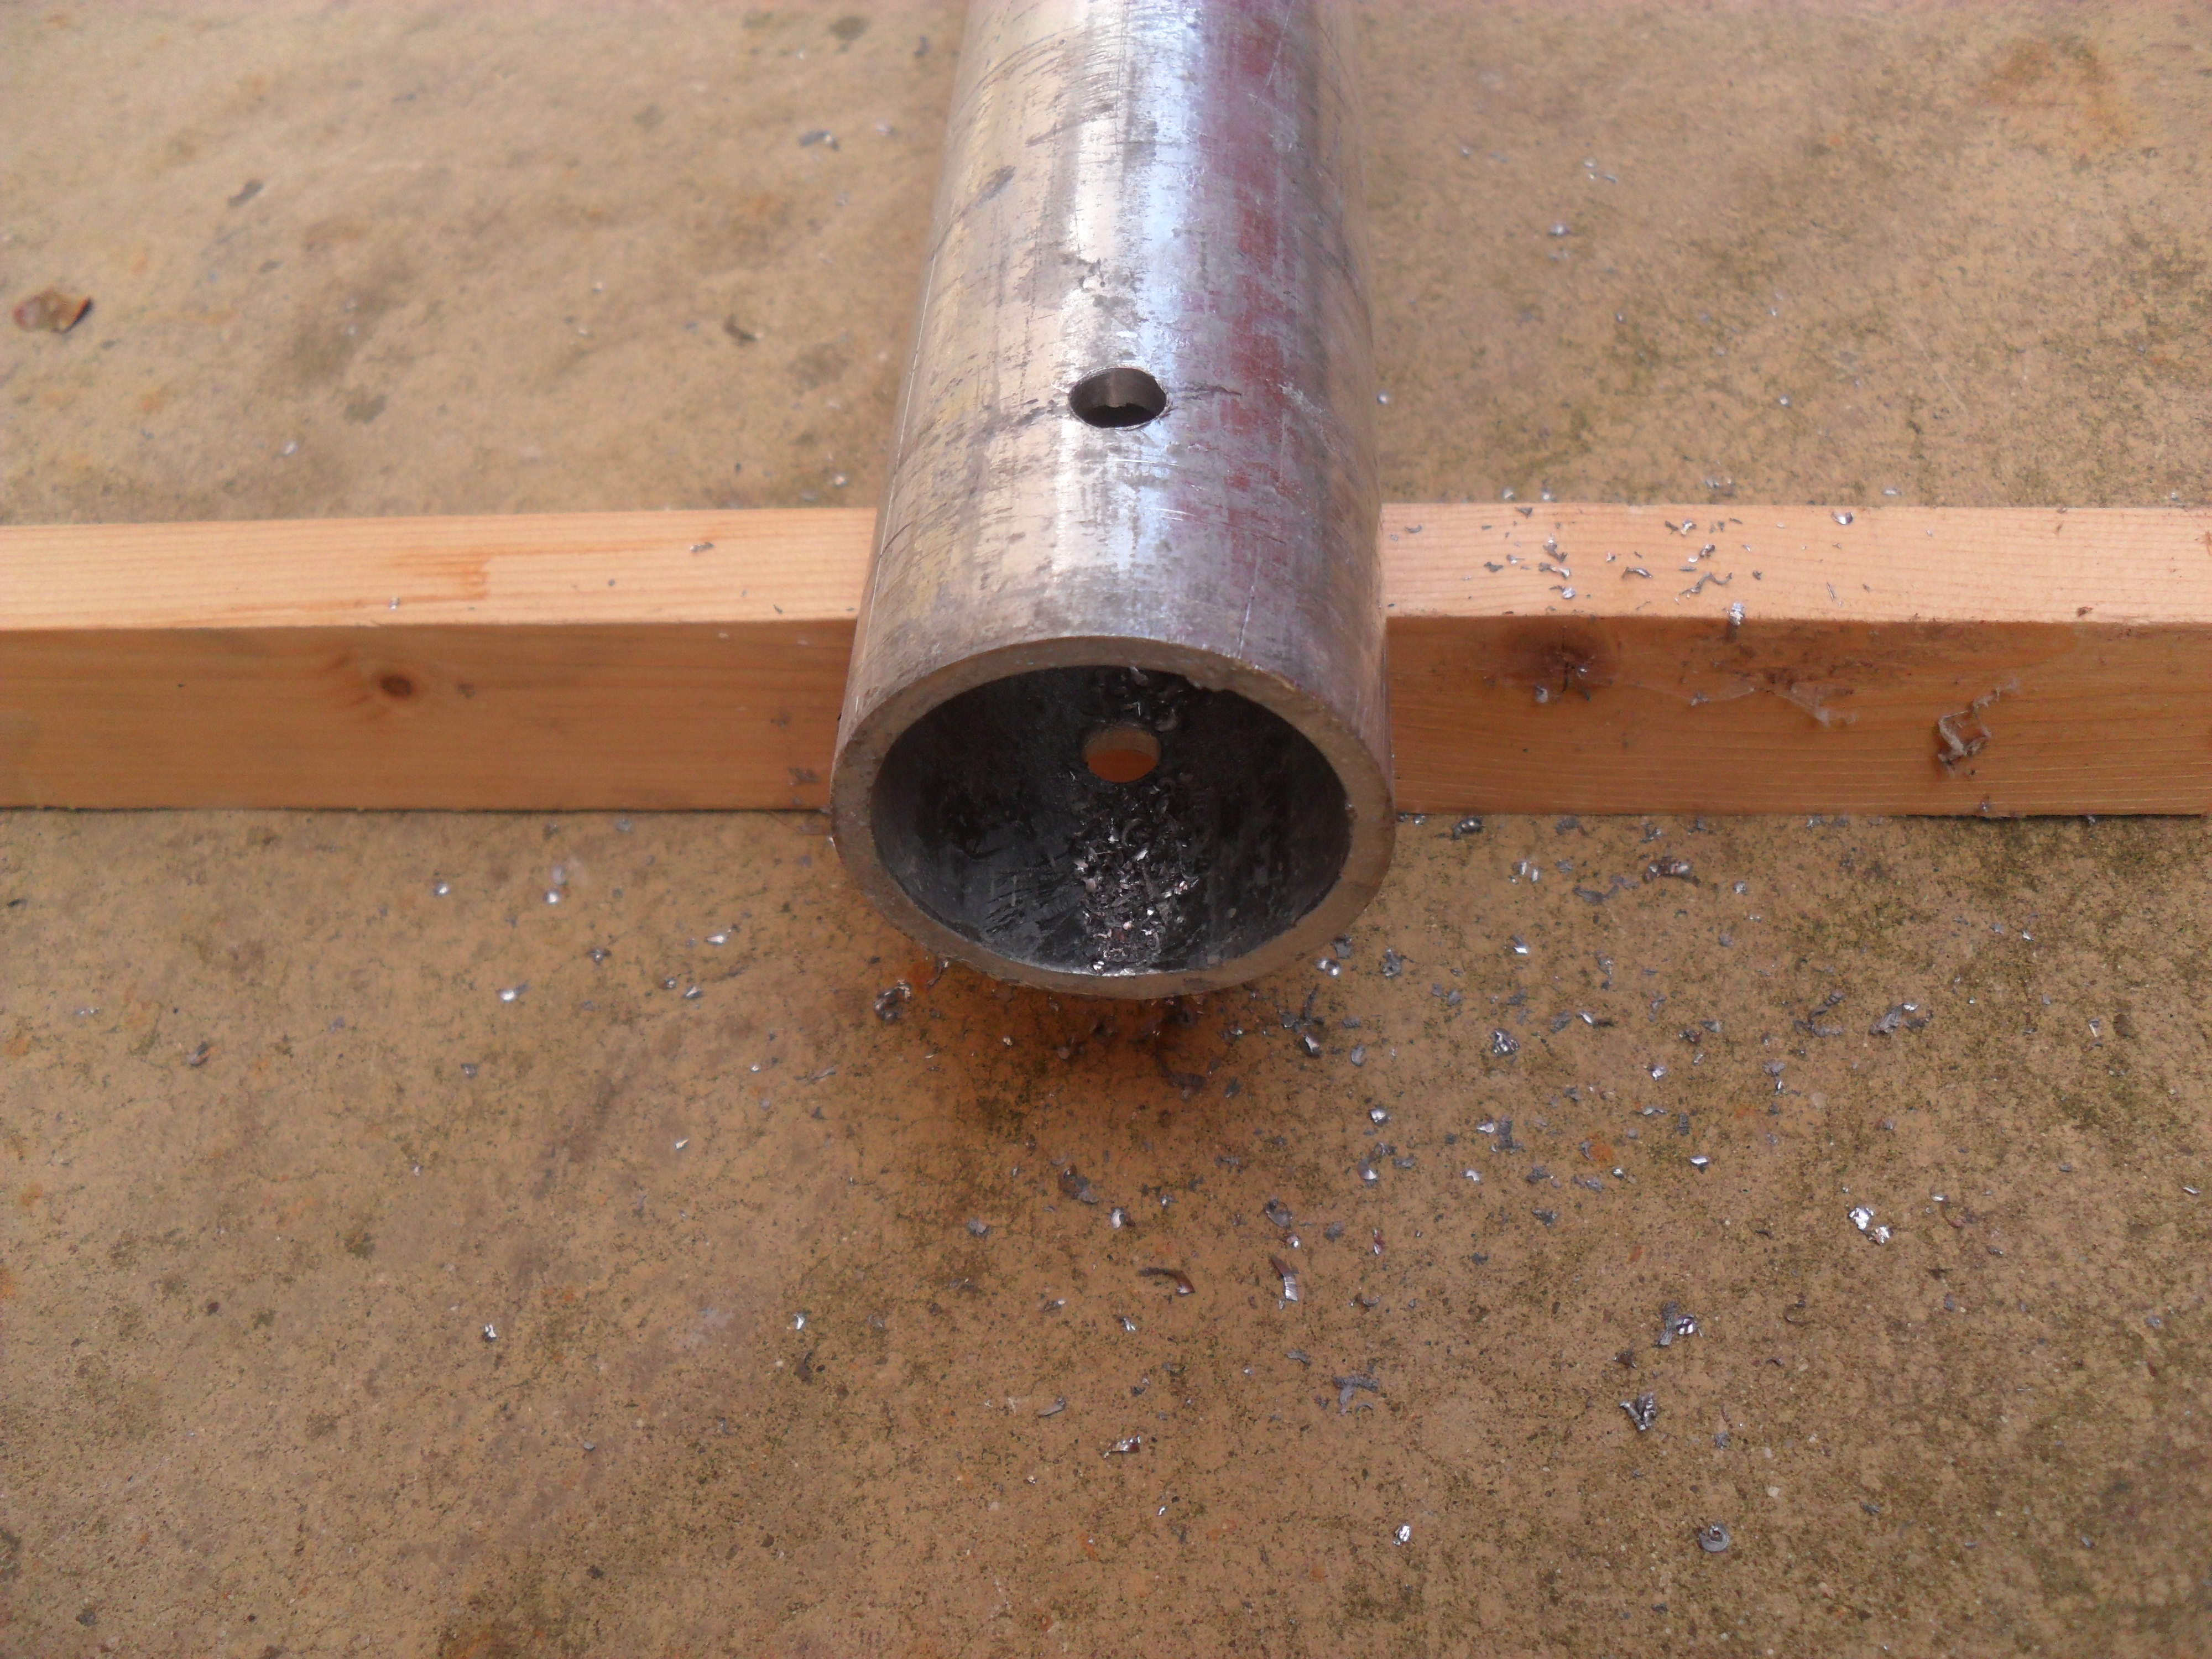
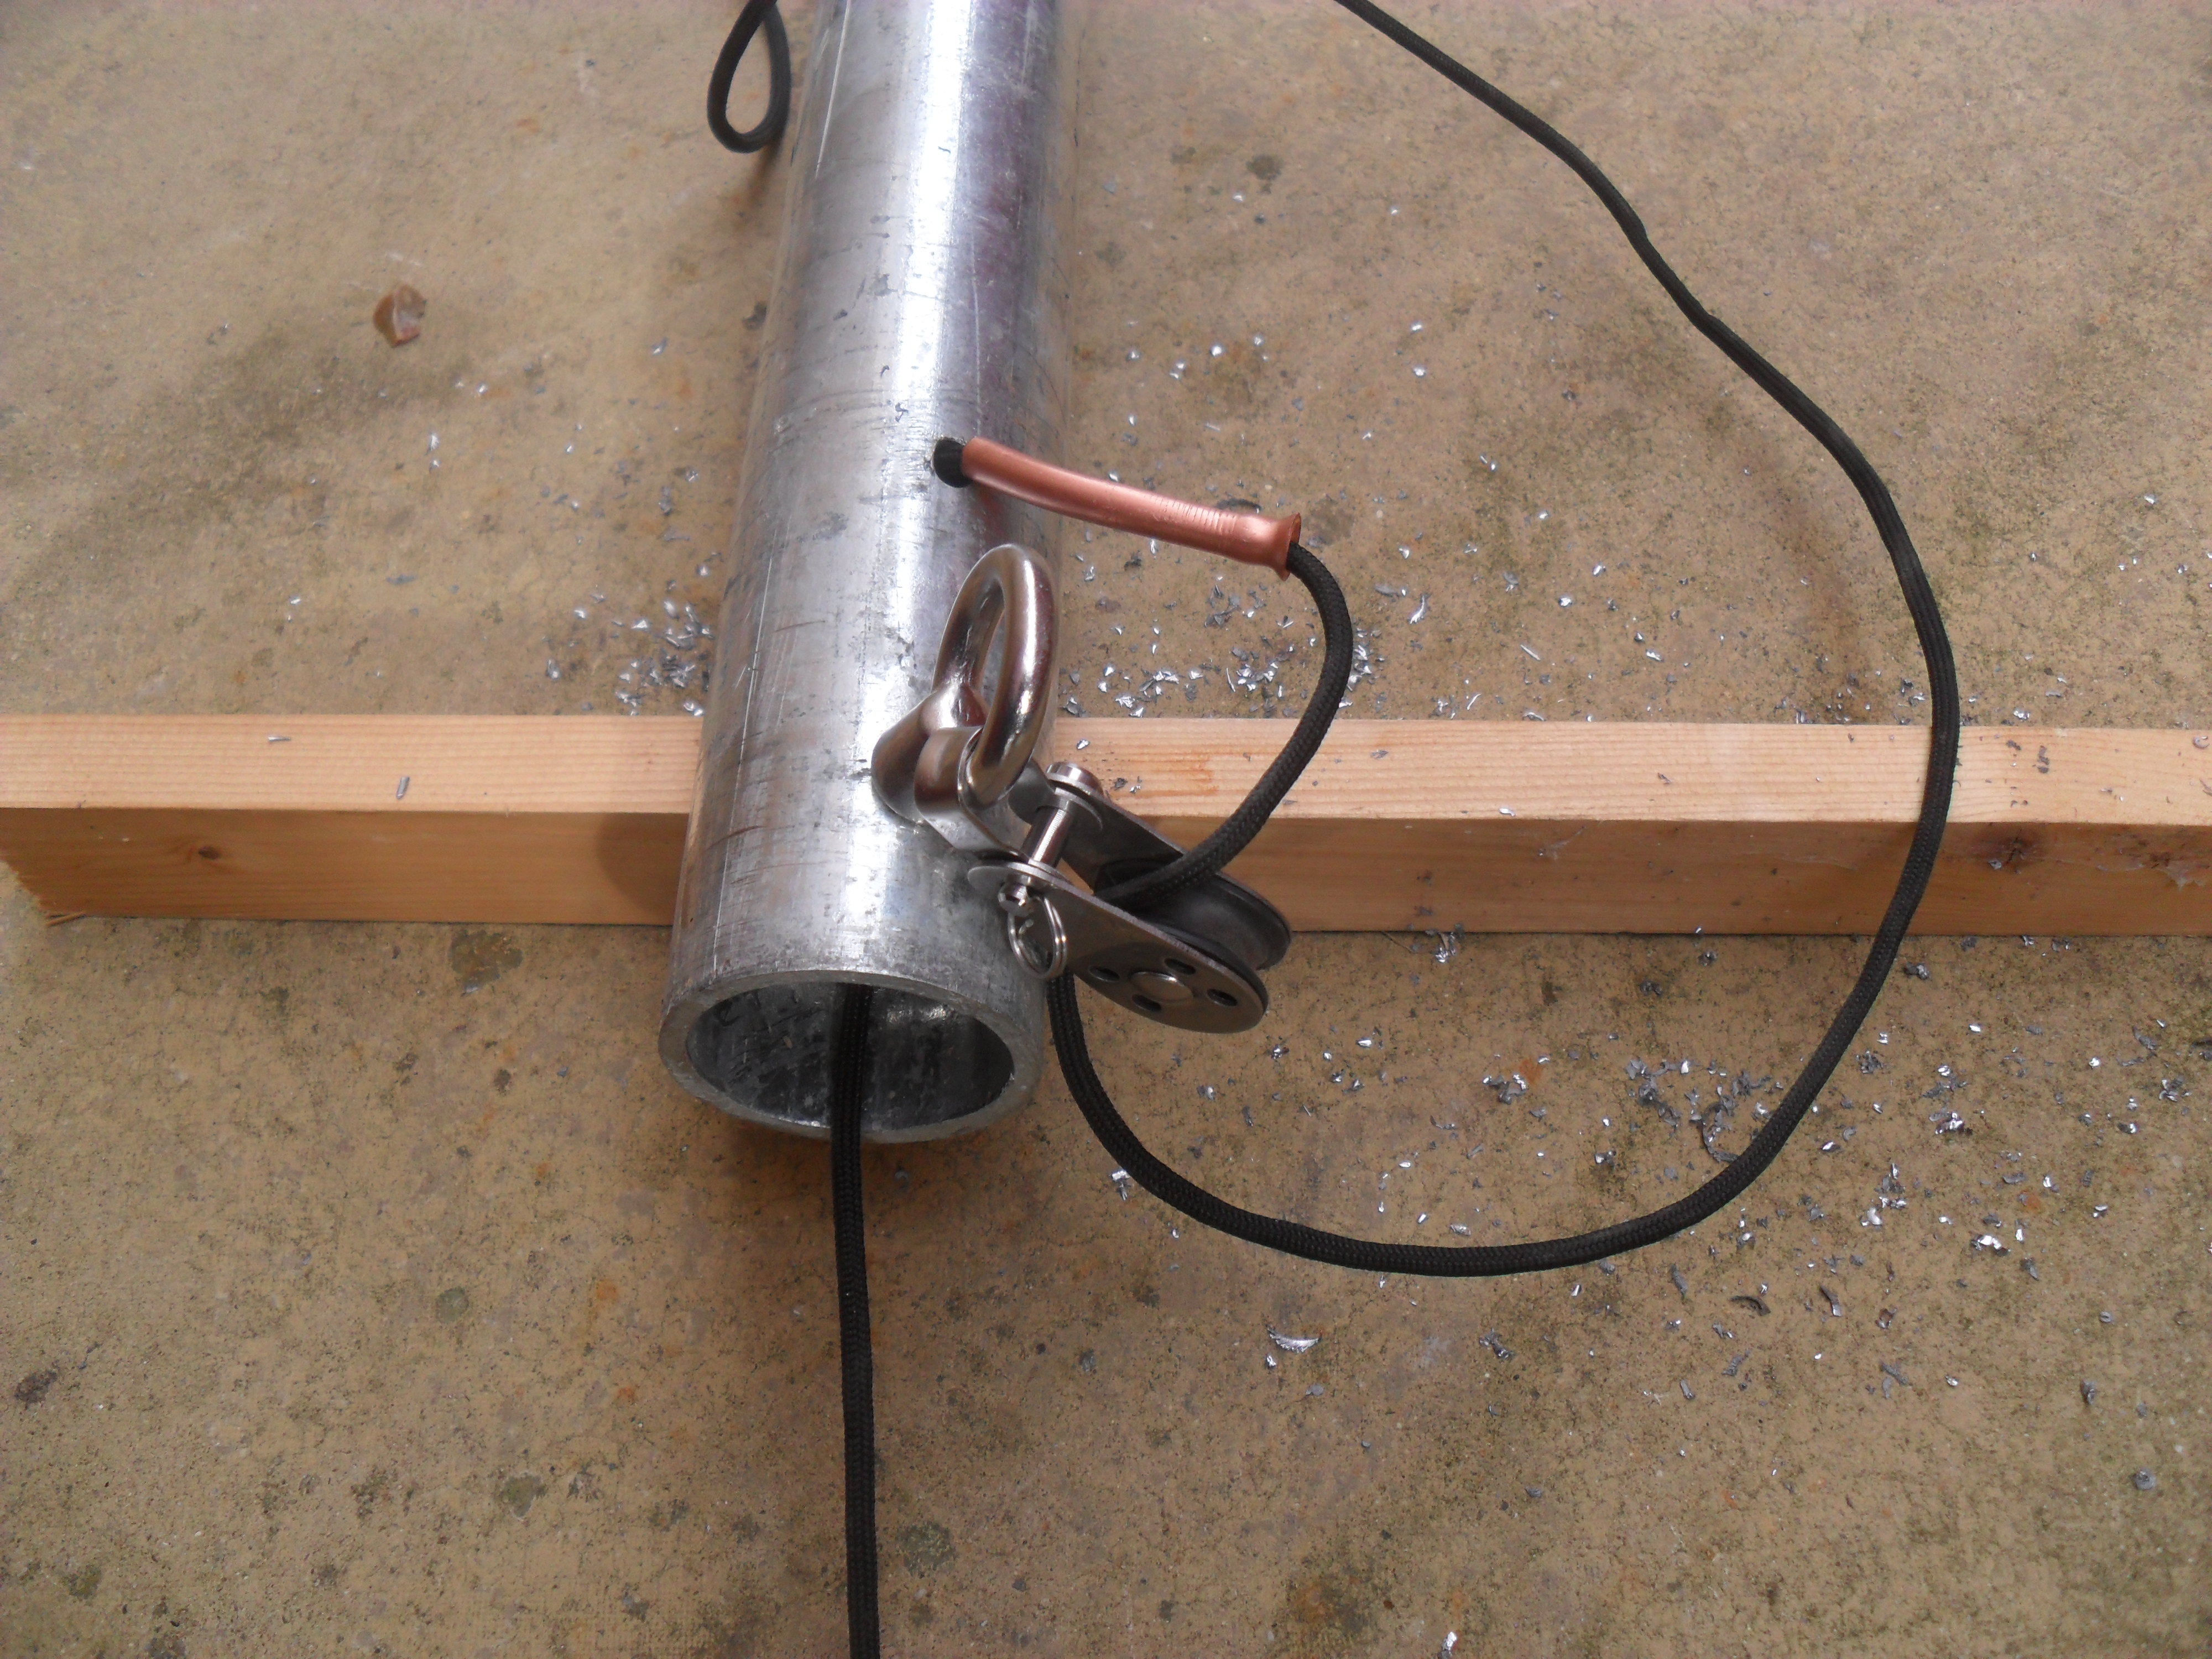
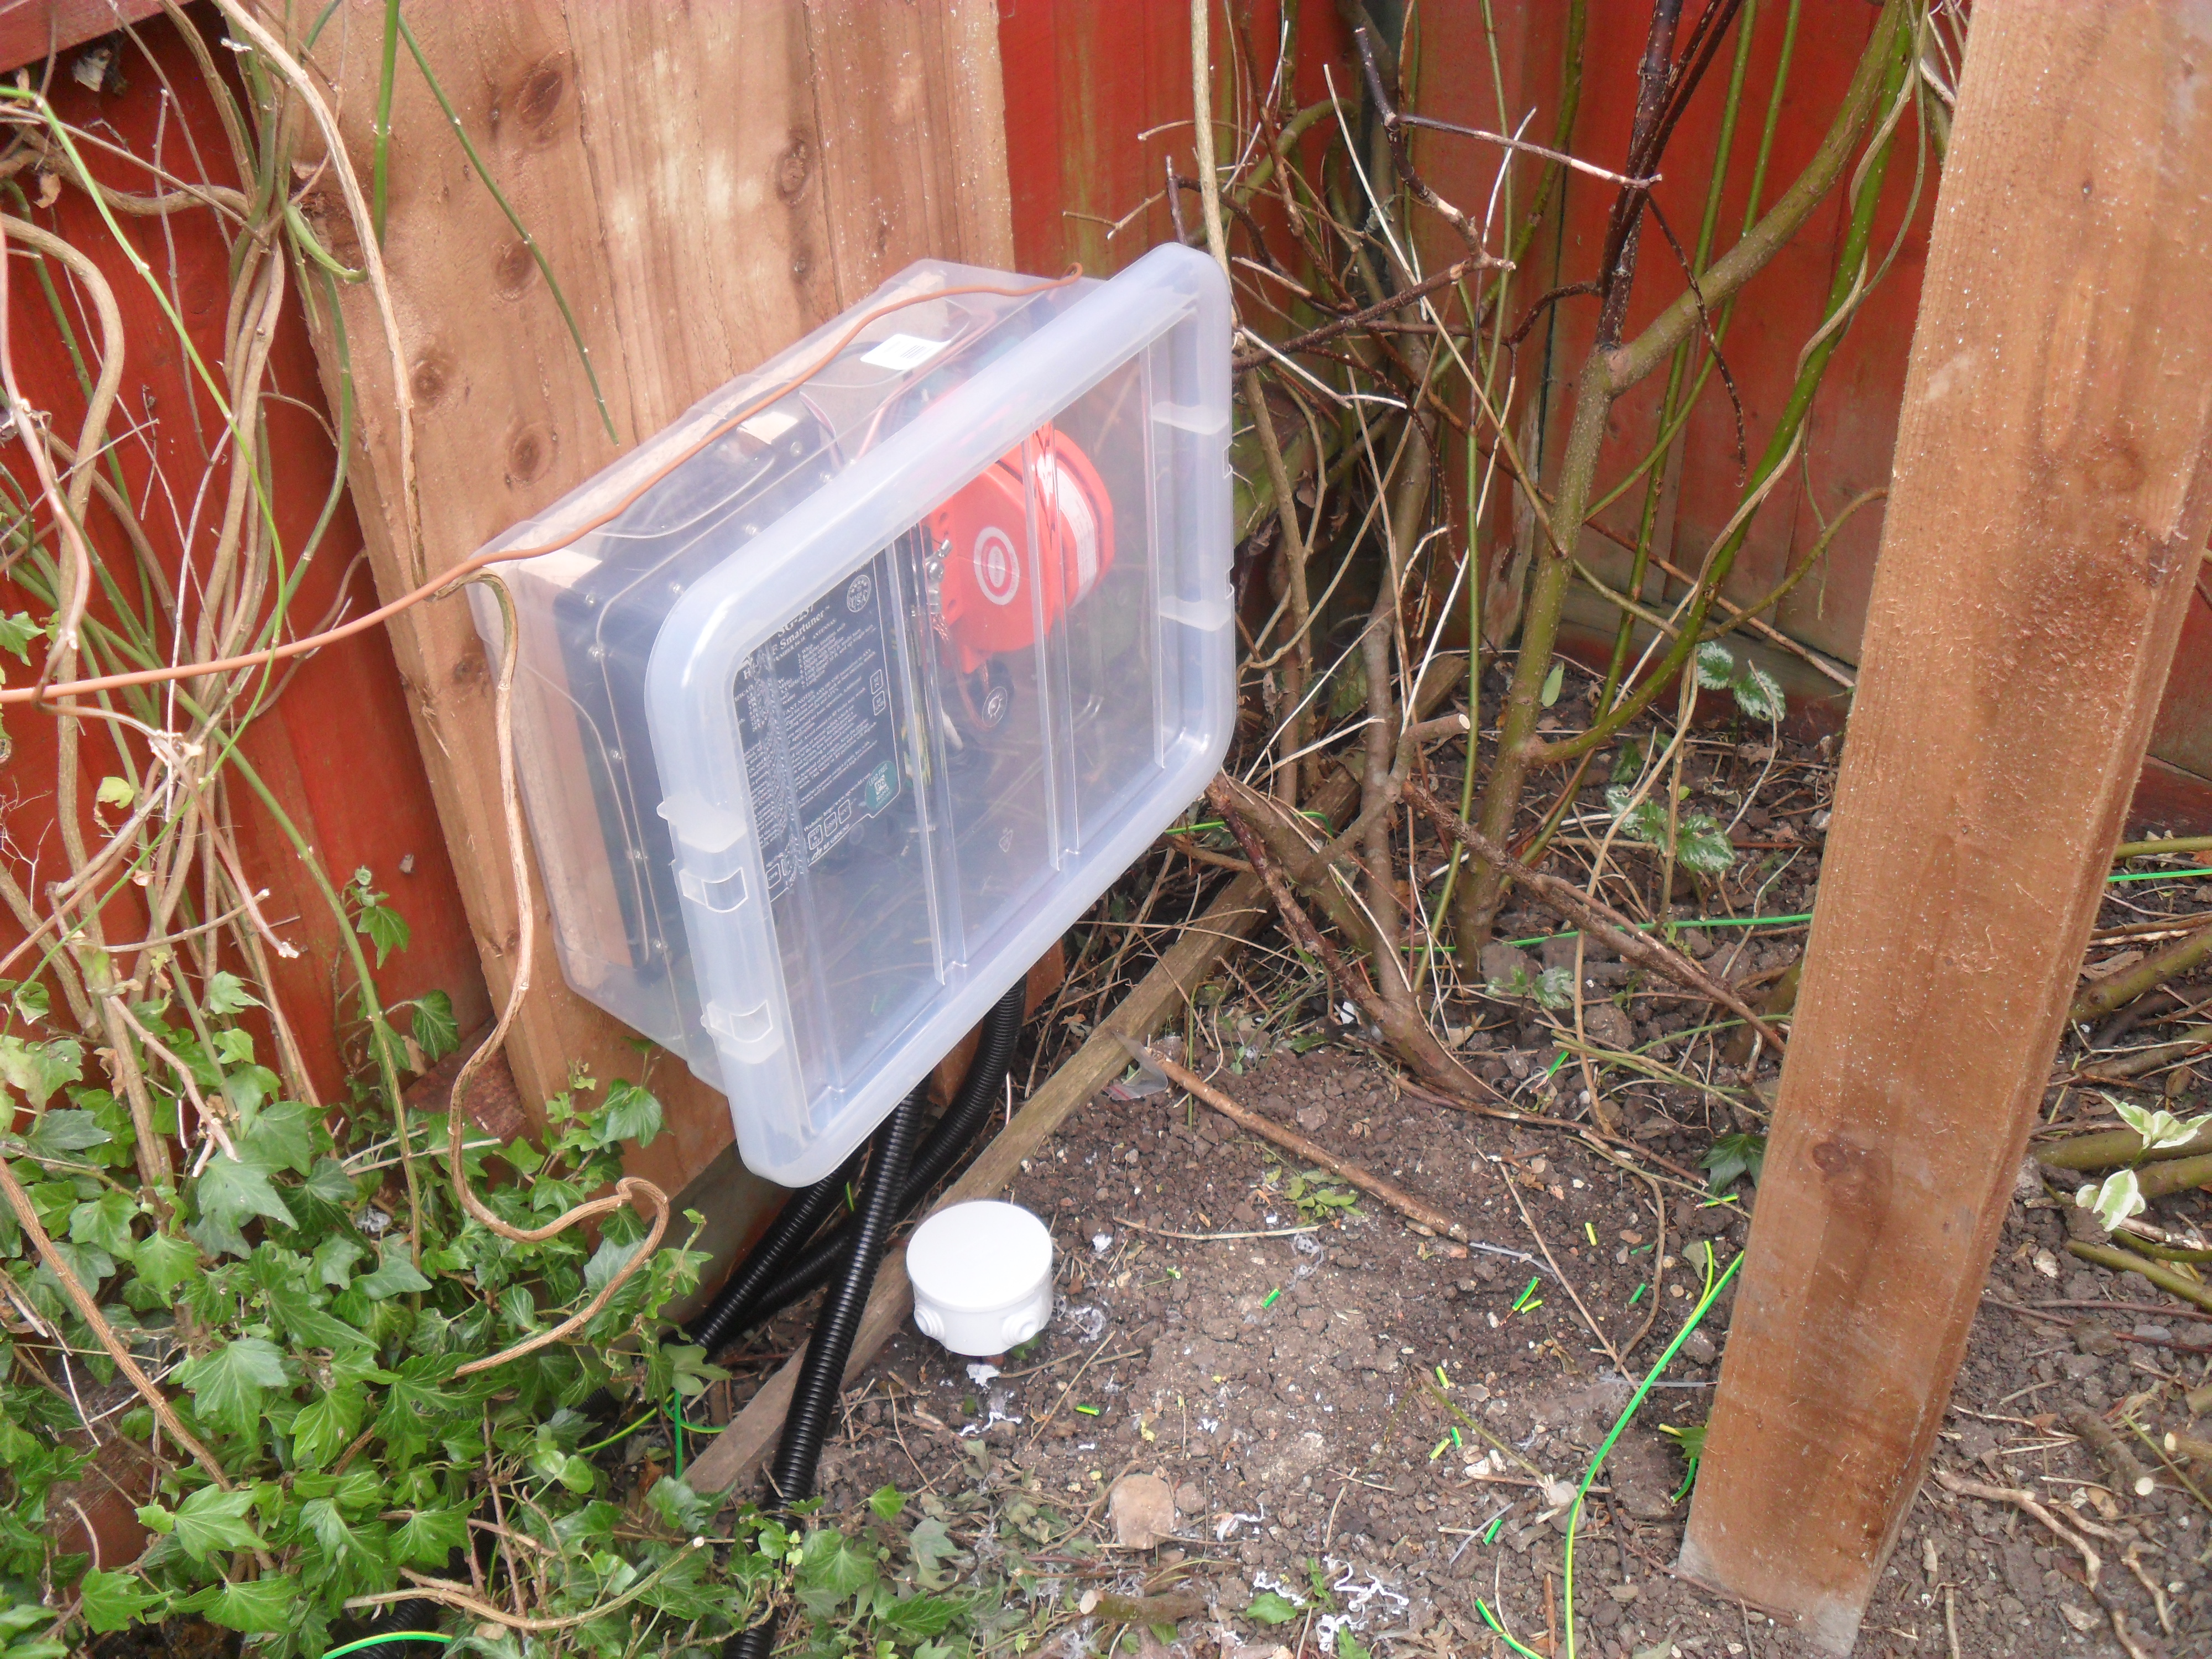
Picture shows the 100mm x 100mm timber post concreted in place which will be used to support the 6m scaffold pole, also in the picture is the circular box where one of the 2.4m copper DC earth terminates and of course the box containing the tuner.

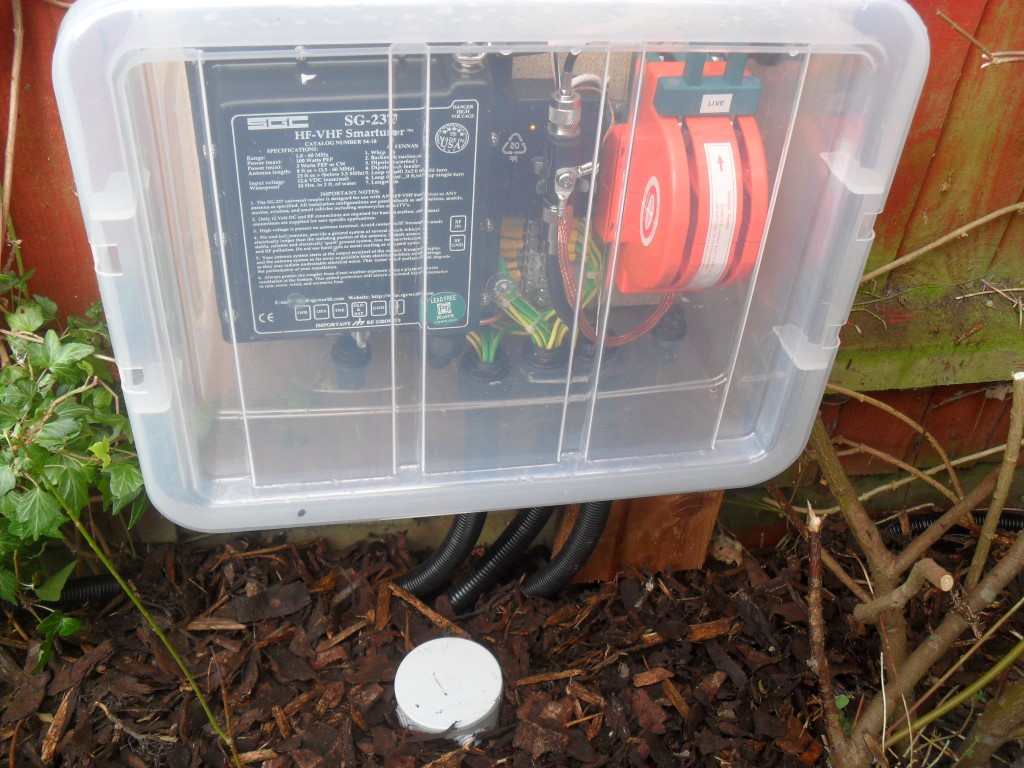
This is the front view of the SG Tuner enclosure, I have used a storage container to keep the elements off the equipment, the location gets very little direct sunlight, hopefully the container is sufficiently UV robust.

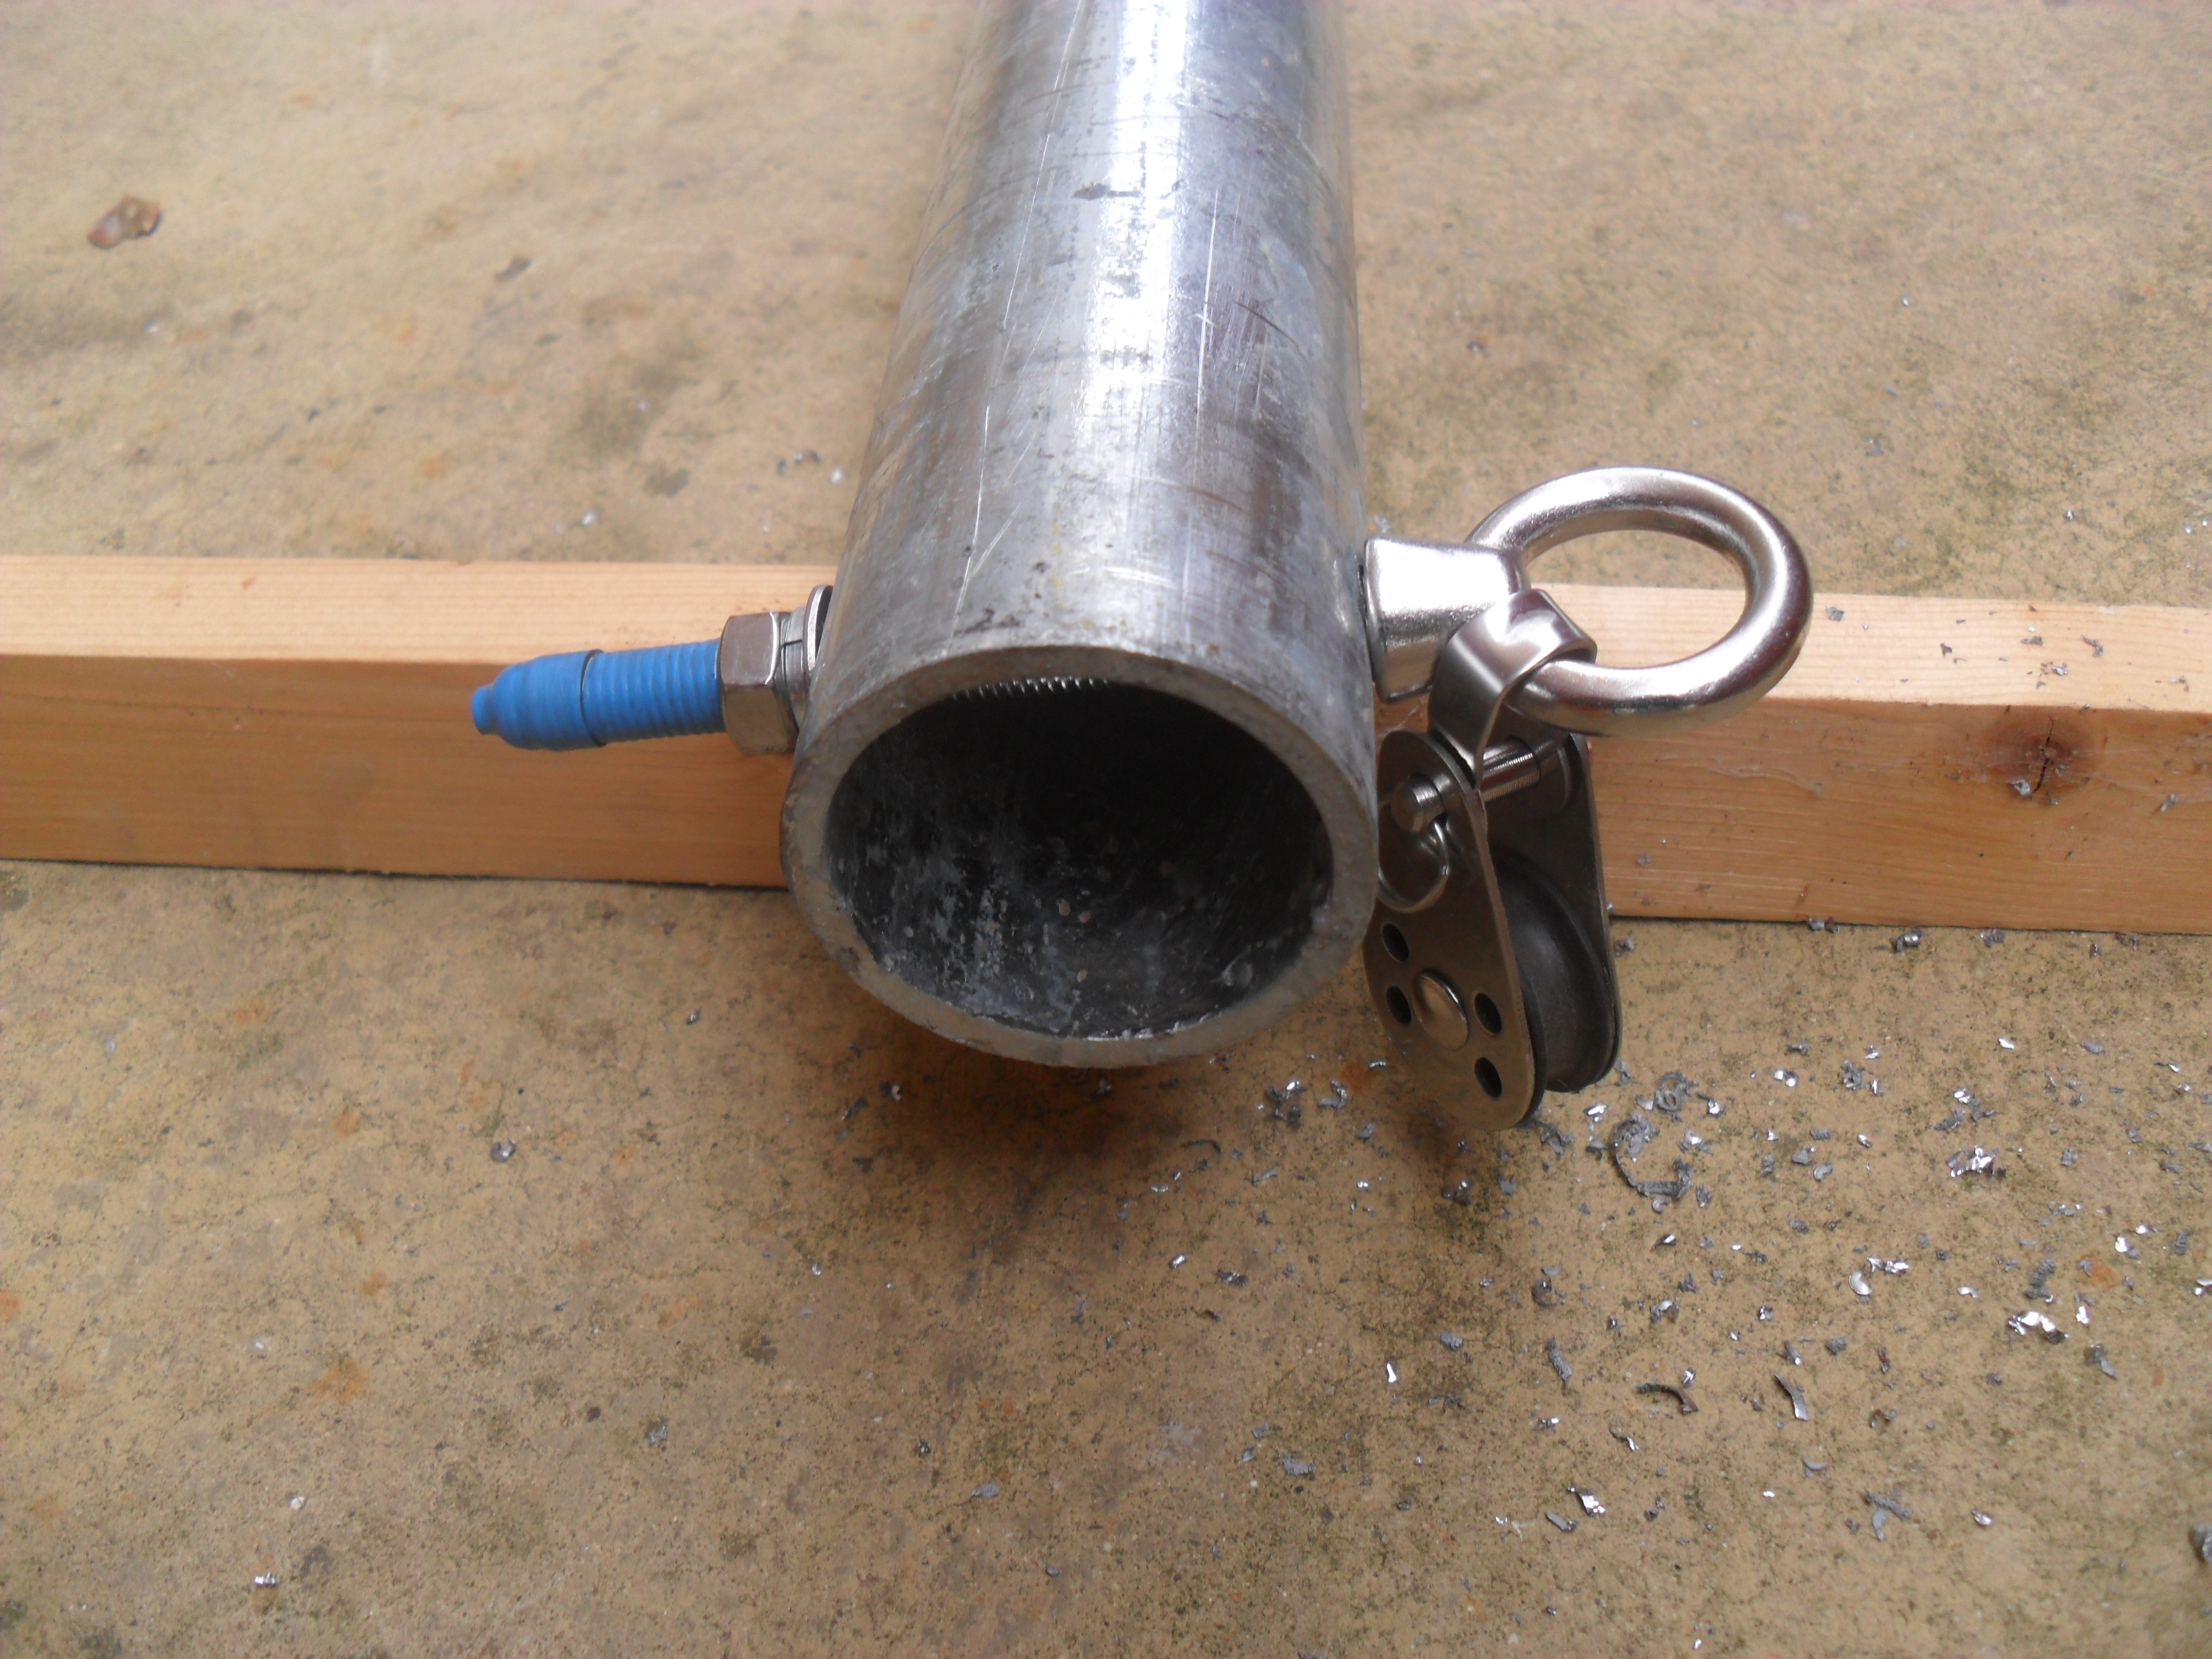
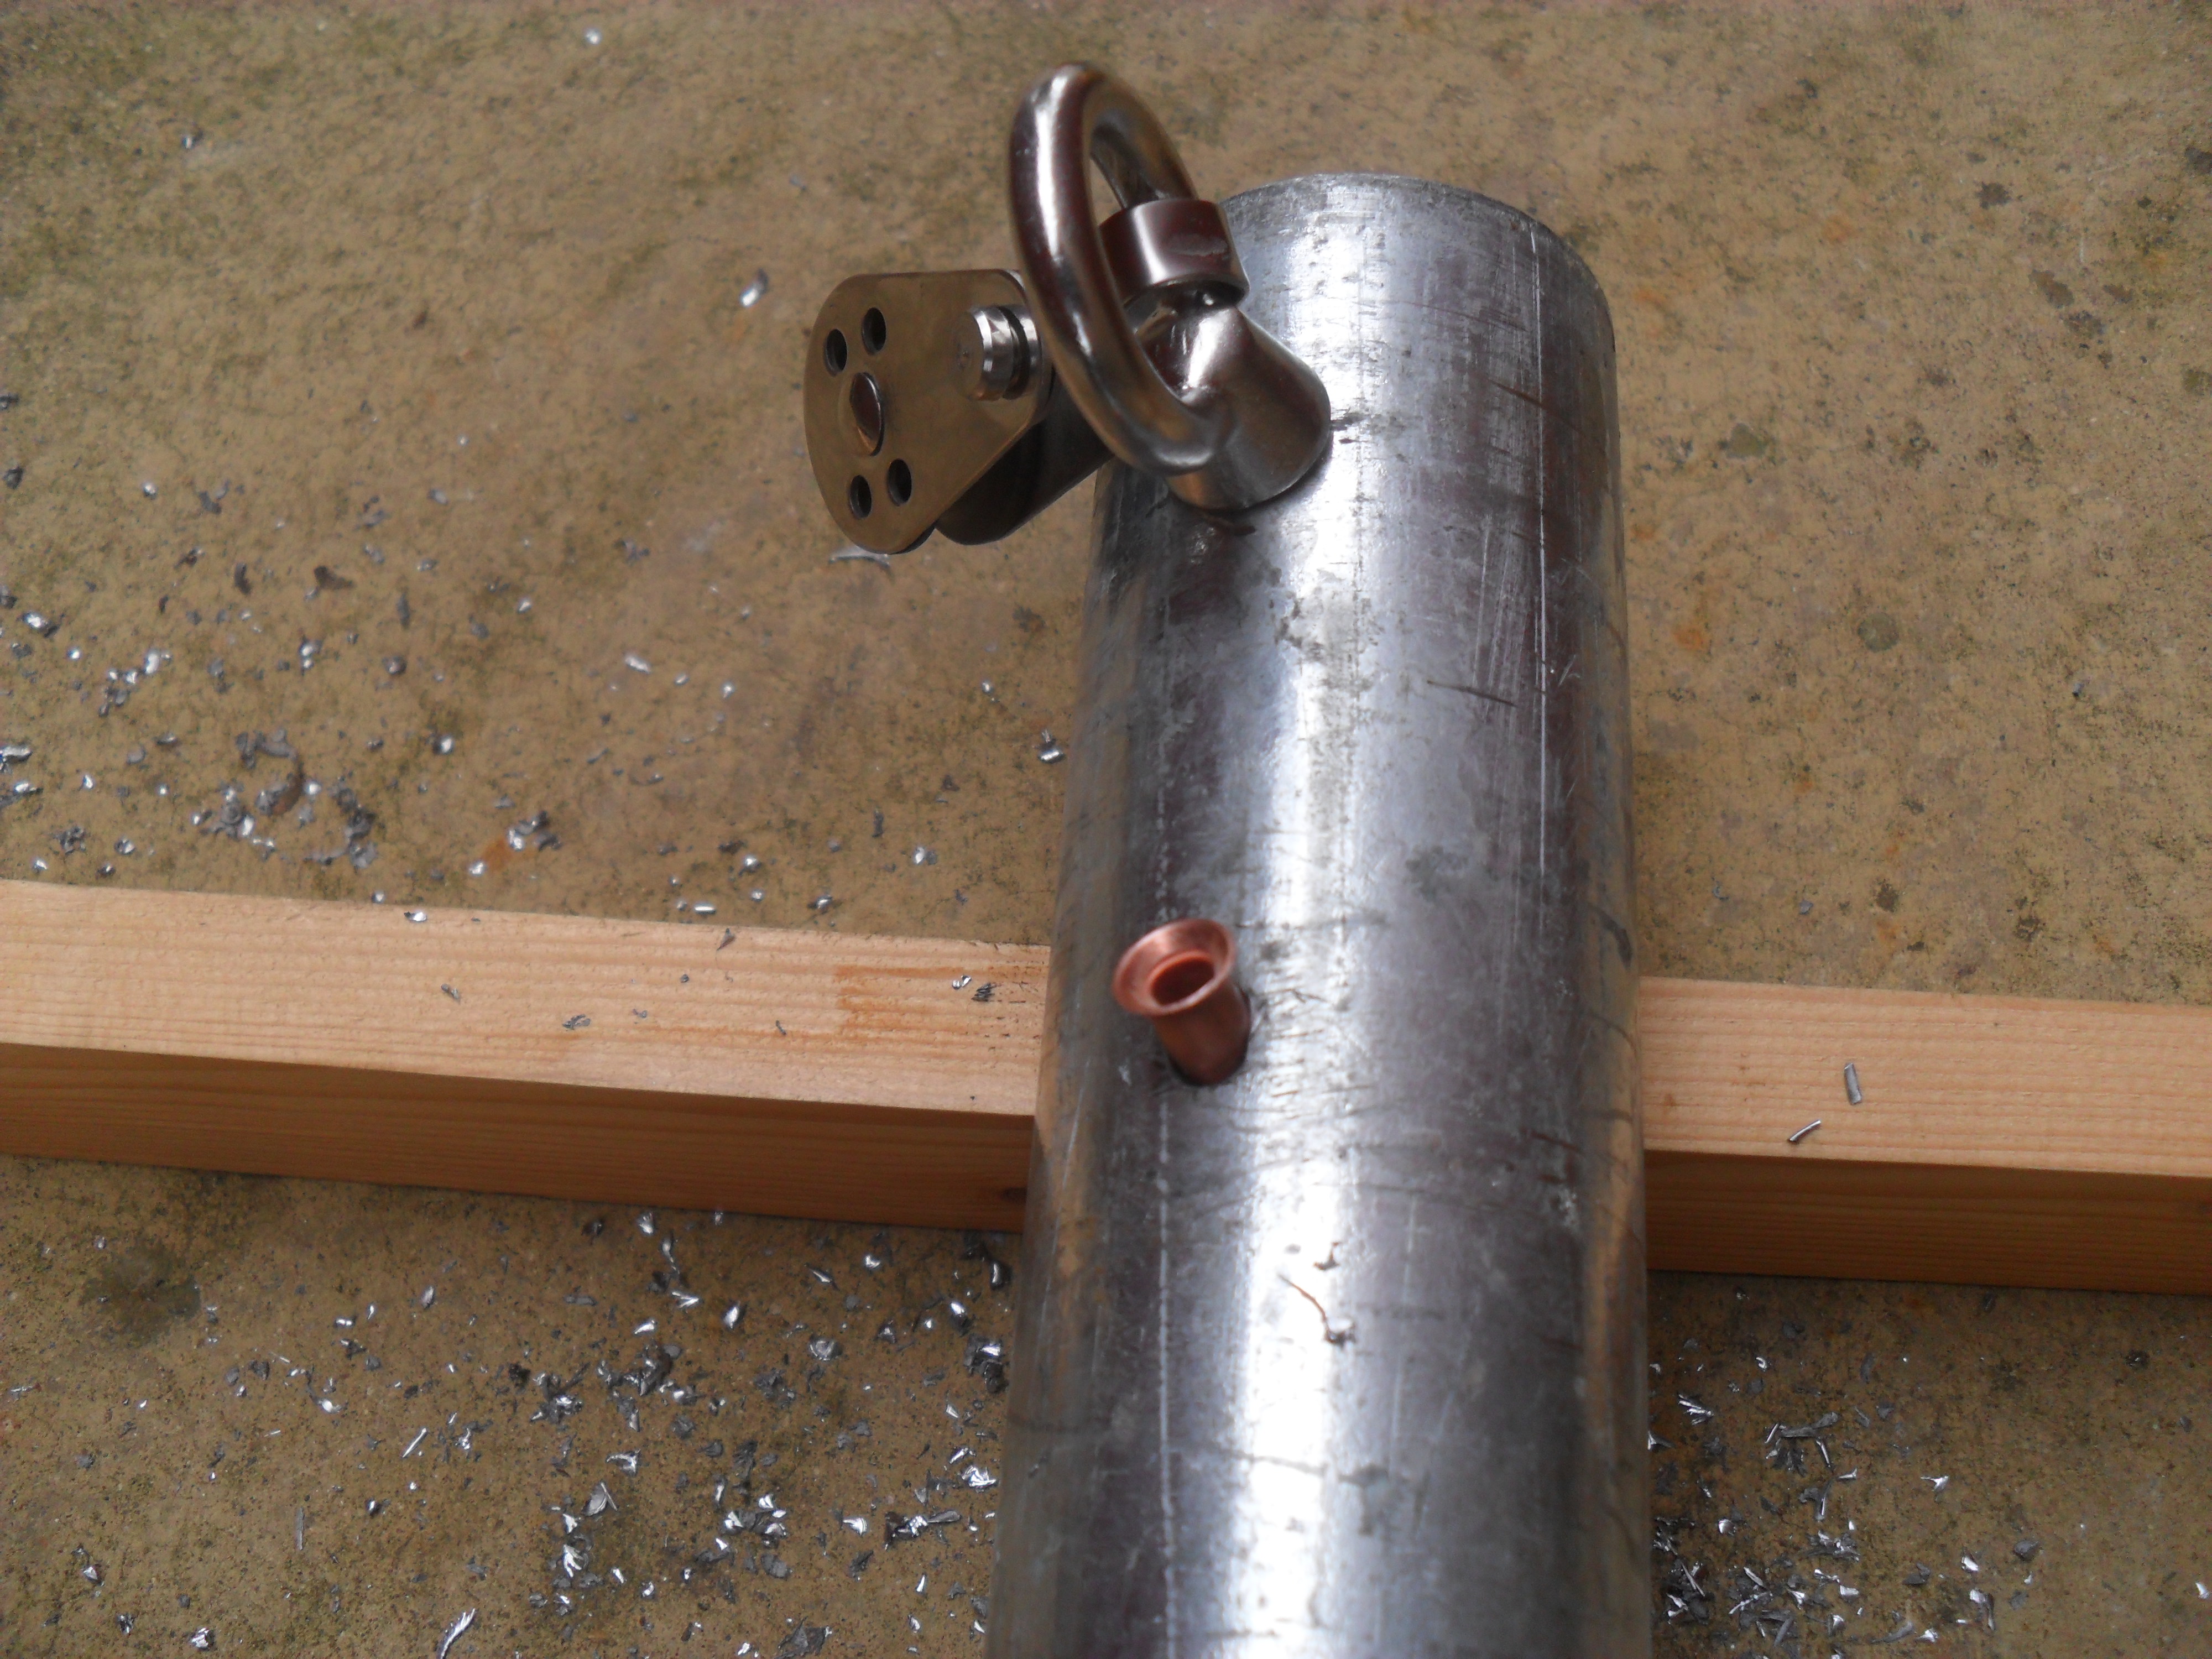
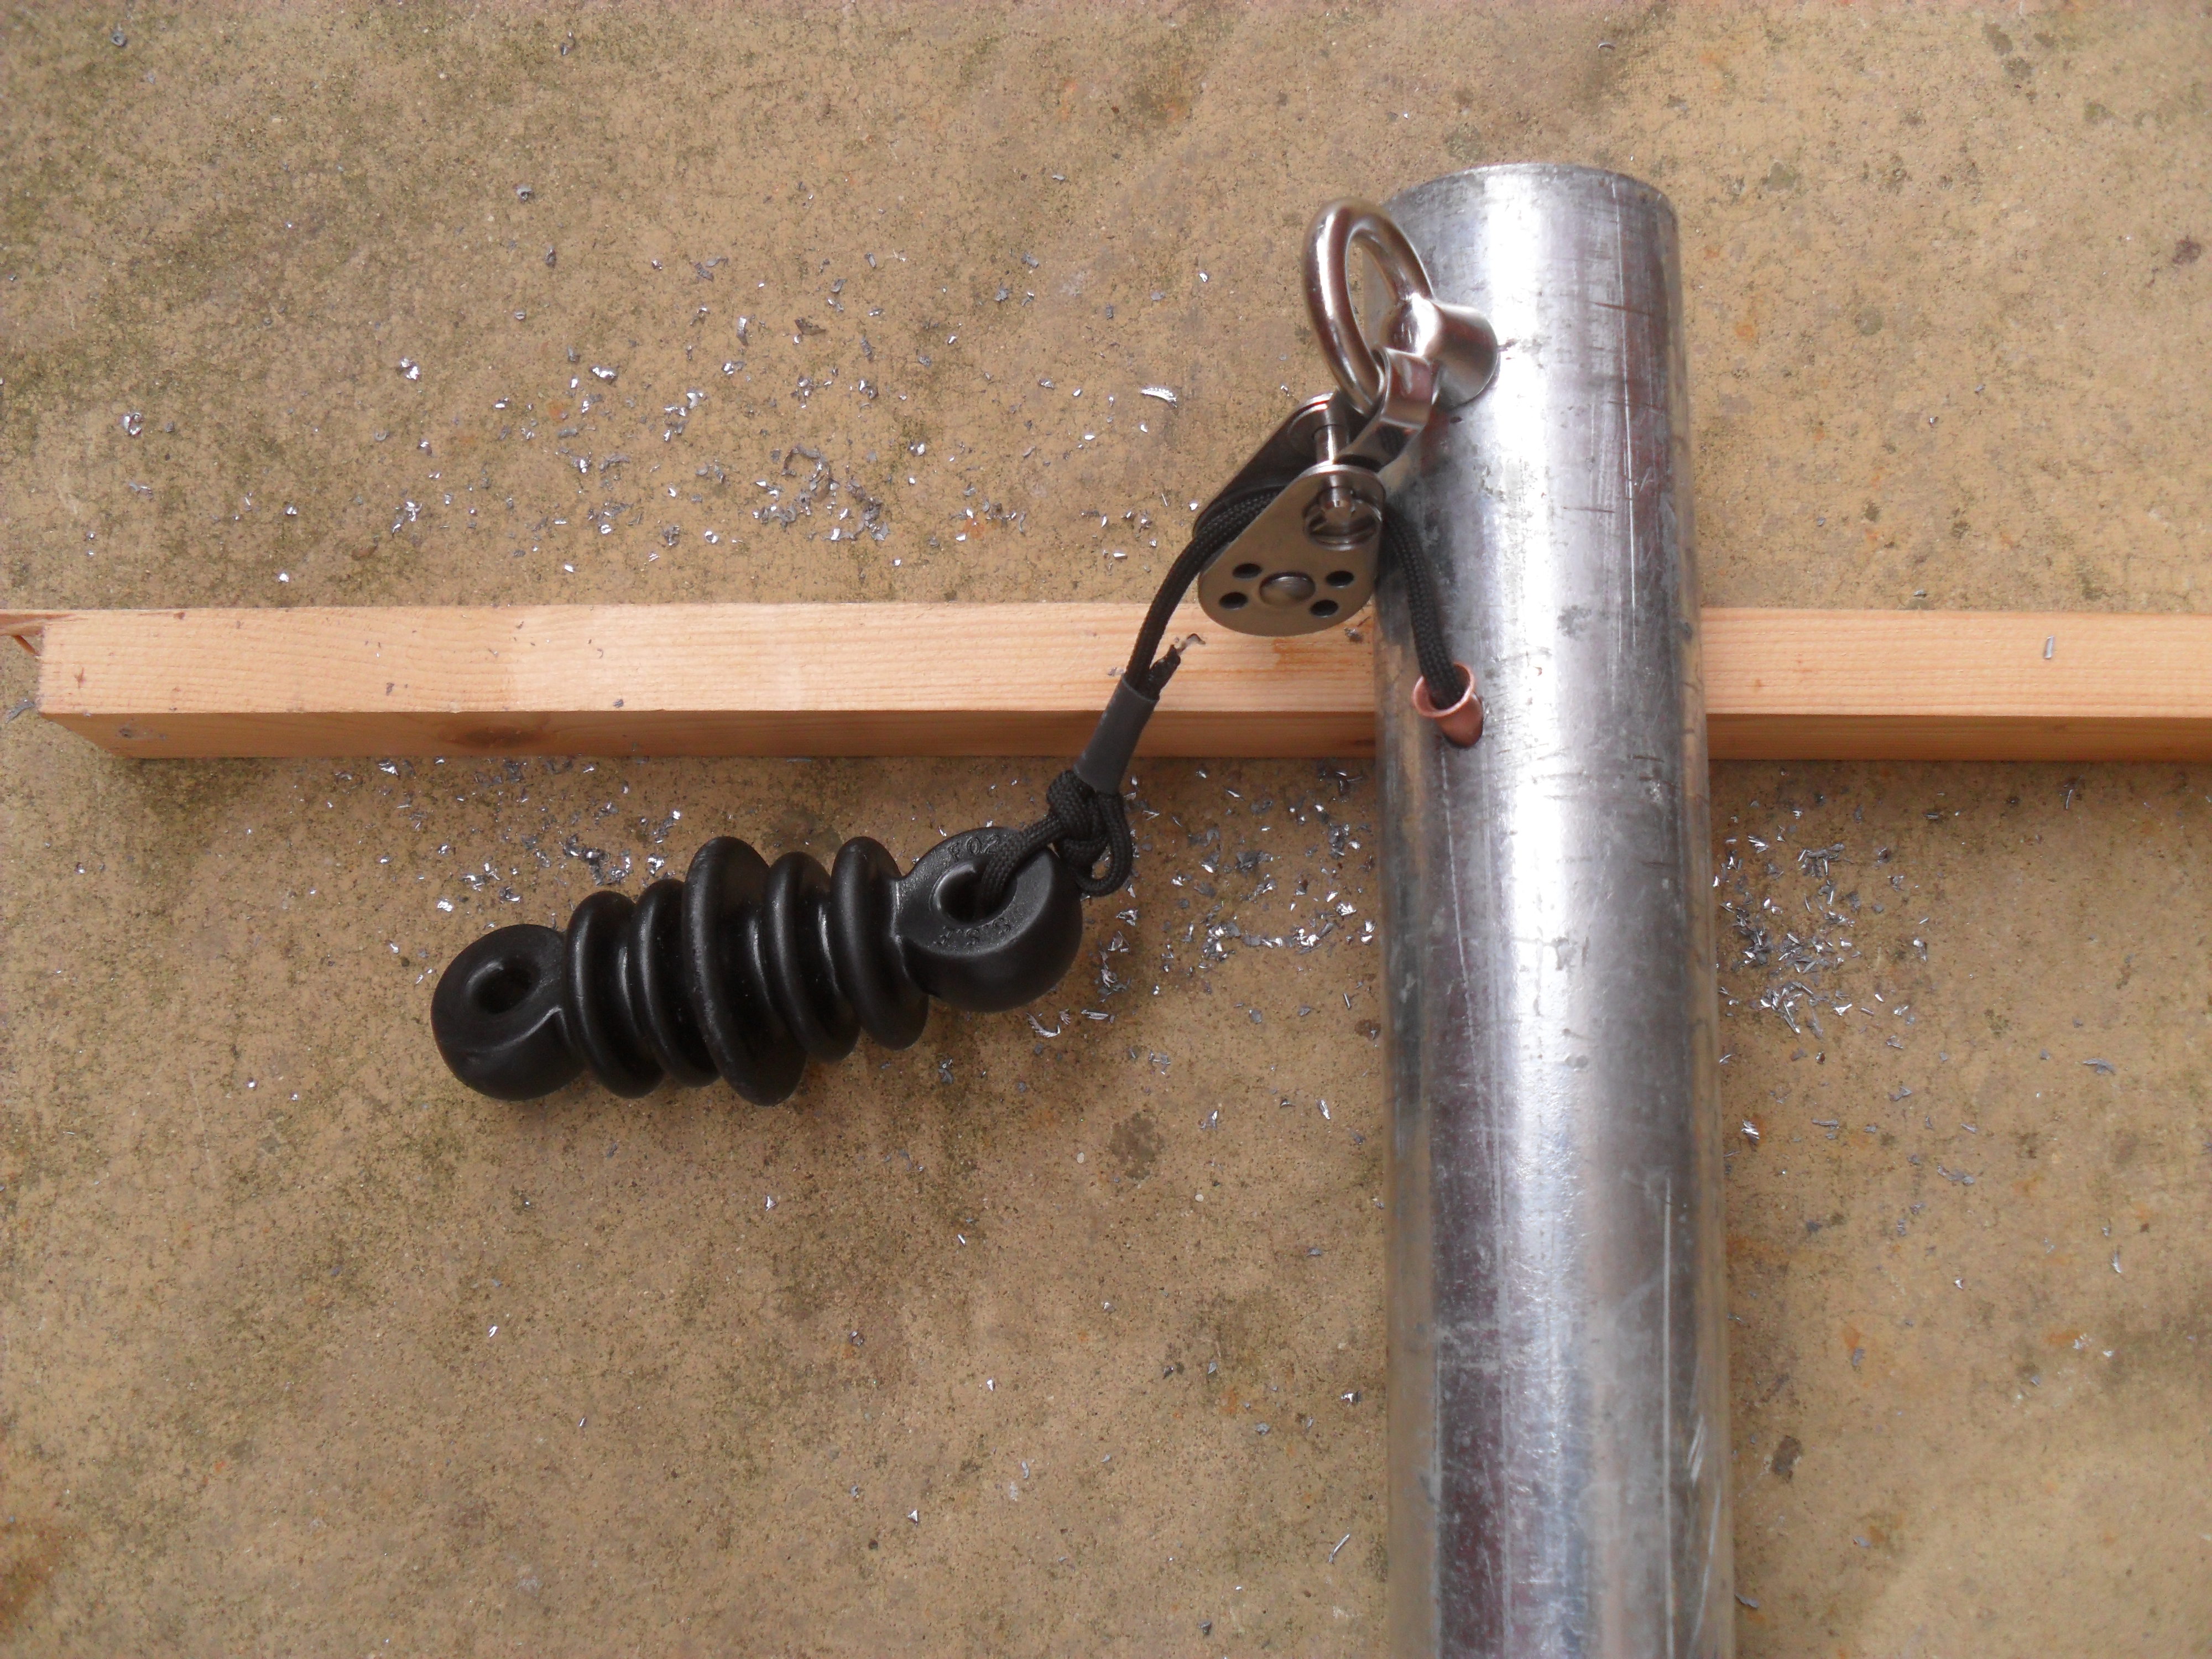
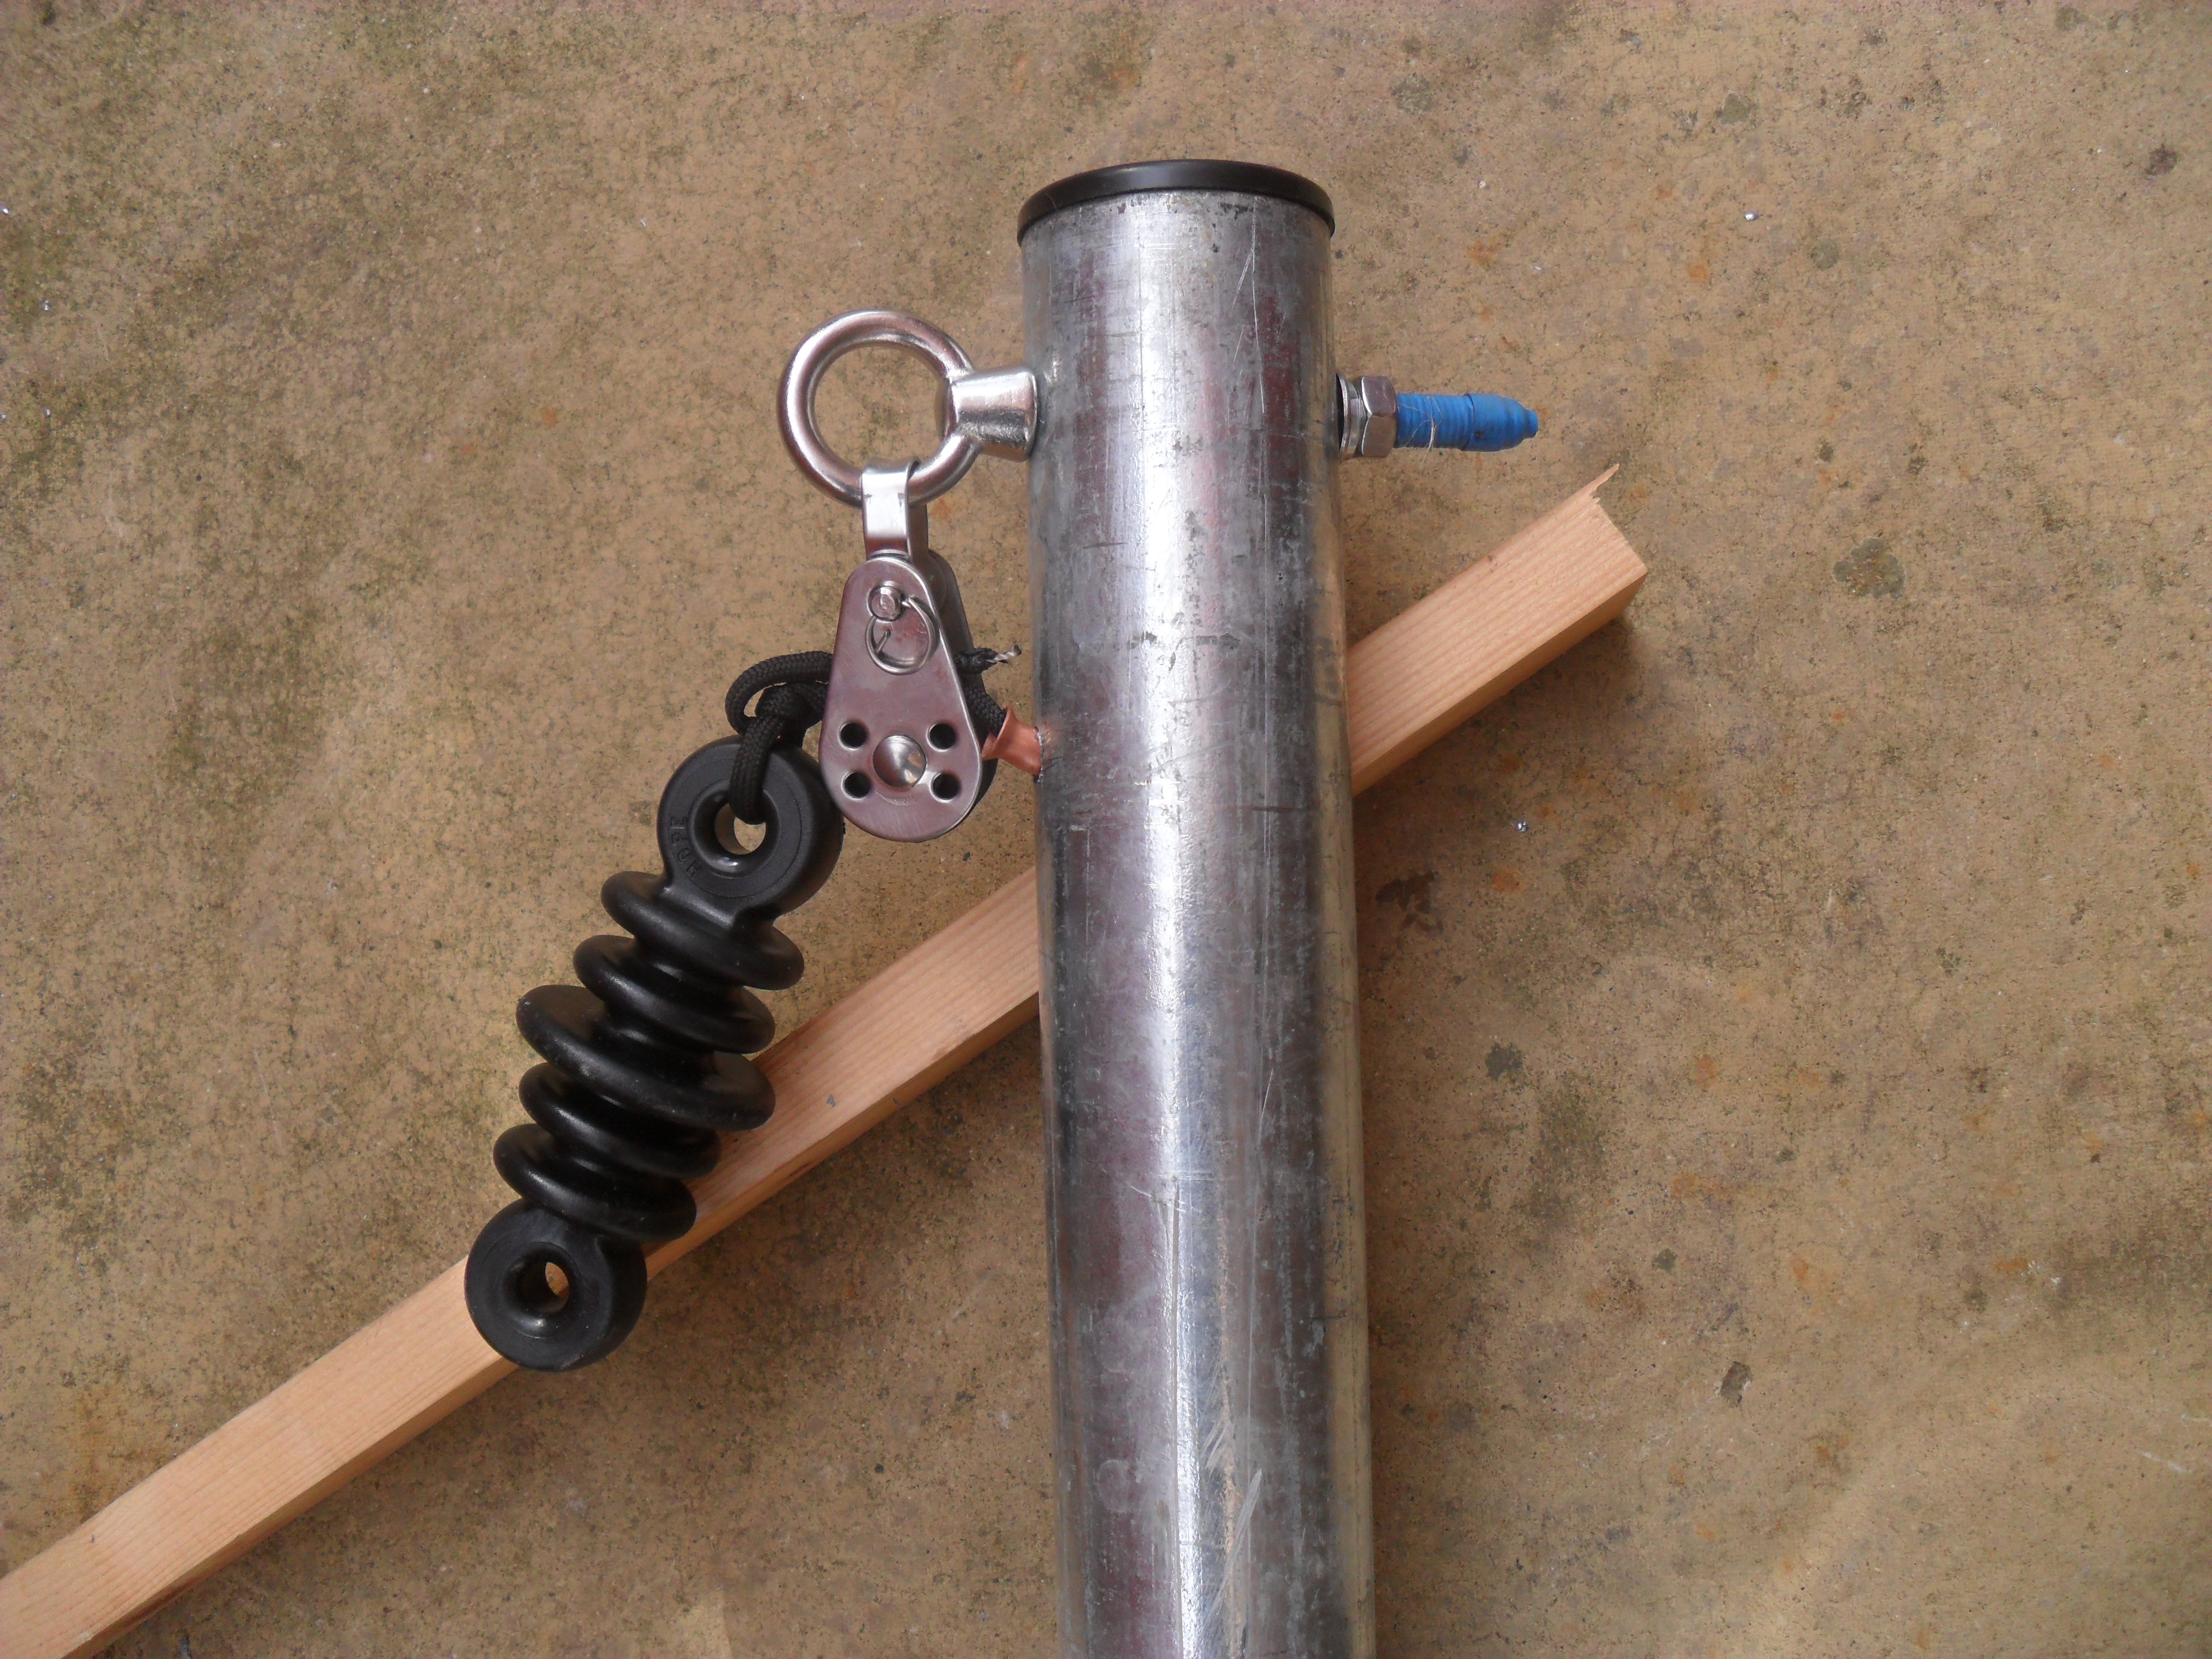
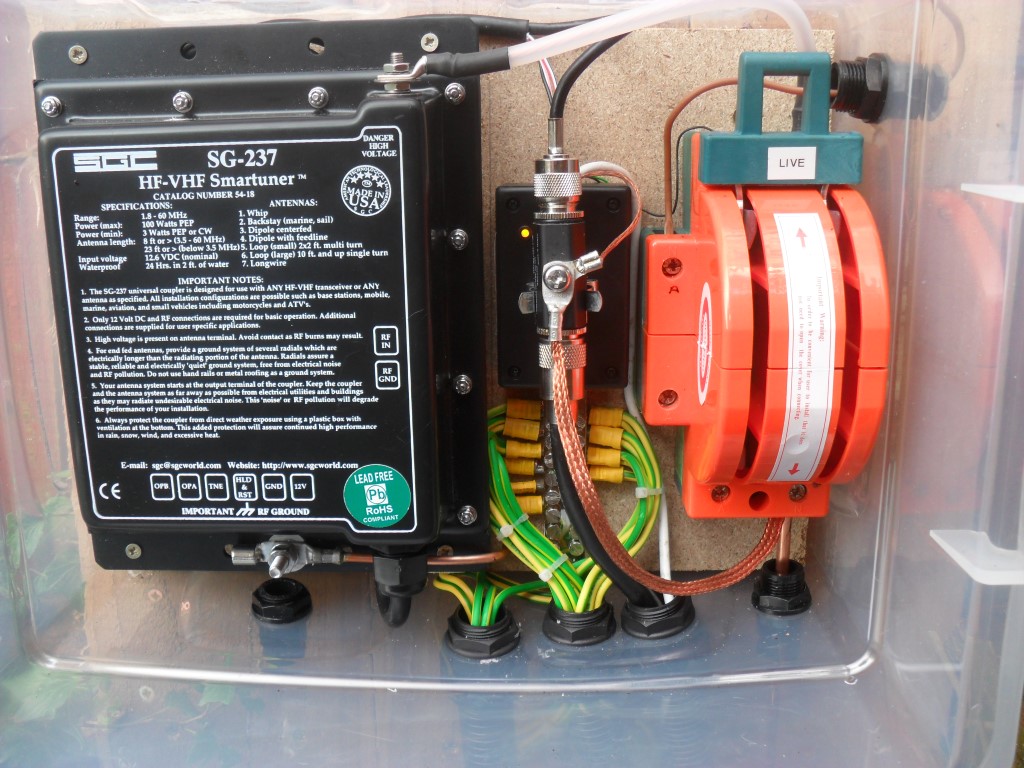
I have raised the tuner off the backboard so that the surplus cable can be neatly coiled behind it, in the centre on the picture is a lightning arrestor held in place with a ‘Terry Clip’, the box the clip is mounted to is for the low voltage connections to the home made Smart-Tuner.

The Amber led indicates power is available as it is fed remotely, the large orange knife switch is set to the working position, one set of blades close a circuit giving me an indication in the shack that the aerial is available, the other set of blades either routes the longwire (when fitted) to the tuner or to ground.
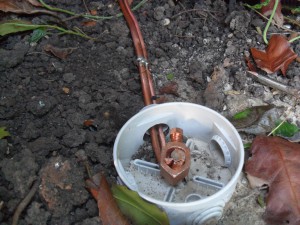
The earth block brings in the ground radials, I have used 20 with an overall distance of 400m.
I have separate earth rods for RF and Lightning, each of the lightning rods is a total of 2.4m long (two 1.2m coupled together as picture), rods are spaced 9m apart from each other, the construction of the rod is 15mm copper coated steel.
This picture shows that one rod has been driven in, with the additional 1.2m rod coupled to it, ready to be hammered in. On the top of the rod is another coupling and bolt which takes the impact of the hammer, it is simply unscrewed when finished leaving the top of the rod undamaged.

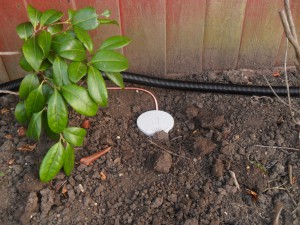
Once level with the ground, a Gweiss round box is used to identify and protect the connection to the rod, I have used 10mm diameter copper pipe as the conductor, this will be buried once all the other cables are in place.
The RF earth uses 1.2m x 10mm copper coated steel earth rods, 4 have been used, each spaced at 5m from each other, interconnection is by 10mm copper pipe, where the connection ‘loops through’, I have soldered the two pipes together for extra measure.
The smaller diameter rods do not have threaded ends to allow extensions in length, the tip is to place the cable clamp over the rod before you start hammering, as the head of the rod will ‘pan’ over, which might make it difficult depending which type of clamp you use.
Planning permission application is now in the public domain (8th August 14) on www.fenland.gov.uk for the aerial wire and support post, hopefully the next installment will show this fitted with pictures.
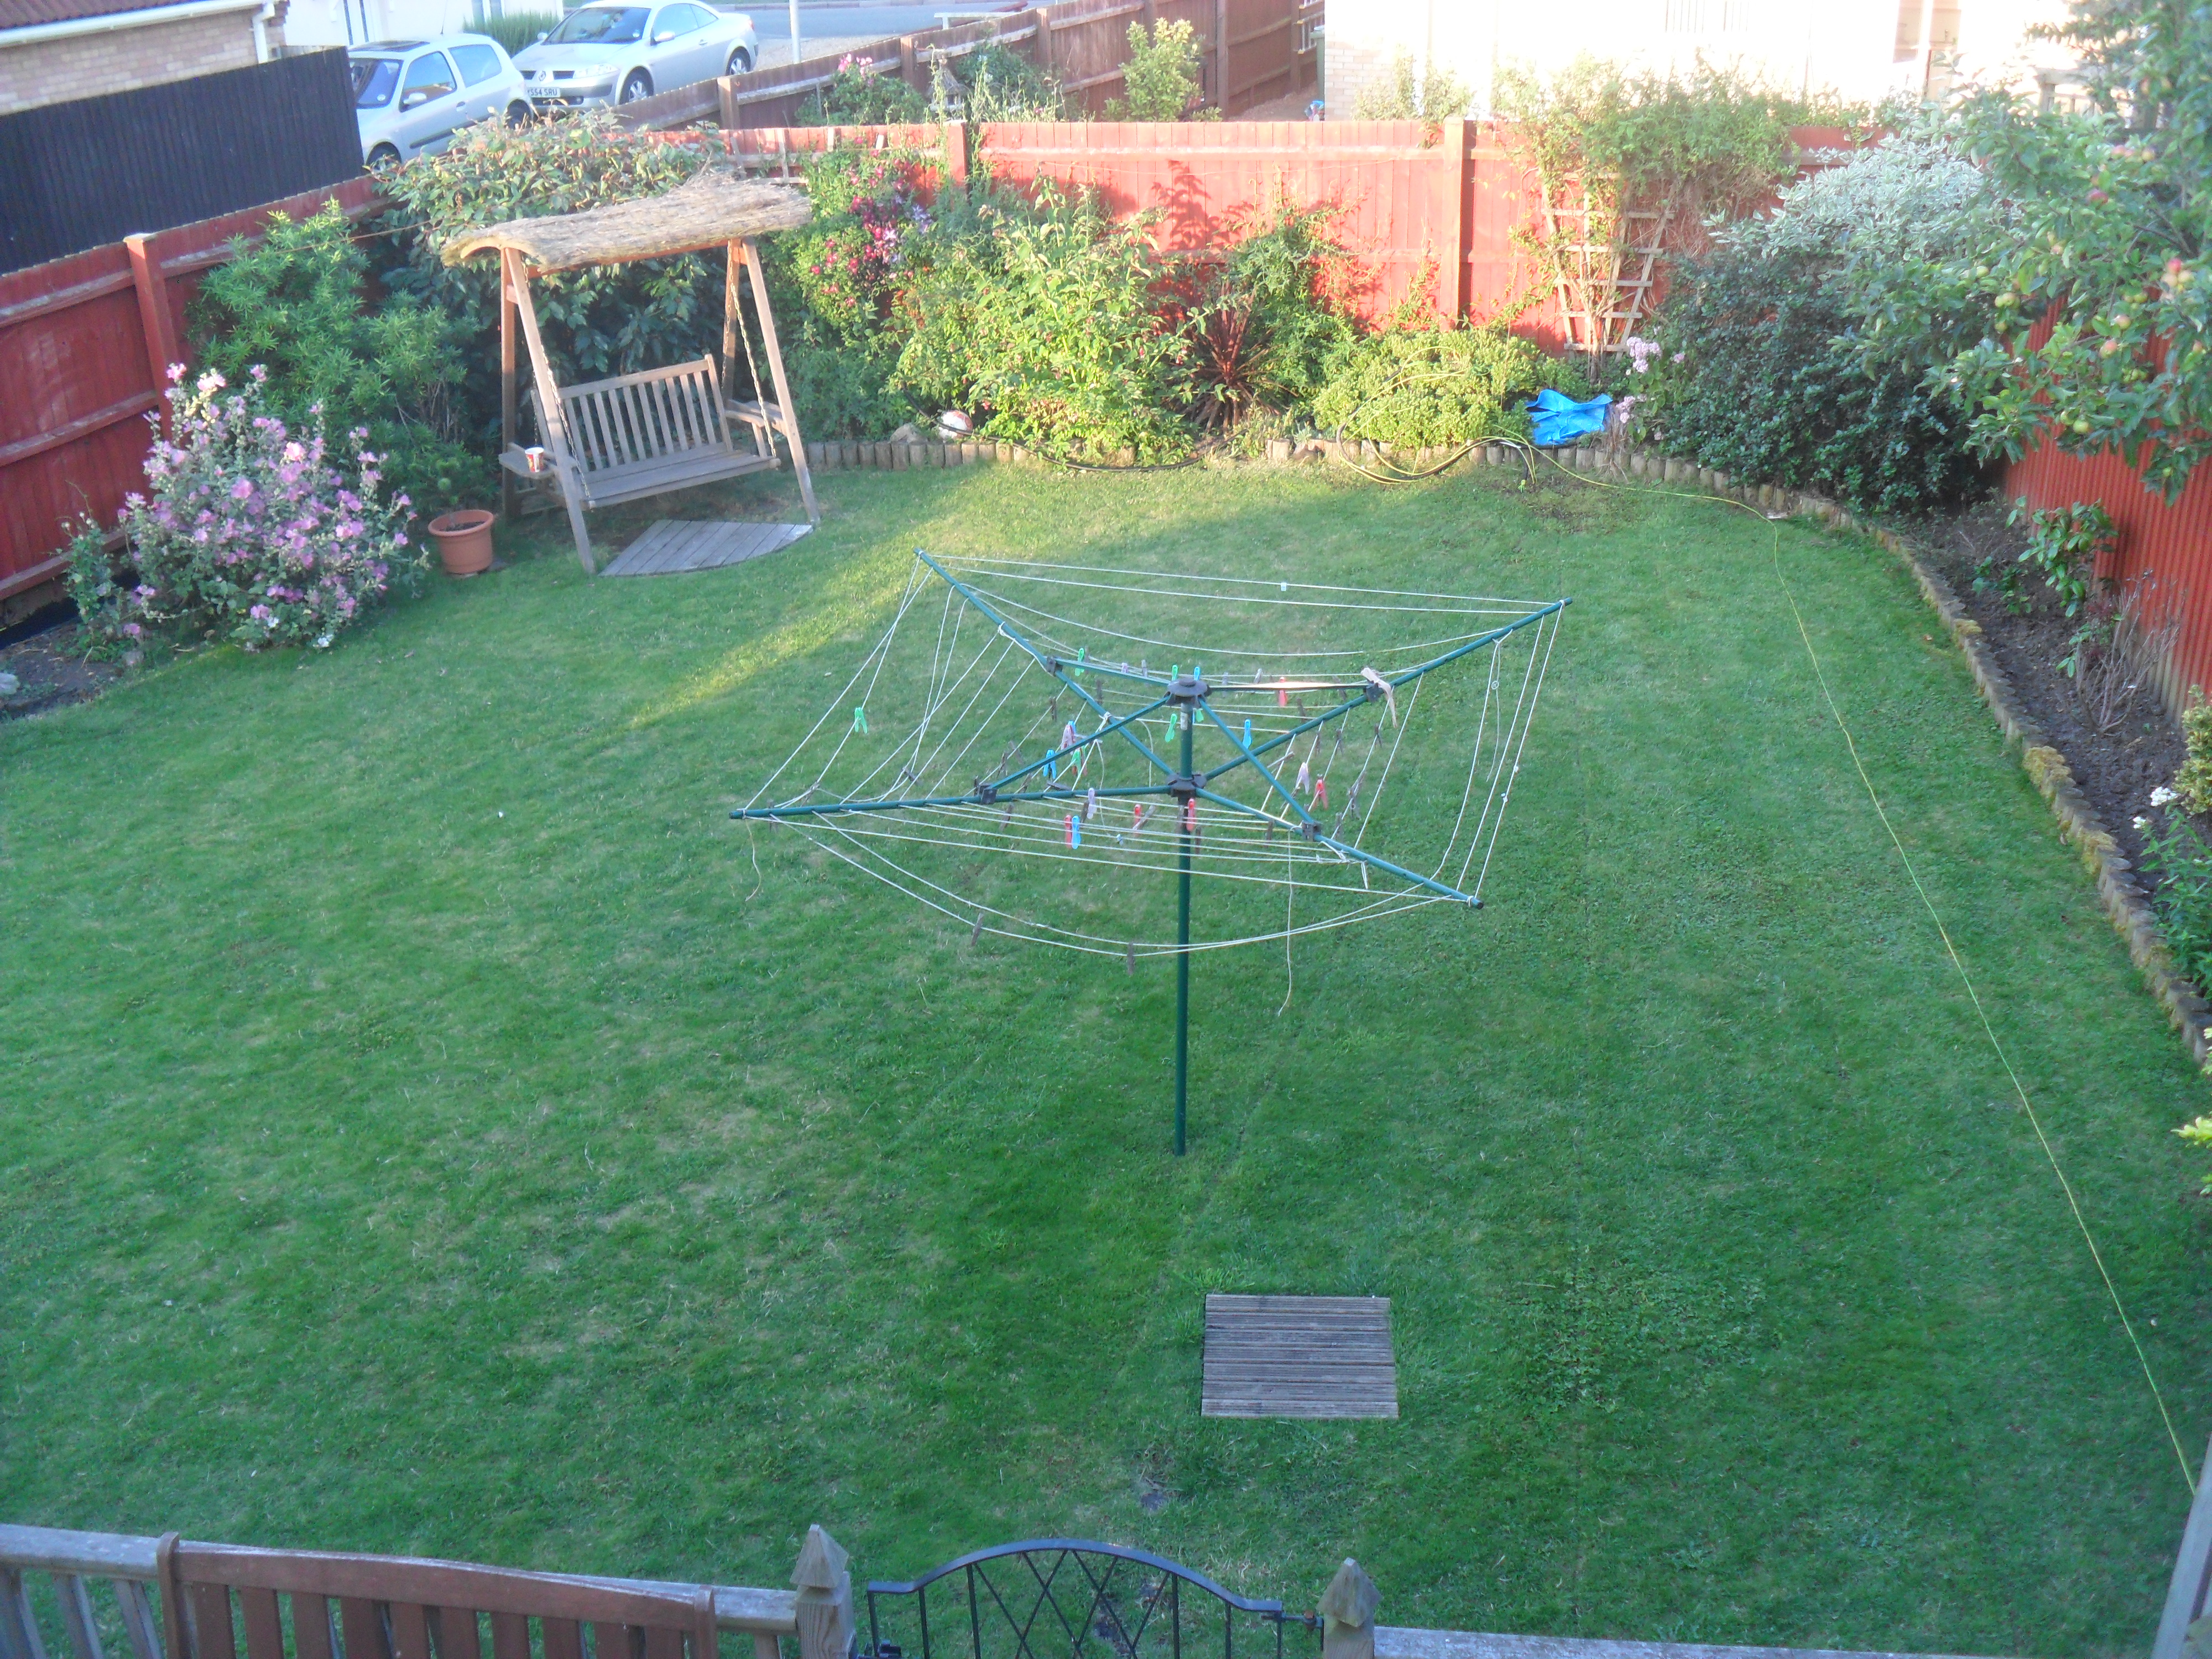
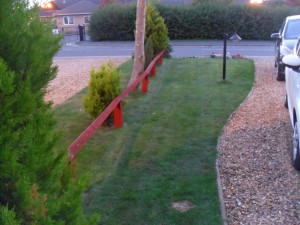
Picture taken on the 17th August 14 showing the new galvanized lawn edgings and lawn seeded, the radial lawn cuts have almost disappeared and the garden is looking ok, the lawn edging is also connected to the radials to maximize the RF Earth from the Tuner.

2 weeks after seeding and feeding, the lawn is not looking too bad.
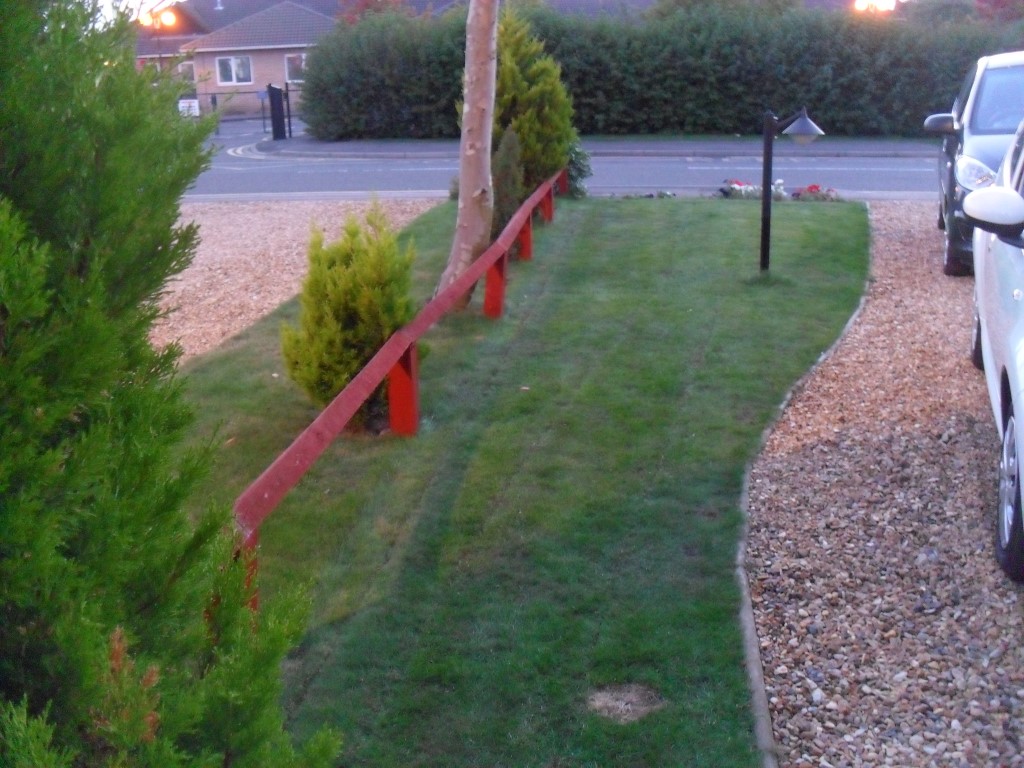
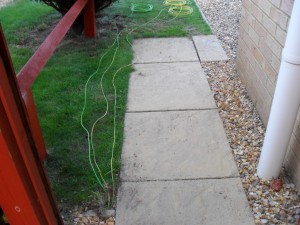
9th August 14, Finished laying the front of house radials, the photos show progress:
Wires layed under the gravel down the side of the house before breaking out to the front lawn.
Last of the three wires ready for the edging knife to be cut in.

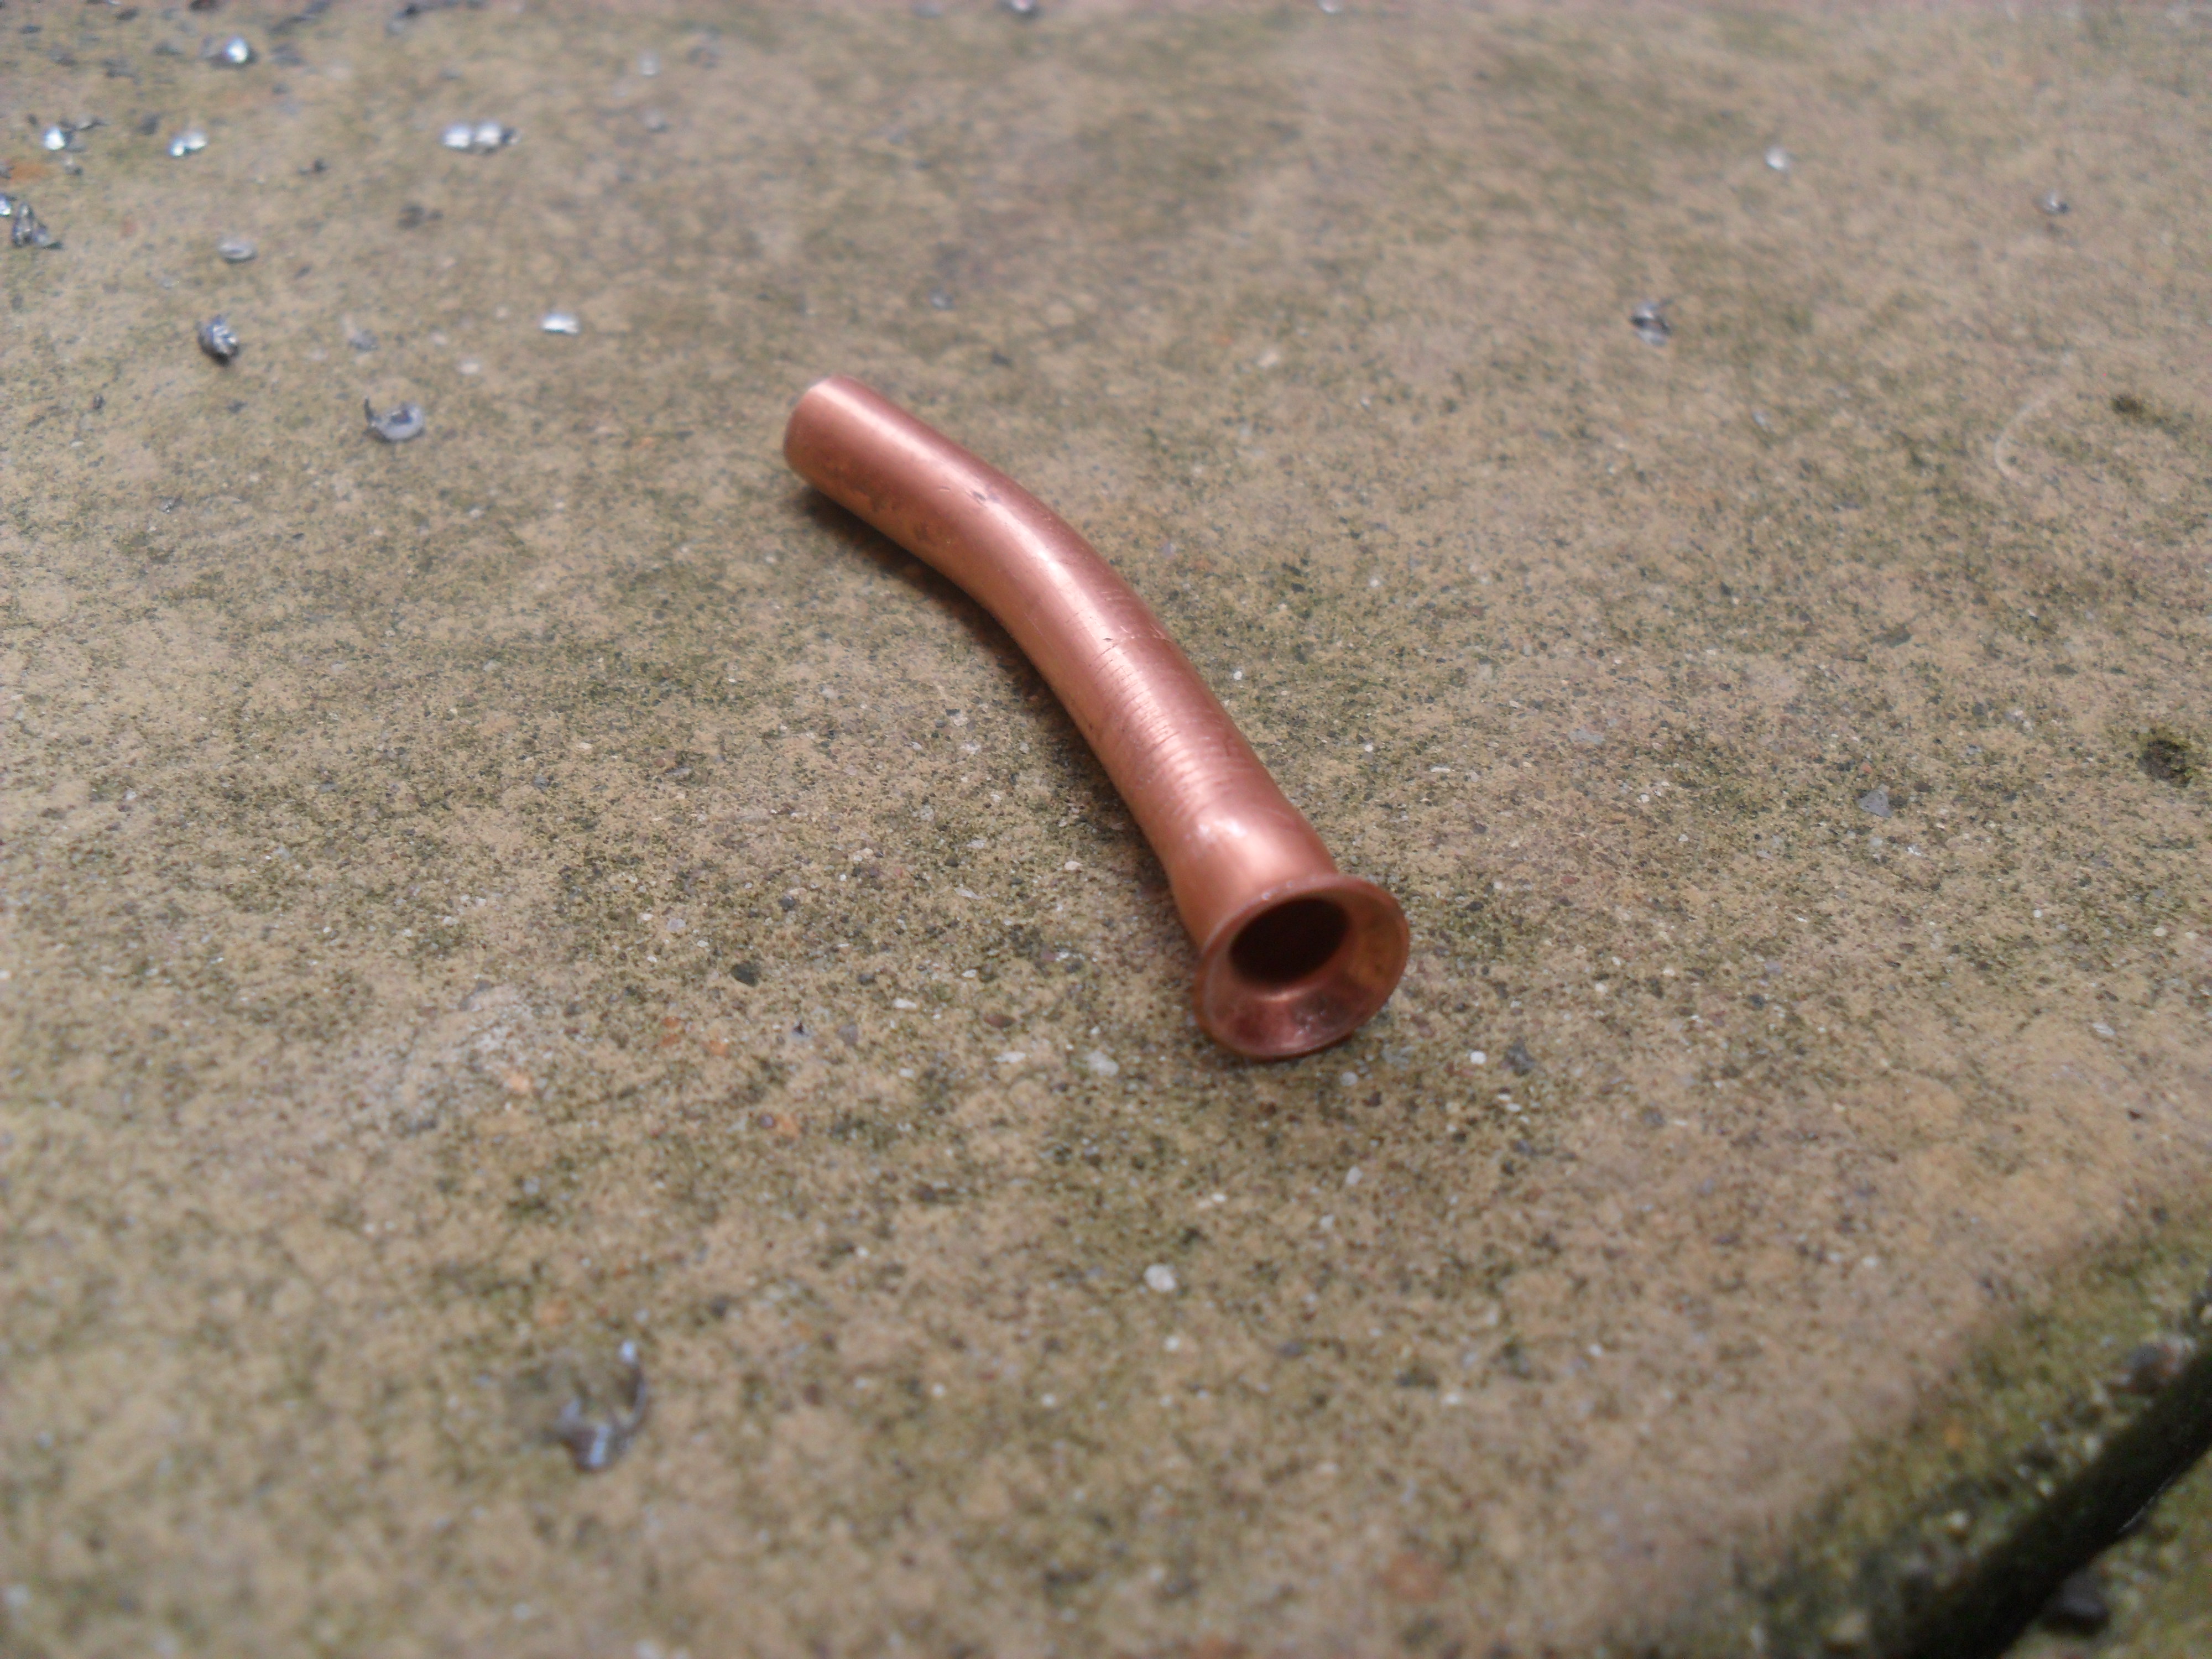
Wire ready to be pushed into the notch, two other wires are sticking out ready to have an insulating crimp fitted.

Wires in and gone.
Click for part 3