Updated 4 April 2022

As I want a relatively discrete antenna arrangement for my radio ham interest, I have opted for a single random length wire with automatic tuning being dealt with by a SG-237 tuner, Part 2 of this blog will go into the fixing details of the antenna and hardware.
I have made a tuner control unit out of a single gang blank faceplate, although this is not required for the basic installation, it will give me some control and confirmation indications at the shack end of power and that the tuner has finished tuning.
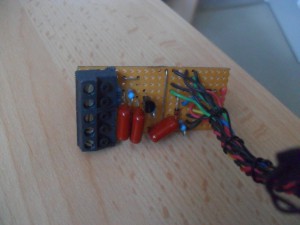
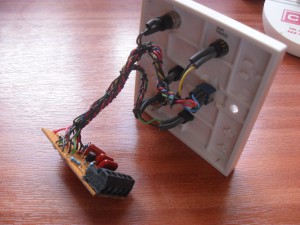
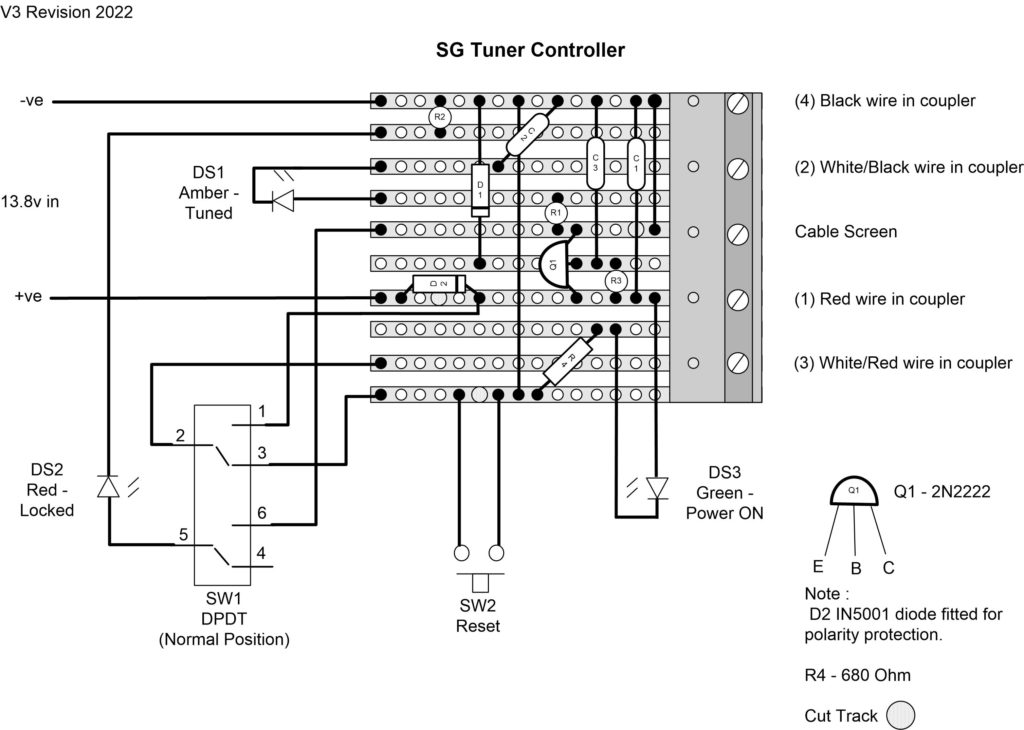
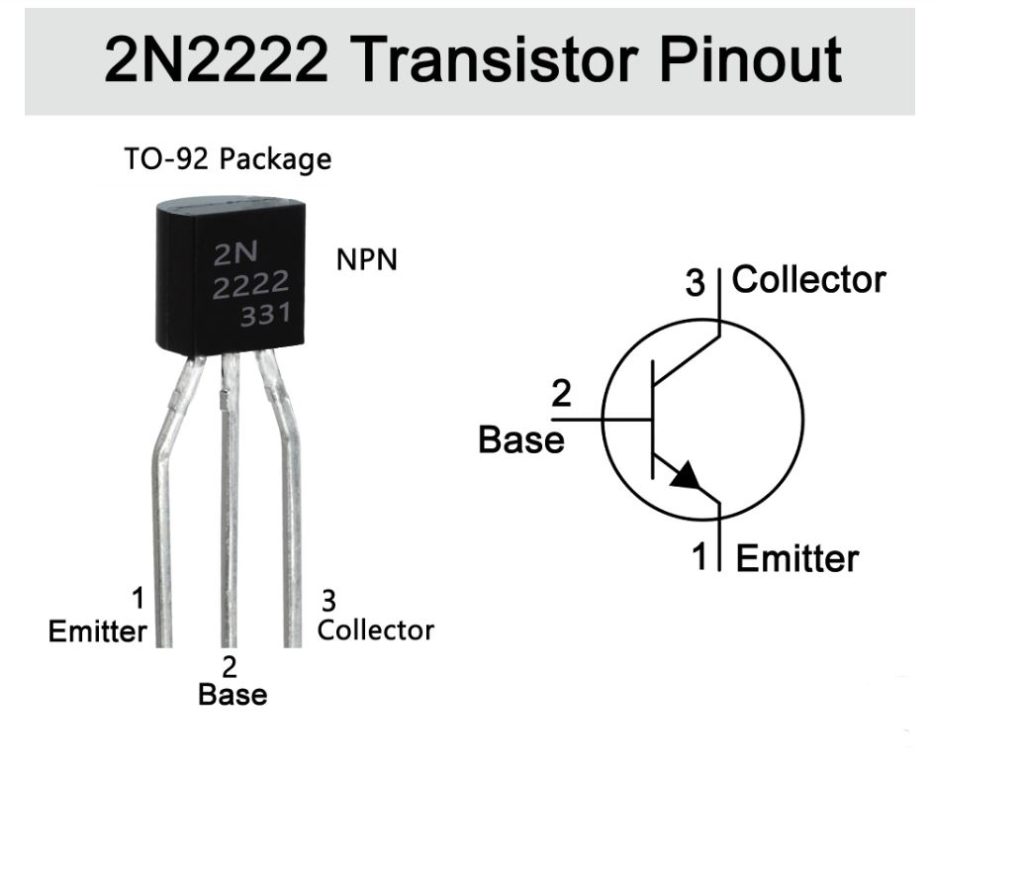
The schematic I followed with the exception of the polarity protection diode and Antenna Available ON led, is within the manual available from SG Tuners, I used an small offcut of veroboard to make the unit and this will be inside a backbox, the faceplate displays the lights and access the controls.
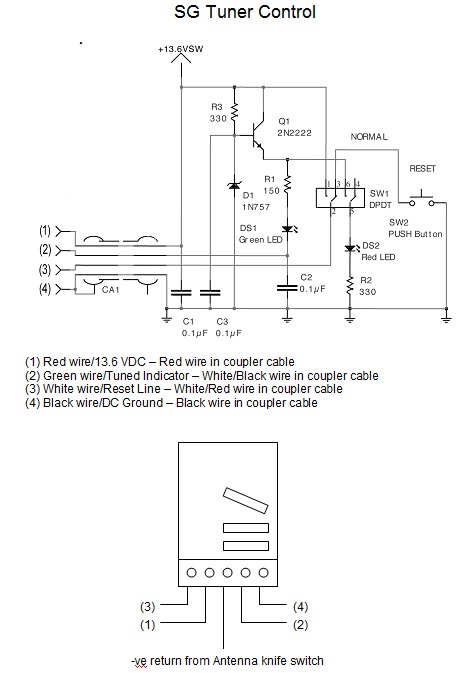
The veroboard layout is shown here.
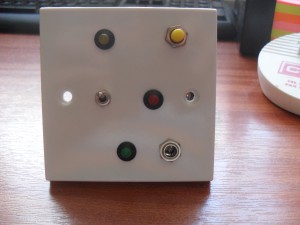
This is the unit fully assembled but not yet labeled, holes were drilled will a hss bit on a slow speed, letting the drillbit do the work with little pressure, I bought off ebay a Dremel copy, and used the grinding bit to gently open the holes to the right size and also to grind down the faceplate support ridges:
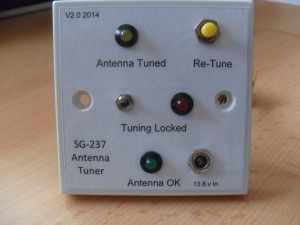
Labeled unit ready for installation, the label is made in Word or Visio to the right dimensions, printed to plain paper and cut slightly oversize, the reverse of the paper then has double sided self-adhesive tape applied, the front of the label then has a clear self adhesive covering applied (the sort of clear covering you would use for school books), I used a sharp knife, steel rule and cutting mat to cut just inside of the second outer boarder of the label, I printed a double border in case I made a hash of cutting it the first time, at least I could have another shot.
Once the label was ready, I striped down the faceplate, lined it up and carefully stuck it to the faceplate, to cut the holes, I held the faceplate to the light and used the knife to starburst the holes before going round the edges to clean up.
I have added an led which will light when the longwire is NOT to ground, the transfer will be done by a mechanical knife switch, the switch is a double pole double throw, one contact pole will switch the antenna wire from the SG-237 to ground, whilst the other pole will switch the Anntena Available led, credit goes to Bill O’Neil, KW8KW for a simple but effective solution to what could be a costly problem.
INSTALLATION IN SHACK
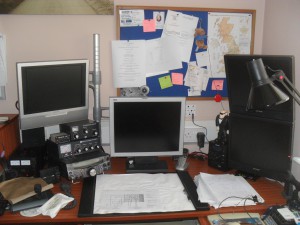
I opted to fit a double dry lining box and to have once side blanked as a spare for future use, the positioning of the tuner control was important as I did not want the display obscured by the PC monitor.
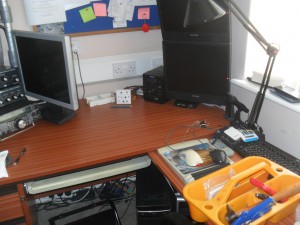
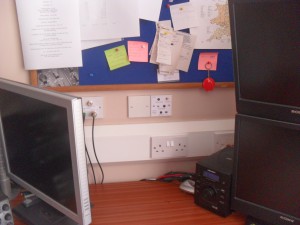
I started by clearing the area:
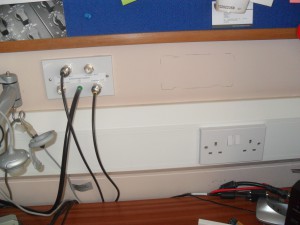
Offered the backbox to the wall and leveled it with the existing antenna faceplate:
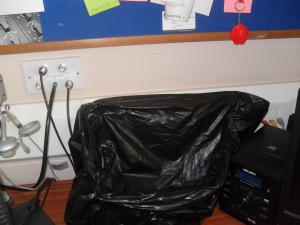
Bin bag opened and taped to the dado trunking ready to contain the majority of the mess:
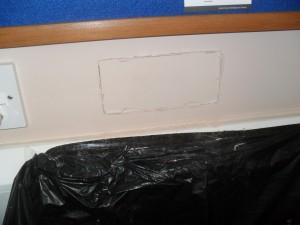
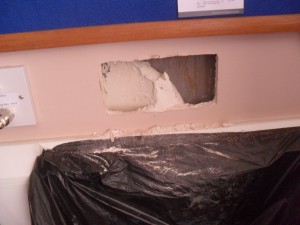
Using a sharp utility knife I scored the plaster board along the pencil markings, repeating this a number of times until the blade cuts through (the finishing lining plasterboard is quite thin for my internal walls, so it was quite easy), you can use the alternate method of drilling a hole at each corner and cut the hole with a plasterboard saw or similar.
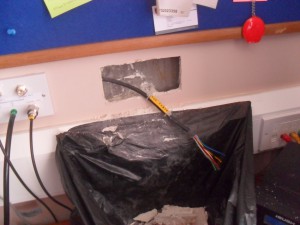
I knew by tapping on the plasterboard that the fixing adhesive was right in the middle of the hole, to break the cut board out, I split the board worth a chisel and took each piece out, I try not to let the pieces fall into the cavity between the wall and the board, the adhesive was removed using a bolster chisel, notches in the breeze block were needed to allow the fixing wings of the dry lining box to be fully pushed back to clear the plasterboard:
The control cable to the SG-237 tuner was put in place when I was drawing the antenna cables:
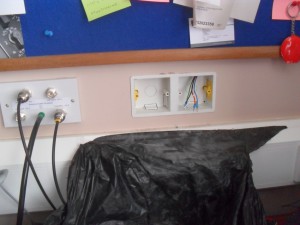
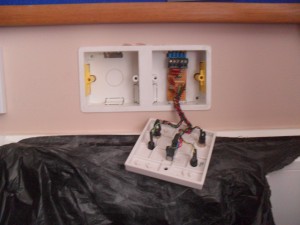
Drylining box in place with cable conductors pin crimped:
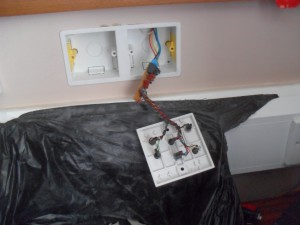
Cable connected to veroboard:
Veroboard sized to fit within rear of backbox:
Faceplates screwed on and area cleaned up:
Job done, 12v wall wart PSU plugged in all ready for Part2 hardware and long wire installation.

