Updated 29 August 2023
Link to Cabin Overhang Dimensions
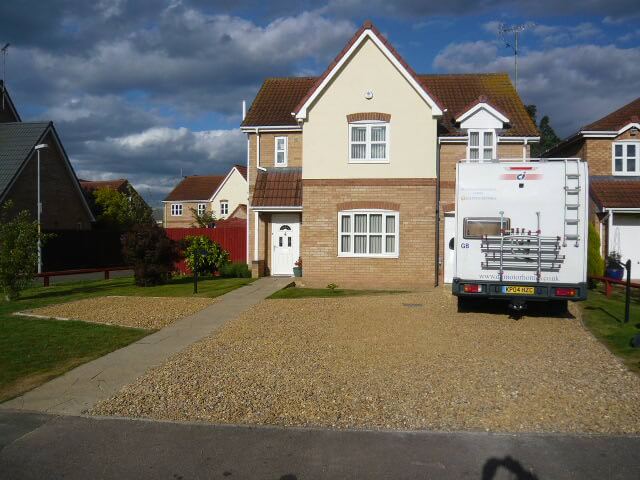
This is a short blog on the process for constructing a Carsare Grande Log Cabin from Dunster House. I dealt with the Bedford branch as its the nearest to where we live and took a trip to look at the build quality and also armed with a tape measure, confirmed some dimensions, Samson the sales representative was very helpful and non pushy which made the visit very relaxed.
Background
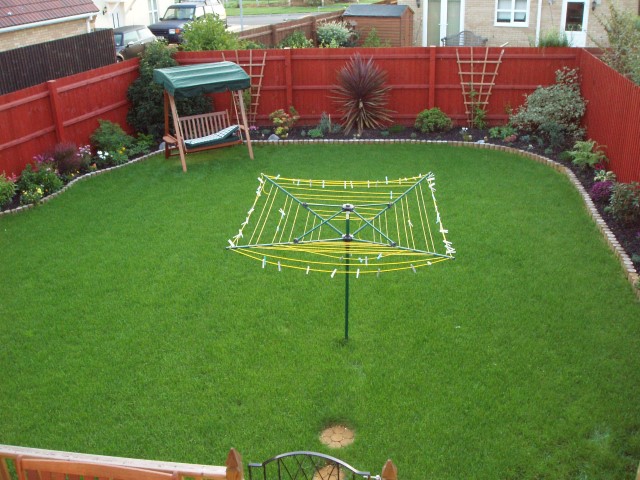
The garden was overhauled in 2006 when we first moved in and we were very pleased with it, but over time the maintenance became a burden and we only functionally enjoyed it for a limited time over the year, so we decided to make better use of the space and explore options.
Not sure which family member suggested a outdoor building, but it made sense and so the seed was sown.
Research
Research included all aspects of an outdoor building, this included compiling budgetary costings, proposed purpose, design options and what permissions are needed.
So it quickly became obvious that a home gym with a recreational space was the preferred option, the gym would need plenty of room for equipment and be tall enough to stand in with arms lifted, the rest of the space would be for games and seating, looking at my gardens available area, a 6.5m X 4.5m outbuilding would fit.
Checking with the UK Planning Portal, outbuildings are a permitted development (Class E) as long as certain conditions are met, the key criteria that I needed to meet was below, (my answers in bold) –
1 Purpose – Incidental to the enjoyment of the dwelling house. (YES)
2 Over 50% of the total area of the curtilage used. (NO)
3 Any part forward of the principal elevation. (NO)
4 Single storey. (YES)
5 Total eaves height restricted to 2.5m is within 2m of boundary. (YES)
6 Listed building. (NO)
7 Verandah, balcony or platform over 0.3m. (NO)
8 Microwave antenna. (NO)
9 Less than 30 square meters floor area. (YES)
10 At least one meter from any boundary. (YES)
The key document is below:
The outbuildings construction is not stipulated in the Guidance, however, I’m no builder, so the option to buy a prefabricated kit seemed a good idea.
After quite a long time online looking at different vendors and weighing up the pros and cons, we went for a 6.5m x 4.5m Dunster House Carsare Grande, 45mm thick timber interlocking walls, non insulated.
The following files relate to the Carsare Grande we have:
We decided as the cabin will not be a habitable space or used as an office, their was no need to have insulated walls also we didn’t take up the additional expense of roof insulation or gutters and downspouts from Dunster House as part of the purchase, more about this as bit further on.
Implementation
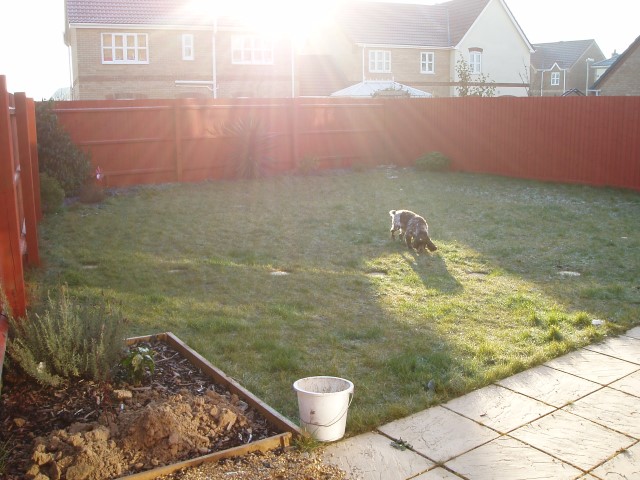
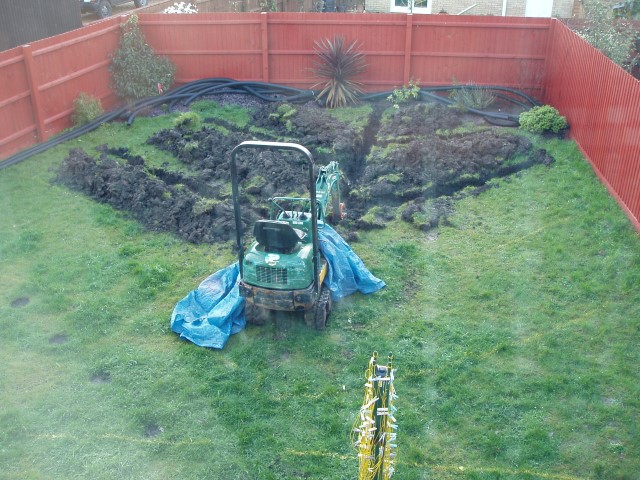
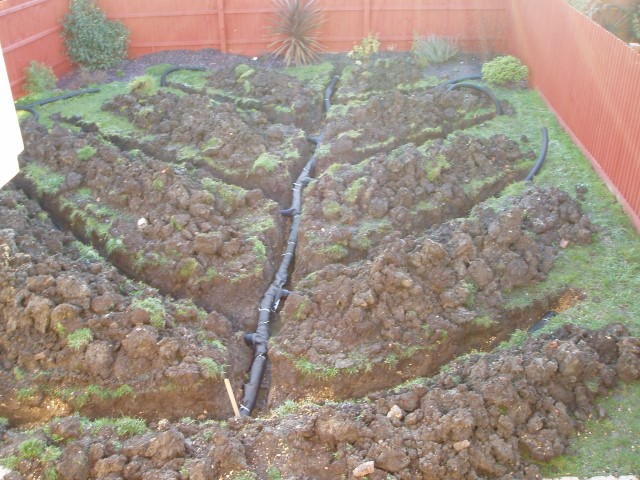
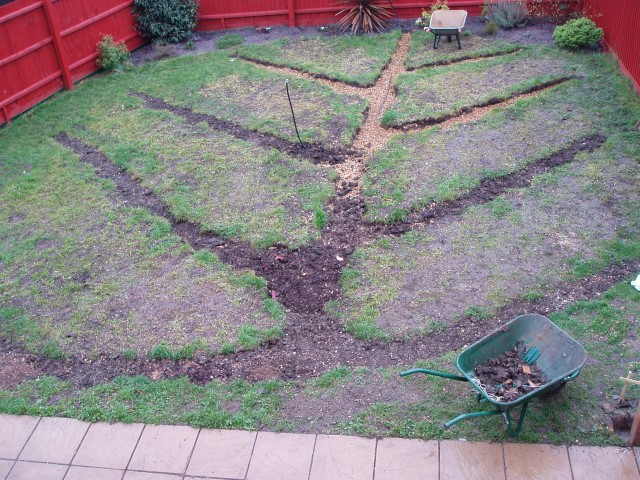
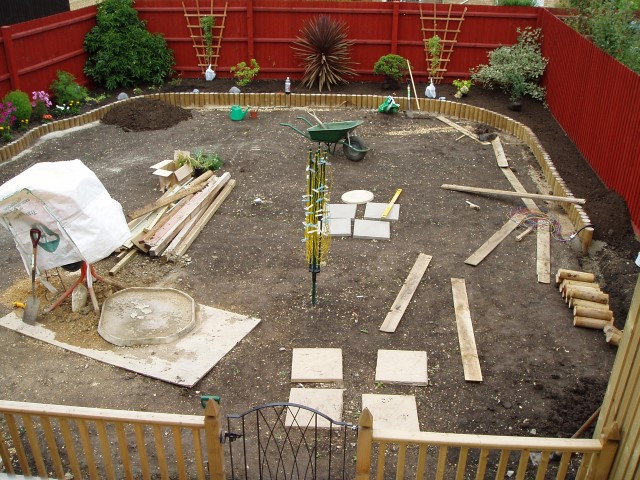
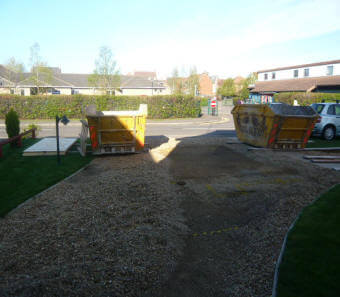
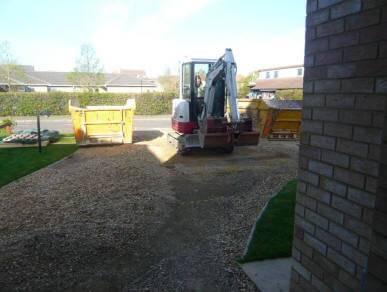
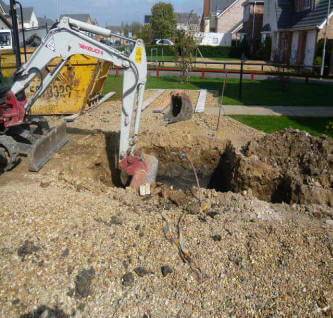
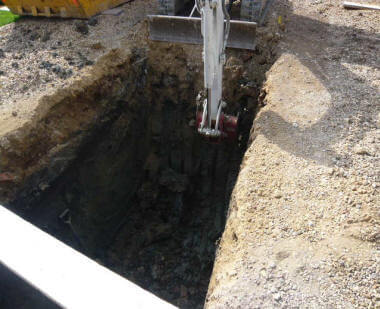
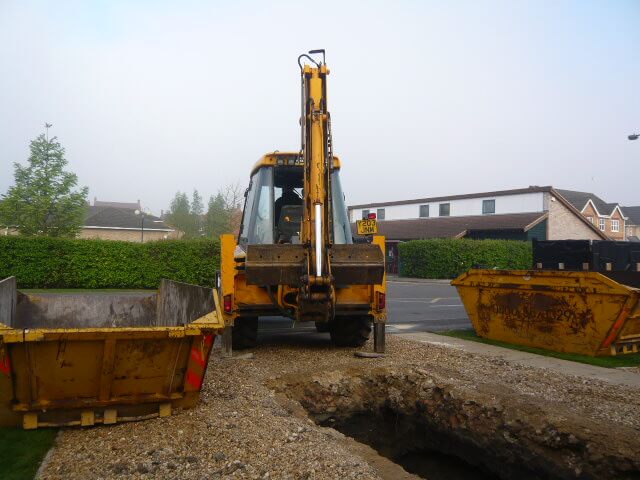
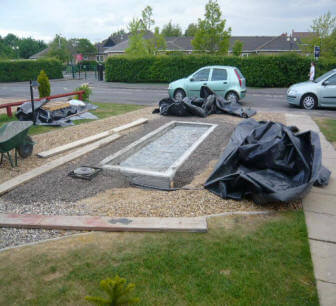
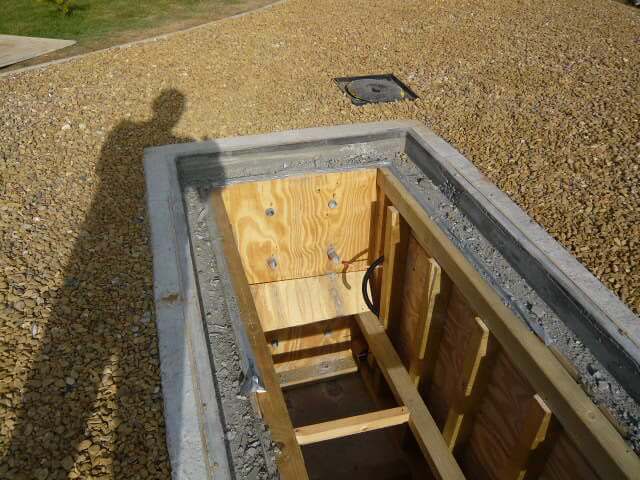
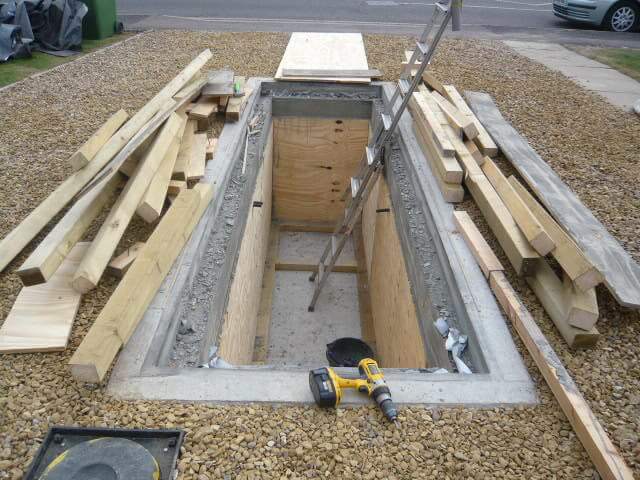
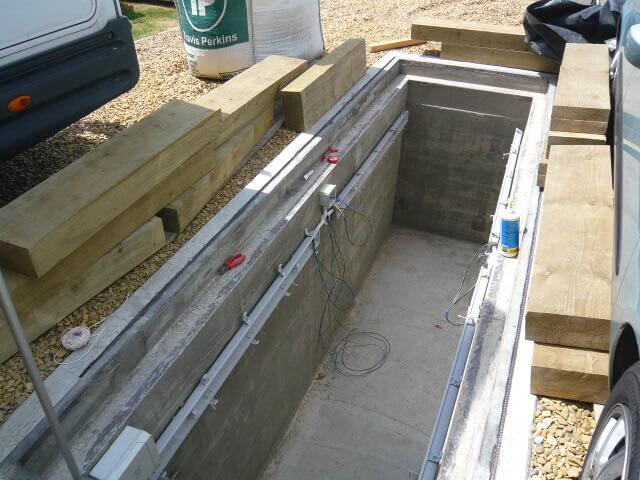
OK, now we know what we are going to have, what it’s for and how much its will cost, the next bit is the base the cabin will sit on, here we had three main options, all of which required a level of excavation works and spoil disposal, I excluded simply building it on top of the existing grass as I want it to last!
Option 1 – Concrete Pad, The recommendation is that the base should be 150mm thick, as the cabins footprint is 6.5m x 4.5m, the foundation slab, needed to be bigger than this, the amount of concrete works out to be 4.46 Cubic Metres, and as the plot is 25m from the road, the concrete would have to be pumped as using wheelbarrows would need 50 trips and that would incur additional waiting time costs for the cement mixer driver and knowing my luck, the cement would have started to set before I had finished! also the cost for concrete, rebar and pumping made this unaffordable, putting aside the fact that restoration of the garden at a future time would be expensive.
Option 2 – Concrete Block or Slabs, Heavy manual handling and these would need a foundation and getting level would be difficult over such a large area.
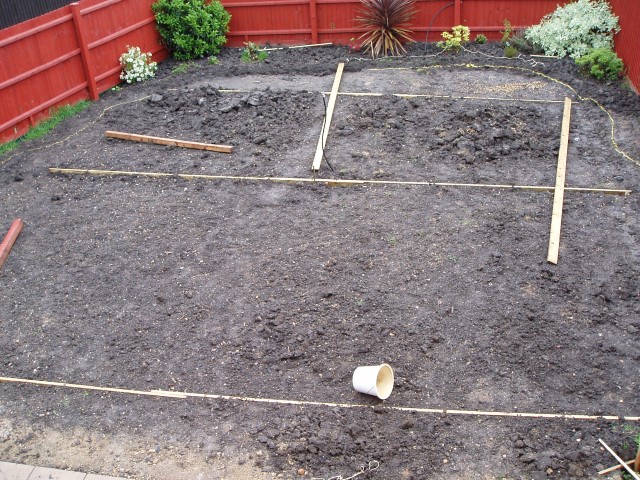
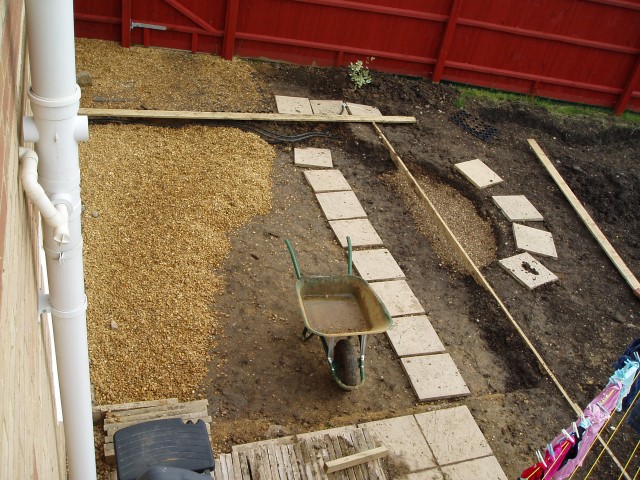
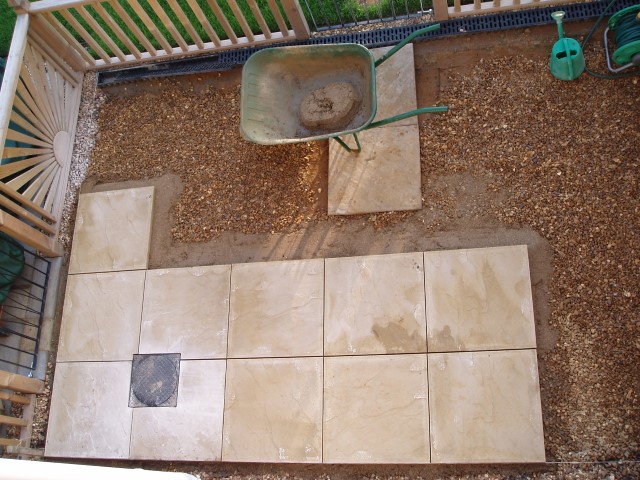
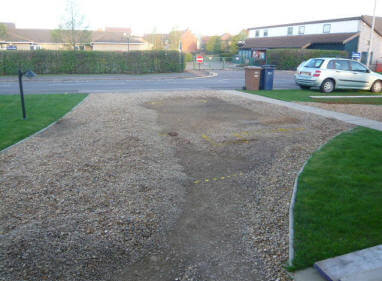
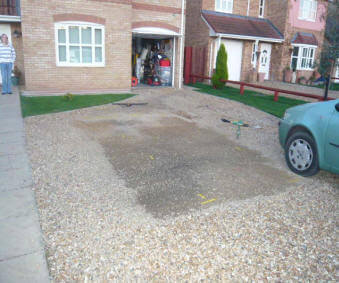
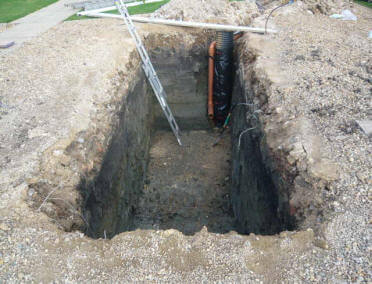
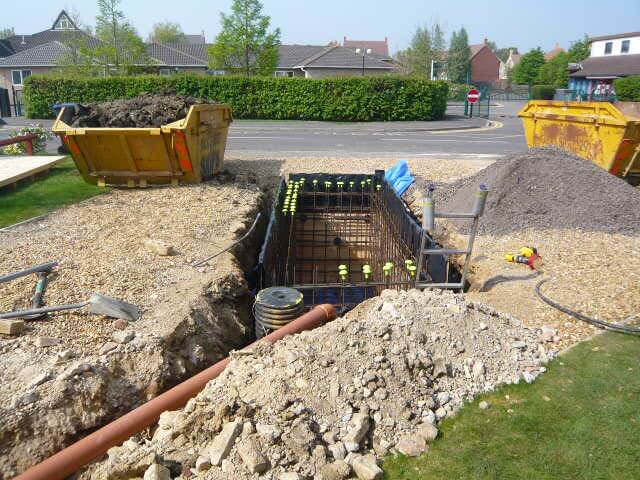
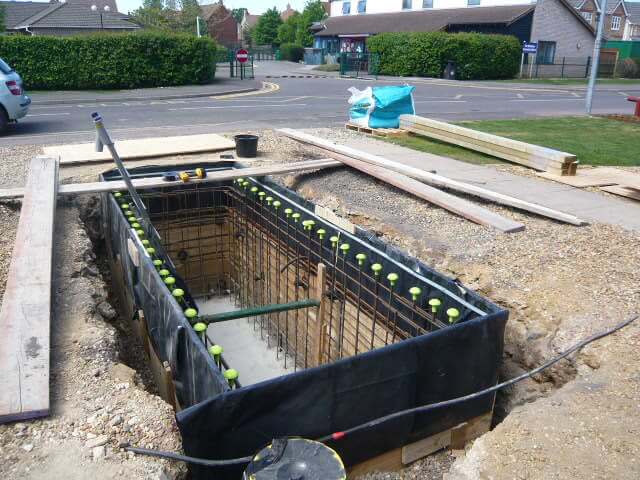
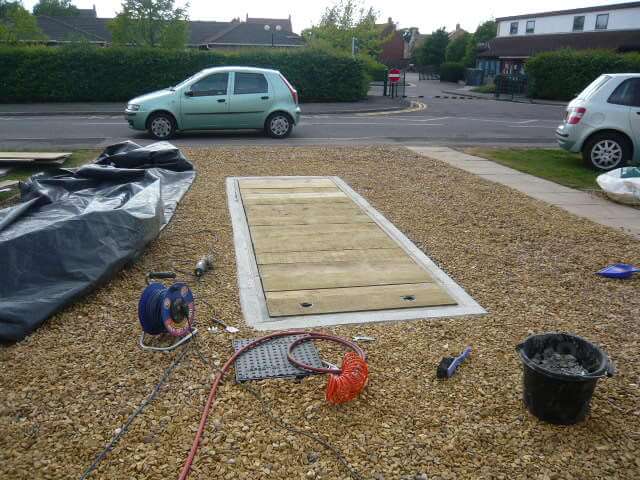
Option 3 – Plastic Pro Base – This sits on a bed of pea gravel with a weed control sheet under the gravel, each base grid is physically interlocked into place and the spaces in the Pro Base grid are filled with more gravel to give stability and add to water drainage, this was the option chosen.
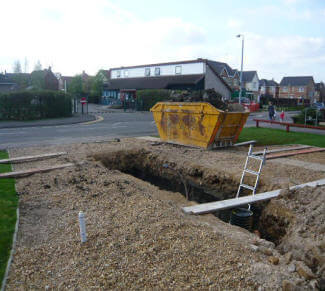
The base was marked out to give the required minimum 1 metre distance from the fences, this worked out perfectly as its enough space to comfortably get around the cabin to build it, apply stain and maintain it afterwards.
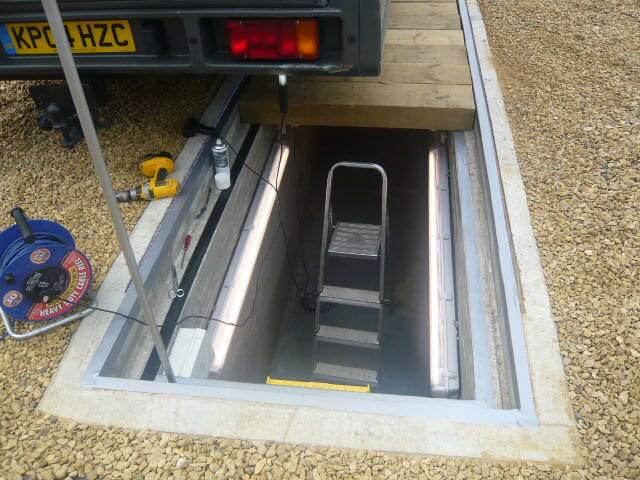
In total we used 4 bulk bags of 10mm pea gravel for the cabin base and the base dimension is 7m x 5m. The cost of excavation plant, labour, skips and base materials cost ~ £1350, so make sure you budget for this! To get the base level we used a laser level with remote detector, this was perfect for our needs, good value for money and easy to use. The model number is Firecore FIR411G and was bought from Amazon.

Dunster House
As mentioned earlier on, we went though to the Bedford showroom and when we got home placed the order using the online portal, this was very easy to navigate and the order tracker was informative. The lead time on the Cabin was eight weeks which was good as it gave us some time to prepare the plot, but after just three weeks we had a phone call asking if they could deliver, at which time we hadn’t even started preparing the ground!!
On the revised delivery date the cabin arrived, I paid for a two person delivery and the guys were very helpful and placed all the parts, of which their was loads , onto an area I had laid out. The parts come off the lorry in no particular order, so some sorting out is needed afterwards, my Cabin is made of two distinct sections and these sections need to be kept separate to avoid mixing up the parts.
Oh, one tip, on the ordering portal you can track the delivery on route to you, don’t believe its accuracy and wait for the order to arrive in case you think it will be OK to nip out 😉
The Build
Tools I recommend you have in advance are:
- Spirt Level
- Pencil
- Rubber Mallet (I used a white head type from Screwfix to avoid marking the wood – Part Number 2472V)
- Drill and wood drill bits (3mm, 6mm & 8mm)
- Impact screwdriver
- Flooring Clamp (Screwfix – Part Number 932FT)
- Step Ladder
- Adjustable spanner
- Tape Measure
- Right Angle
- Hammer
- Tube felt adhesive and applicator gun
- Stanley Knife and spare blades
- Wood Saw
The first job of the build is to identify the parts, this starts with the floor timbers, as the cabin is made up of two cabin bolted together, you have two lots of instructions and the floor timber spacing’s are different, this will mean that the floorboard screws will not follow a straight line throughout the finished floor, my OCD would not allow this, so I had to take apart the floor timbers and make sure that were all in line. Not a big job, but as its the first thing to do, undoing your work is a bit demotivational.
The walls progressed quickly, simply slotting into each other, a bit of persuasion with the mallet helps to ensure the wood interlocks. I opted to have the window on the left of the door as you look from the outside, the reason for this is that we wanted a seat under the window which would be in a corner and the door would open with an internal wall on the right enabling the light switches to be easily operated without walking across a dark room to operate the lights.
Dunster House provide spare parts, so it may look like you have bits left over from the wall build, but this is intentional which was unexpected but welcome as we did have a couple of lengths with a twist in them.
Once the walls are up, roof joists tie the gable ends together, this is the only doggy part of the build, as for a moment in time, the gables are unsupported.
With the roof joists in, the next step is to board the roof making sure to use the roof boards and NOT the floorboards, they are different dimensions, so if you start cutting roof boards, your doing it wrong!
The construction guide says to leave a 2mm gap in the tongue & groove for expansion rather than have each piece butted up to each other, what we found was that as the wood had been outdoor for a while it had started to twist, the only way to get the boards to engage throughout their length with the next piece was to use a flooring clamp to pull the pieces into shape, this worked really well, but took ages. It was important to get this right as the boards are the cabins ceiling finished surface.

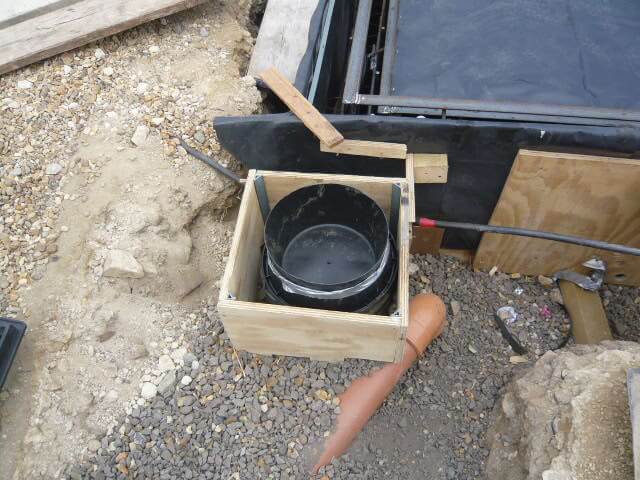
The kit comes with a under-felt plastic barrier and felt shingles, an extra Dunster House offer is roof insulation for £858. I decided to install my variant of this warm roof system which cost ~£250.
The first step was to install a vapour barrier on top of the roof, once this was done, a 25mm wooden baton was secured all around the perimeter edge of the roof. Due to planning rules the building cannot be over 2.5m high, this limits the thickness of the insulation to 25mm, hence the insulation is the same thickness as the batons.
With the insulation boards cut and fitted to shape across the roof with the reflective side upwards, I used aluminium jointing tape to seal the boards, the insulation was then covered by 9mm plywood and screwed down, the roof boards are 19mm thick, so 50mm screws were used, but not driven too hard as I didn’t want them to show inside the cabin ceiling.
The plywood joints and screw heads were covered with a waterproof tape and a waterproof membrane was rolled out on top of this. I tried to used the plastic sheet which came with the cabin kit, but it was impossible to get it to lay flat, so this was discarded and I used Protect A1 Roofing Underlay from Screwfix.
The last item in the warm roof process was to installed the roof felt shingles and affix them with the supplied galvanised clout nails.
The Tip for cutting felt shingles is to change the blade after 4 cuts maximum and to clean the blades between cuts with White Spirts. The shingles go down quickly and I had a pack and a half left over, so they do give you plenty.
Once the roof is complete, the boards for the gutters and end boards go on. Dunster House wanted £330 for the rainwater kits which included water butts, I bought the same system parts from B&Q for £150, if you keep the receipt you can take unused parts back for a refund which worked really well for us.
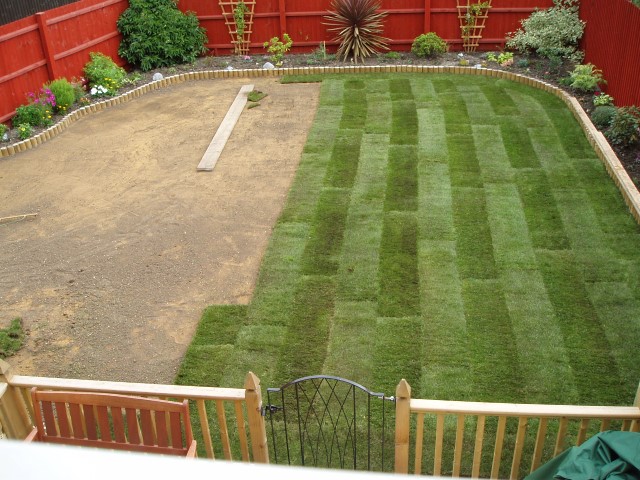
Floor
Once the cabin was watertight we could focus on getting the floor down, the cost for an insulated floor was £300, so like the roof, we bought the materials from a local builders merchant and saved money. I fixed small blocks to the side of the floor beams to keep the insulating board off the floor and allow an air flow, the insulation boards were cut with a saw, and pushed into place and all joints sealed with tape or expanding foam where needed, before the floorboards were screwed down, we used the flooring clamp to get the wood to fit in order to get the finish we wanted.
Finish & Interior
I bought the wood stain from Dunster House and applied two coats as per the recommendation, the stain dries very quickly and runs easily, so take your time as the finish is worth it. The stain is a quality make and I couldn’t find it cheaper elsewhere, 2x 2.5l tins is more than enough for at least two coats of the cabin, windows and doors.
The double doors need door hook & eye stays to keep them open, these are a lot cheaper online than from Dunster House.
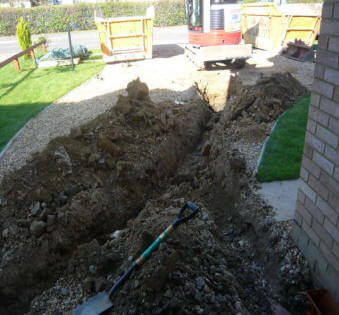
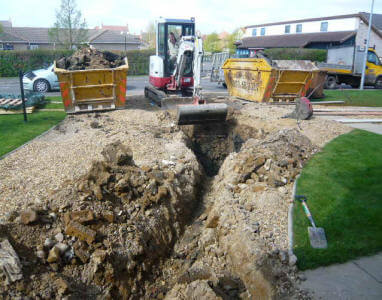
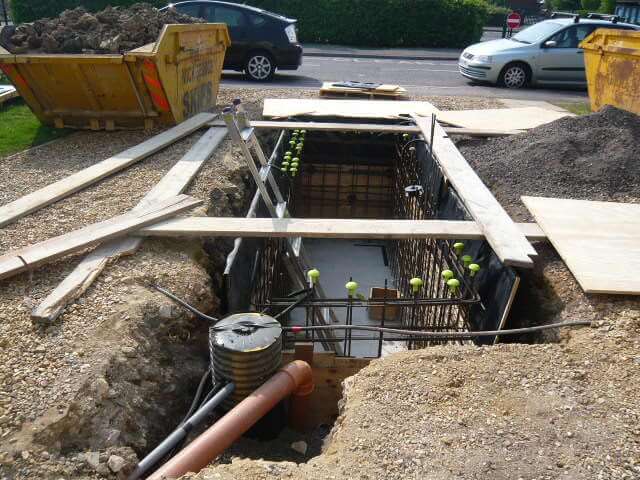
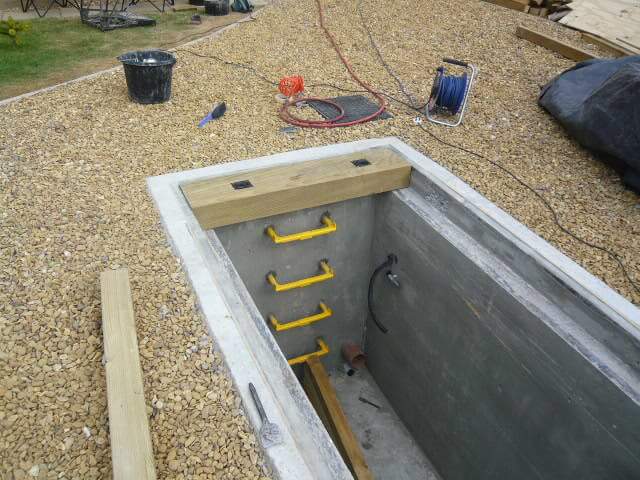
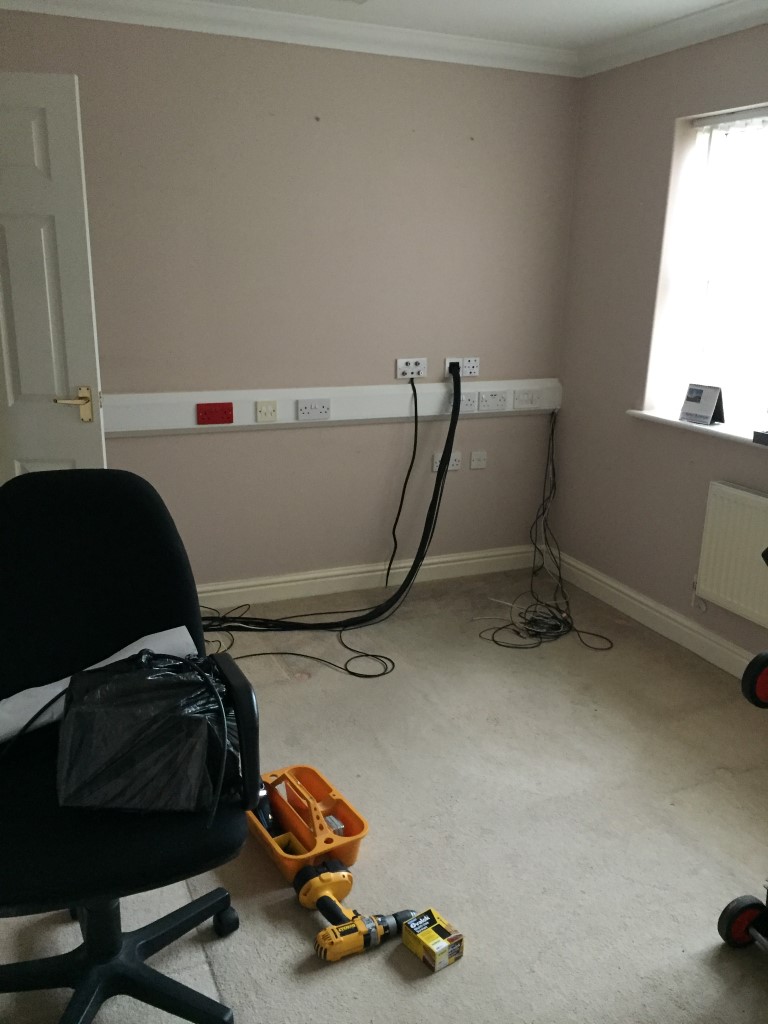
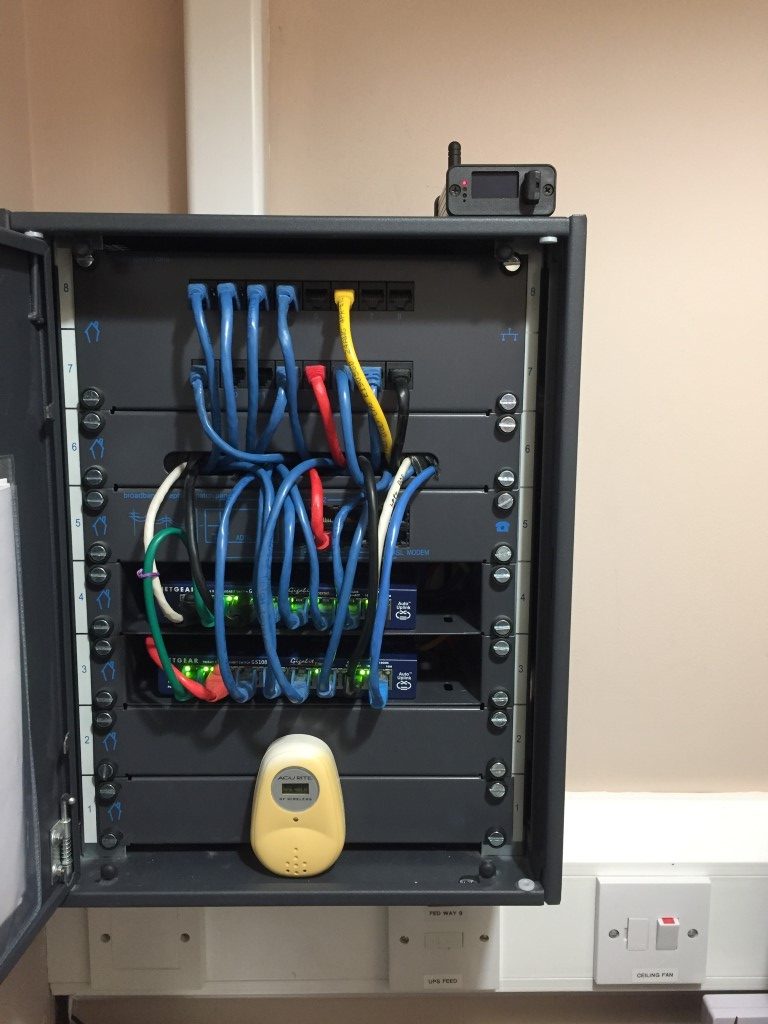
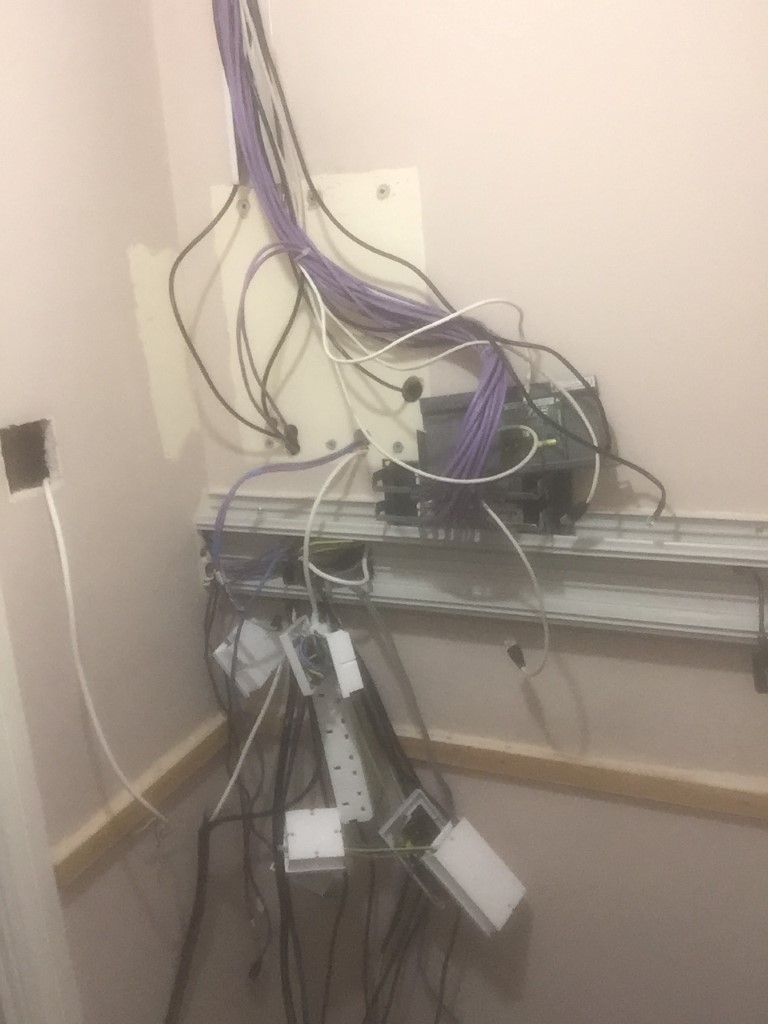
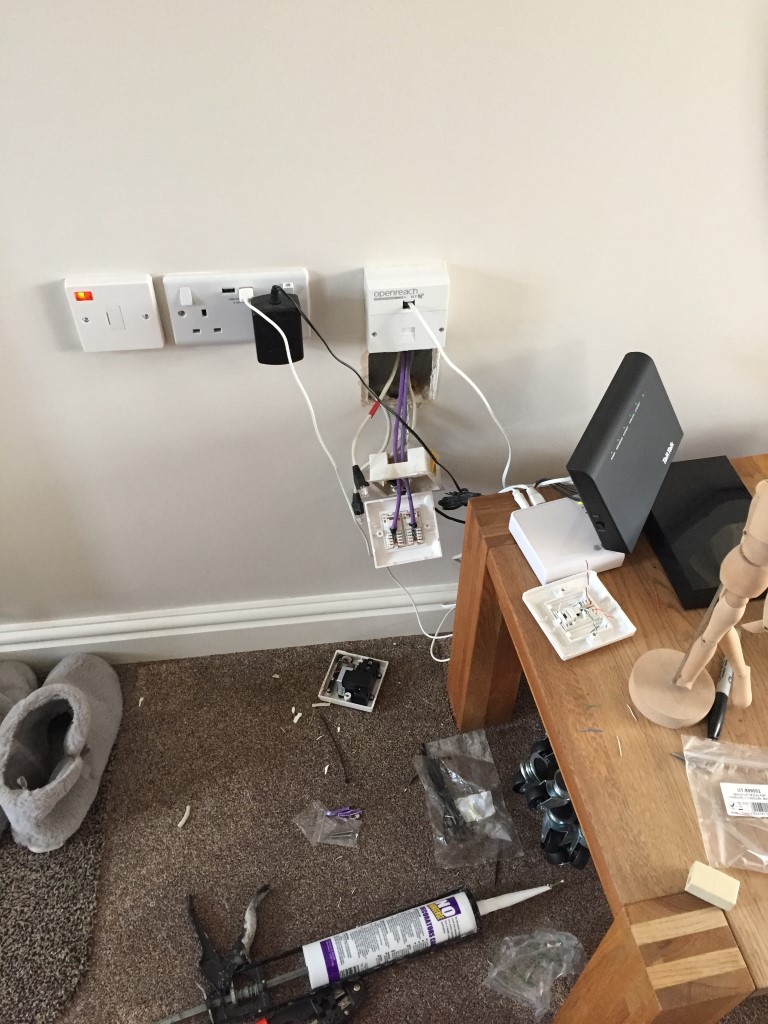
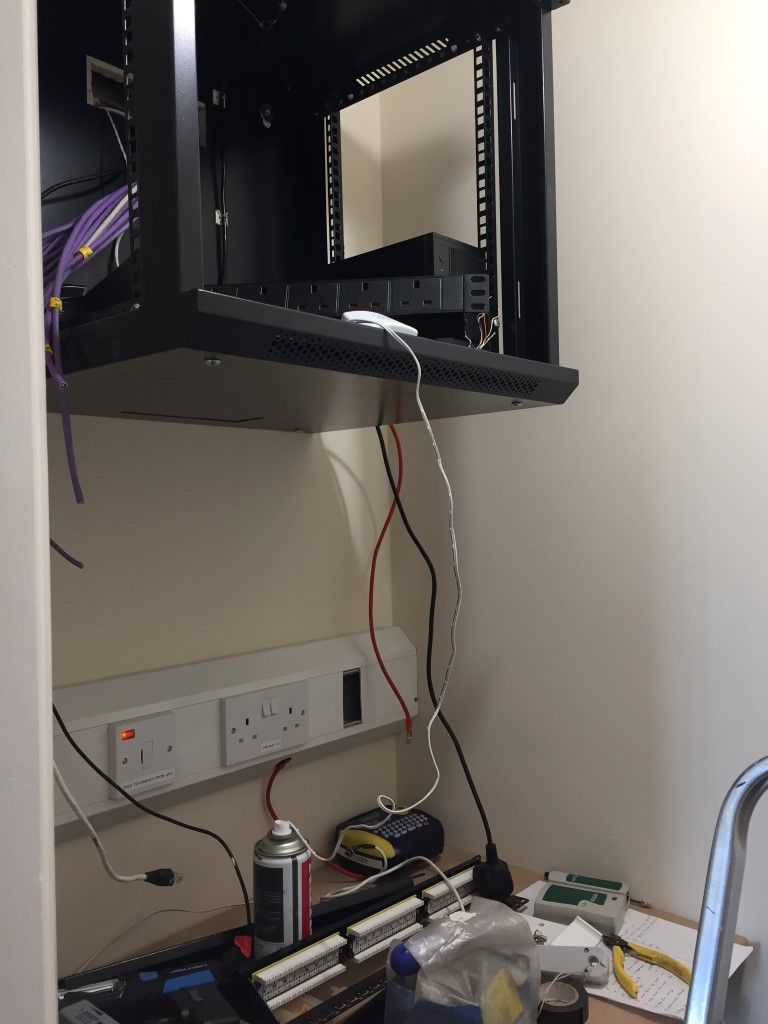
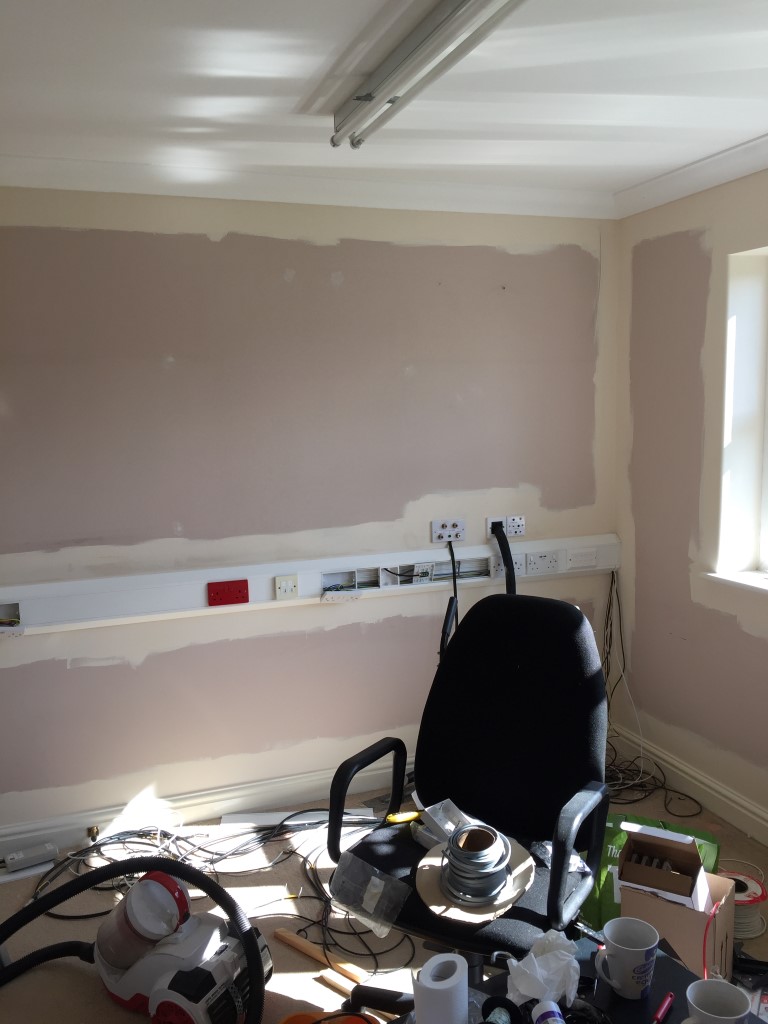
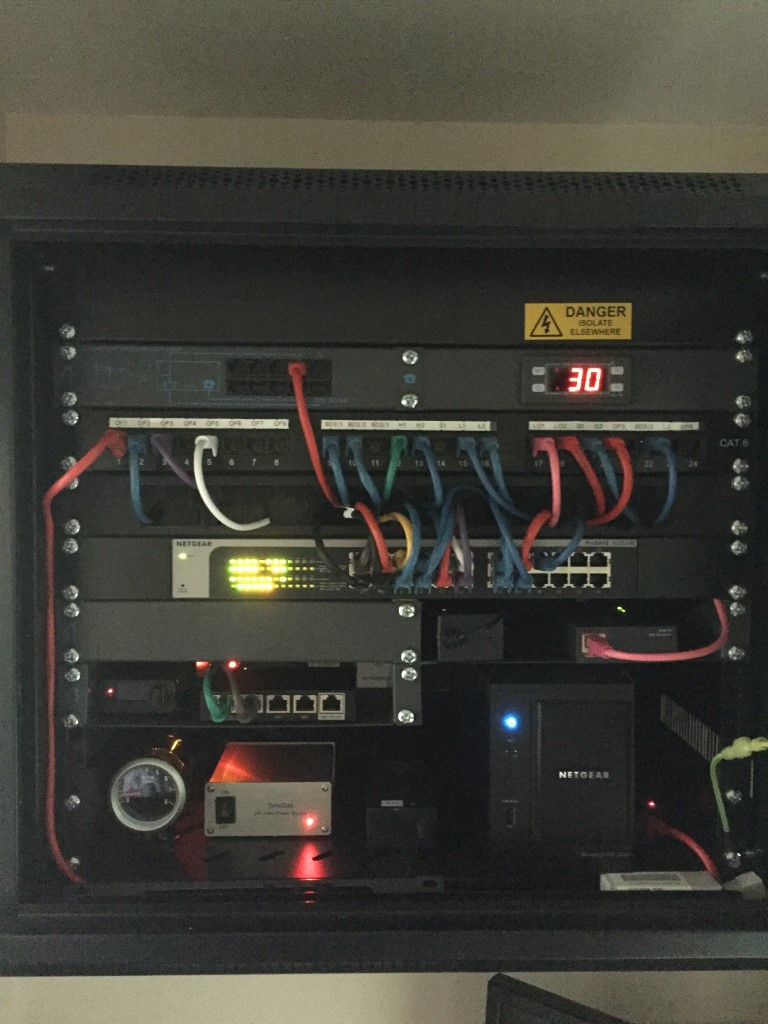
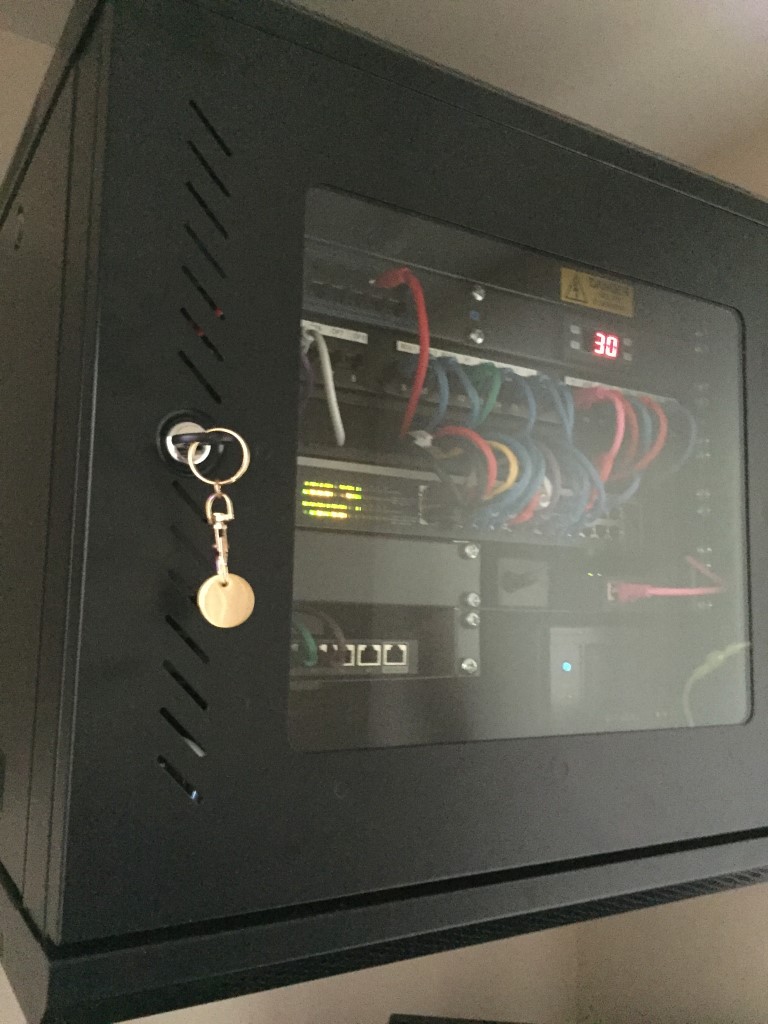
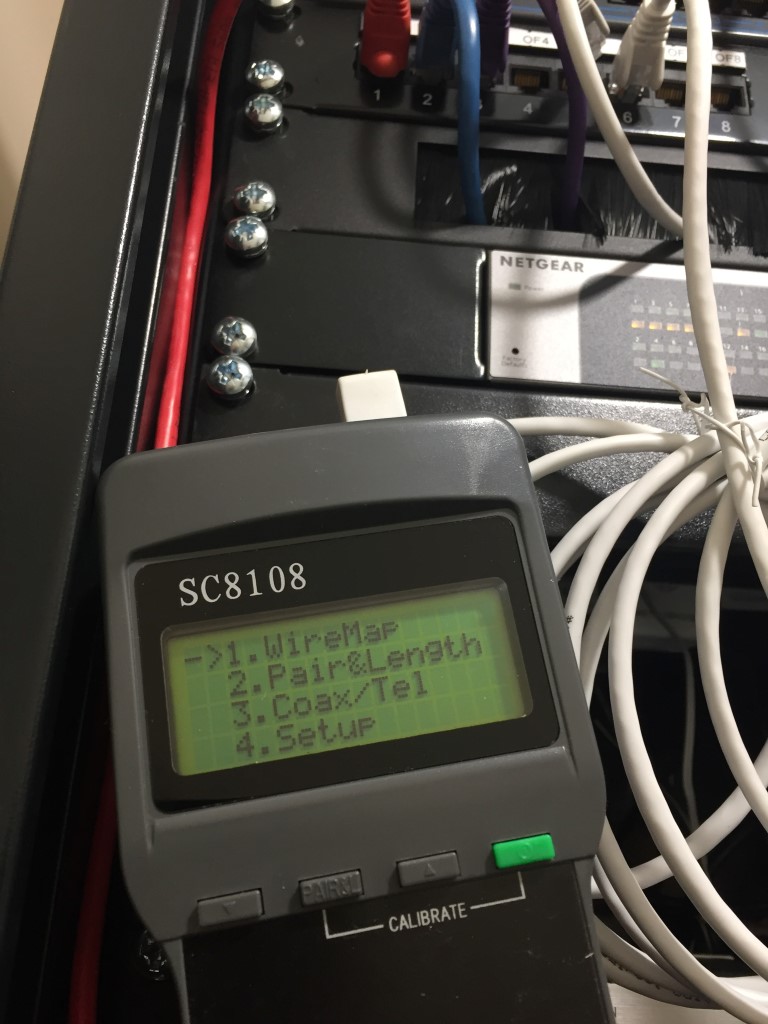
I undertook the electrical works, this involved digging a trench to carry 1x 25mm flexible conduit containing 3x Cat5e data cables and a Coax cable for the TV, also in the trench was a 6mm 2 core SWA for power, inside the cabin I used a 6 way consumer unit with RCBO’s. For ease of installation and future expansion if needed, I used dado trunking around the complete perimeter at low level, I was advised that the wood will move with humidity, so the trunking is fixed to one length of wood and not screwed to bridge separate lengths. All electrical bits came from TLC Electrical and they are my go to supplier. Within the dado trunking is partition separation between the data and TV cable and the power circuits.
The cabin has a WiFi Access Point as well as hard wired tap points for flexibility.
Lighting is by 300mm x 300mm LED panels, 4 on each side of the cabin, 8 in total.
Time to Relax
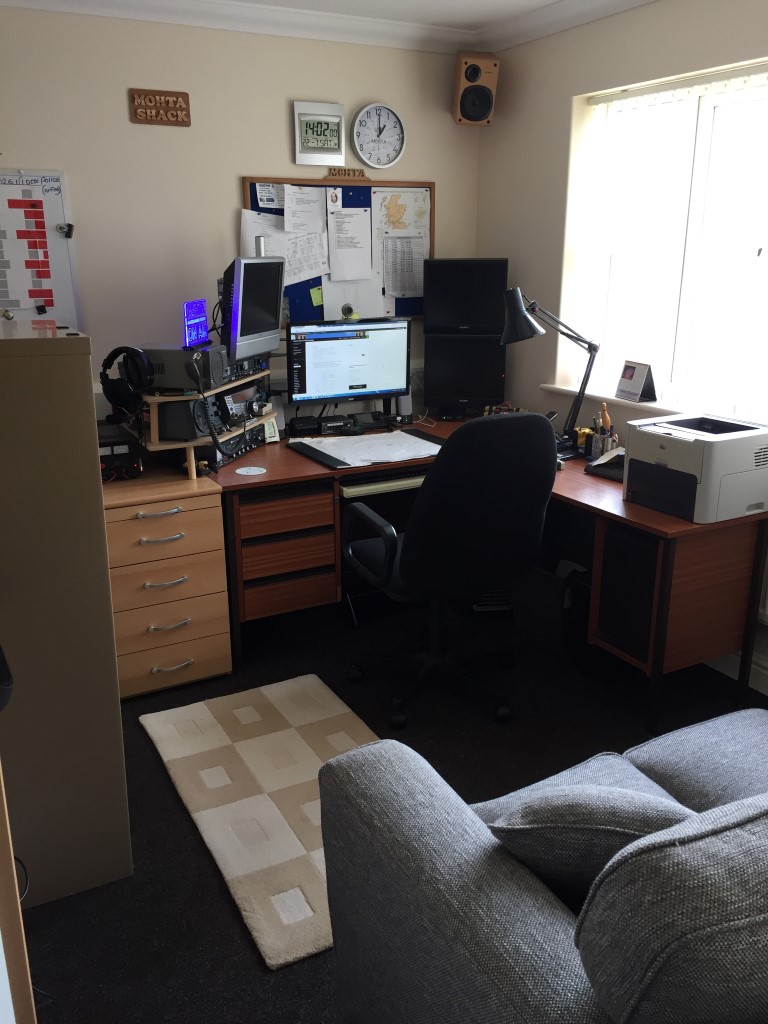
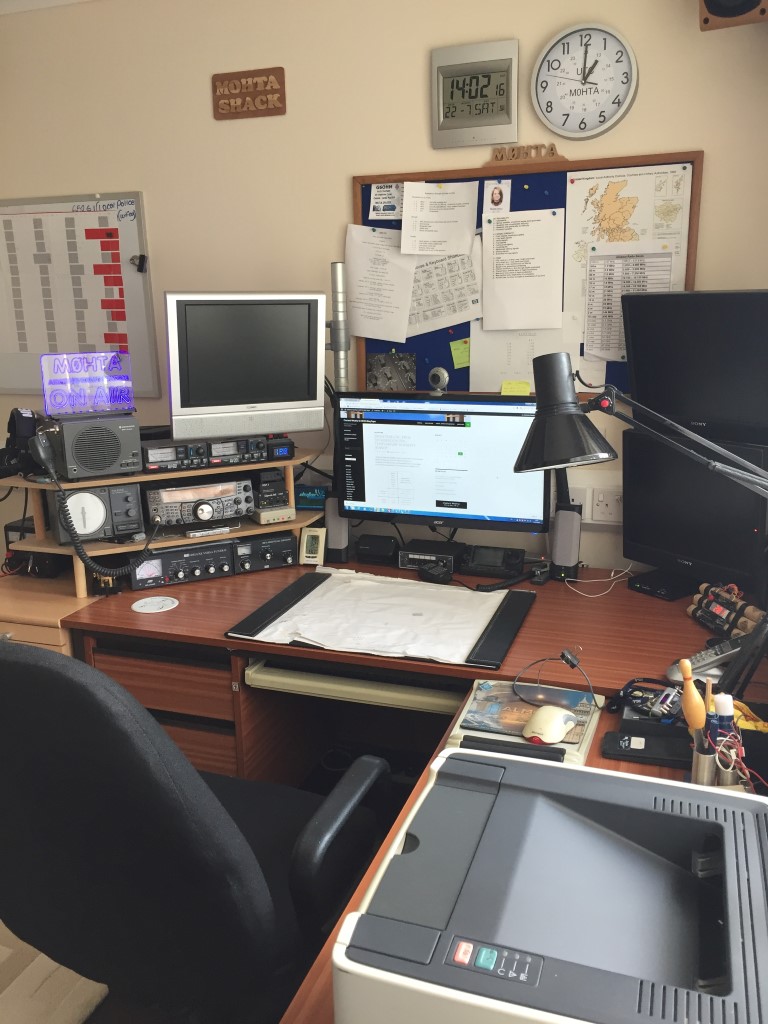
Floor tiles were fitted as the plain floorboards got too dirty with all the construction works, the tiles were good condition used ones and bought locally from Fuller Gray Carpet Tiles.
The only part of the cabin I didn’t do was the installation of the Samsung split unit Air Conditioning, this has the facility to heat or cool, this was sized to give 5kW of cooling or 6kW of heating, this method of heating uses less electricity for the comparable output than using traditional heaters.
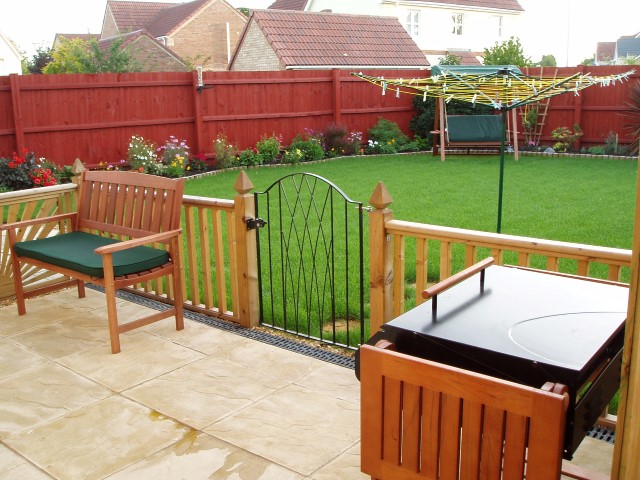
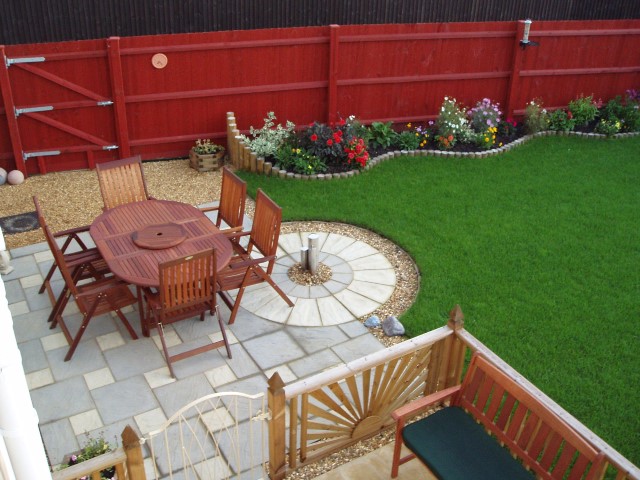
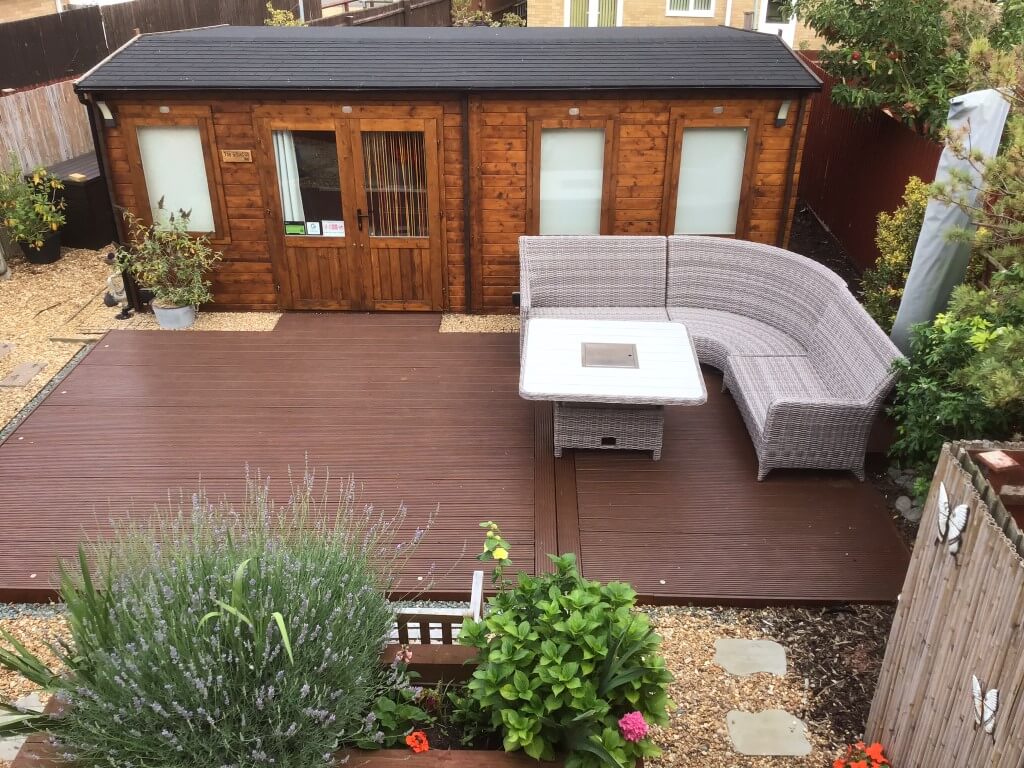
We are very happy with the quality of the cabin and the all year round usable space it has given us, I would recommend this to anyone.
2023 Update including SX70 Application Tips
Finally got round to a job I’ve been putting off since 2019 and that’s to reapply SX70 Light Oak wood stain, it took one person with a 11/2″ brush 13 hours in total and used 1.5 litres of stain.
I remember when I first used SX70 that I made some mistakes applying it, so I thought I would list the equipment and method used for a better finish this time.
Equipment
- White Spirits
- 11/2″ Paint Brush
- Paint Kettle (1ltr)
- Blue Roll/Kitchen Roll
- Stanley Knife Blade
Method
SX70 when stirred has the consistency similar to water but not quite as runny and stains by evaporation of the carrier solvent, which is fairly quick, therefore it is essential that any splashes, drips or runs are wiped off before the stain dries, don’t be tempted to brush it in.
Decant the stain into the paint kettle, the stain goes a long way so don’t go filling it to the top, and used the stain from this and not the tin, also don’t pour any unused stain from the kettle back into the tin, use it all on the cabin.
Stating the obvious, but start at the top and work down, BUT only stain one length of wood at a time, and try not to overlap to the next piece, when you have reached the end of one length, start the next length.
Don’t leave a half stained length, do the complete length, or none is my advise.
Brushes and paint kettle are cleaned with White Spirits (£4.99 Screwfix).
After staining and your ready to clean the cabin windows, use the Stanley Knife blade to scrape across the glass, its surprising how many small stain drips dry on the glass!