

I bought my bird bath second hand for £10 and have had it for several years, I’ve always hated the colour and topping it up with the watering can every day was getting to be a pain.
So I thought I would ‘ kill two birds with one stone’, (I know, not the best phase considering the context), anyway, a nice little project in the making.
My original design ended up way to complex, the plan was to use a Programmable Logic Controller to drain the bowl and refill it everyday, plus some other tweaks such as overfilling the bath to flush out waste and only draining down at night etc.
I did a relality check and simplified the design to simply fill when the level in the bowl gets low, however, the plumbing manifold was made to allow auto draining if I choose to do it later.
Current Operation – This is very simple and needs no manual intervention. With the water supply and power on, the liquid level controller keeps the solenoid fill valve closed as long as a circuit is made via the water from the common connector (metal tank connector) to the low level brass stud.
When the water level drops below the low level stud and the contact to the common connector is missing, the controller, after a short delay, powers the fill solenoid valve and water enters the bird bath, once the water touches the upper contact (high level), the solenoid power is removed and the valve closes.
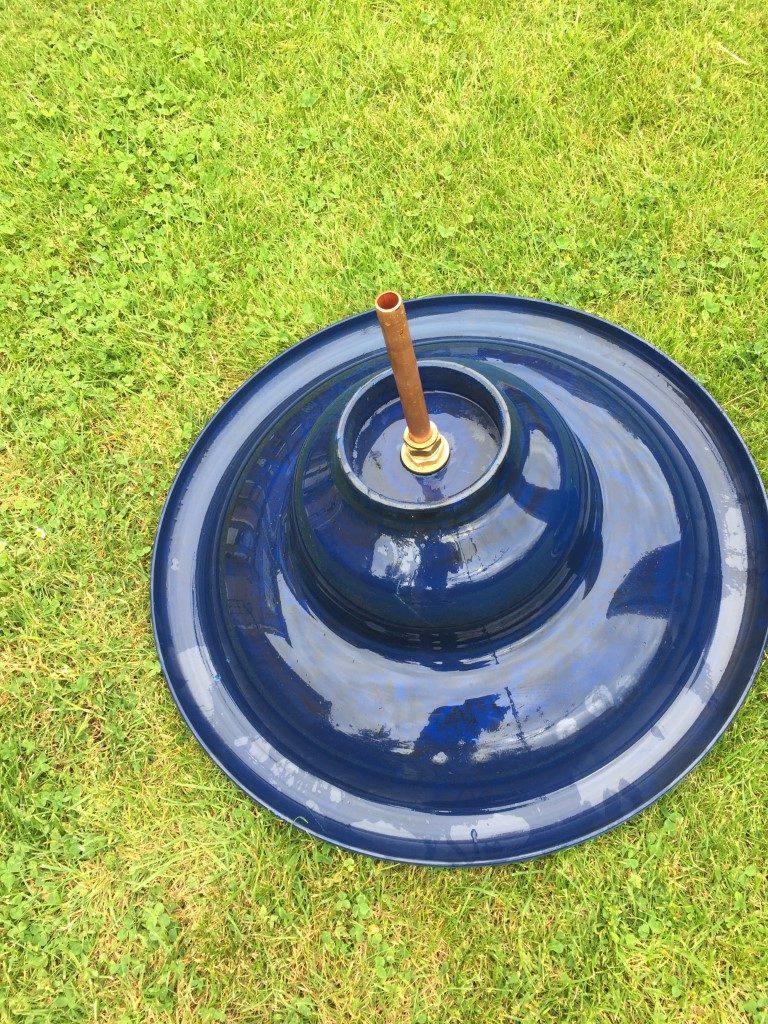
How it was made – As the bird bath is made of plastic and the top bowl lifts off the column, I was able to put hardware out of view inside the base.
First job was to drill and fit the 15mm Tank Connector (£2.79) and a small length of 15mm copper pipe in the top bowl, this will connect to the filling manifold via a push fit coupling, the copper stub will also act as a ‘Common’ connector for the level sensor circuit.

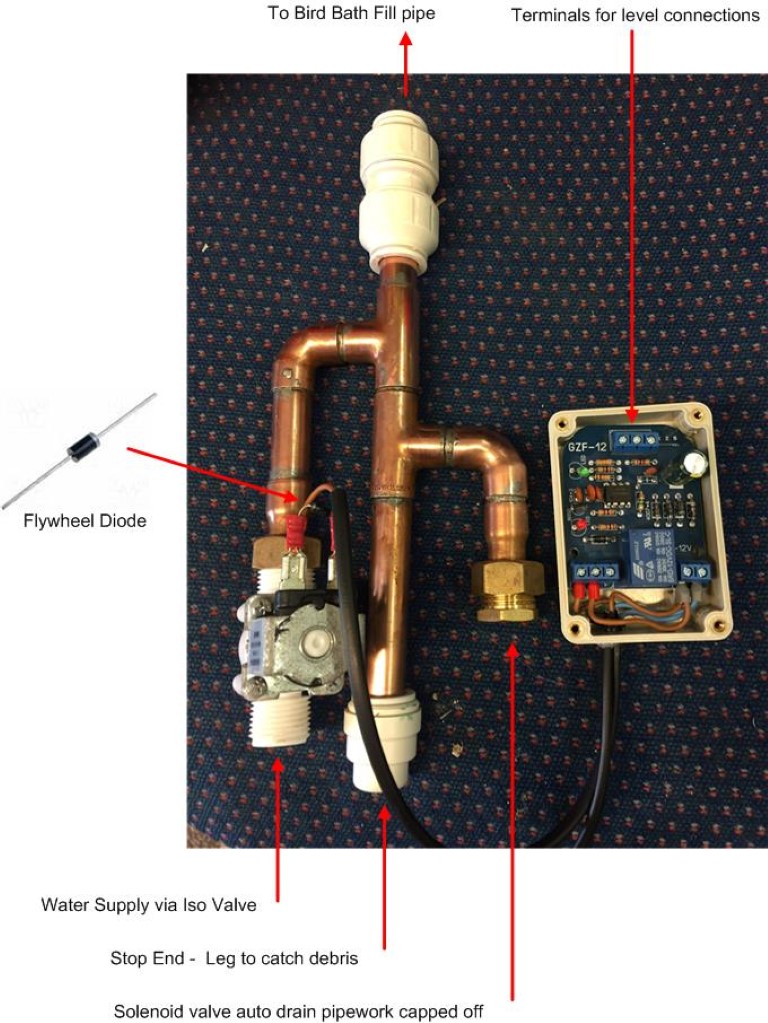
The manifold is made of 15mm copper pipe with end fed fittings, the manifold is connected via a 15mm ‘push fit’ connection to the bowl stub, thiis makes maintenance very easy as it all comes apart quickly. The finished pipework is fully lagged.
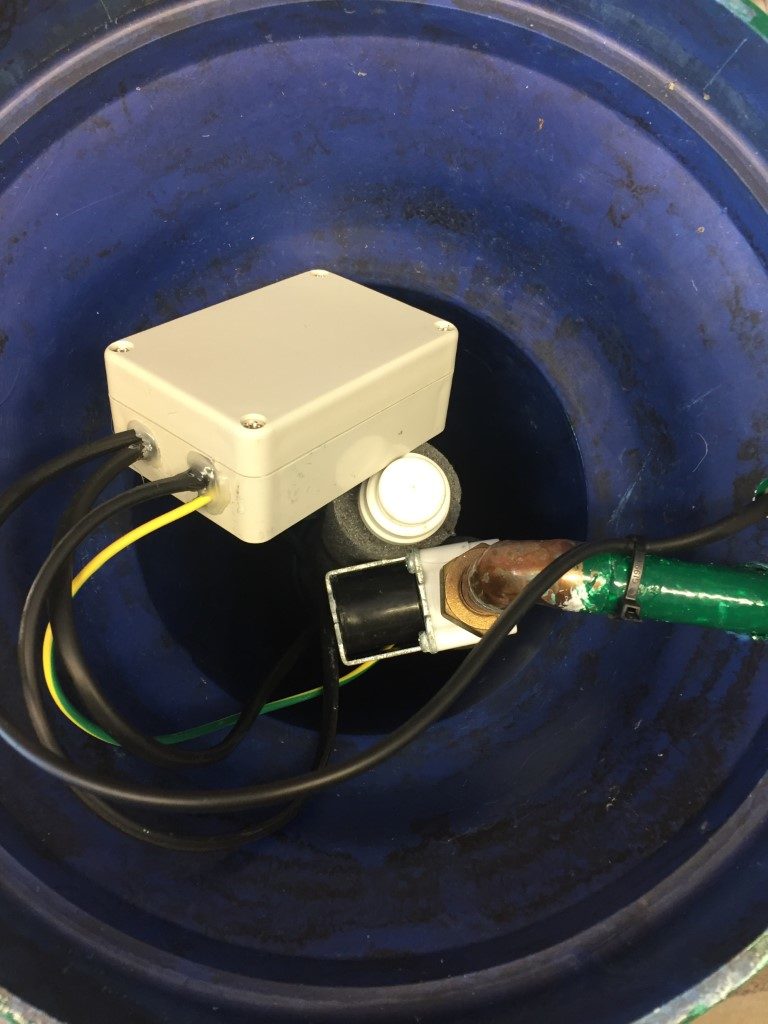
The liquid level control PCB was off eBay (£3.65 and) fitted neatly inside an IP rated enclosure I already had, in the picture above you can see an earth wire which is soldered to the stub pipe from the bowl and the black cable is a two core to the high and low level stud contacts.
The solenoid is 1/2″ version, 12vDC and connects to the water supply via 15mm tap connectors with fibre washers (£1.50 @ B&Q), I fitted a flywheel diode across the terminals to avoid pitting the PCB relay contacts, the valve was off eBay and cost £4.32.
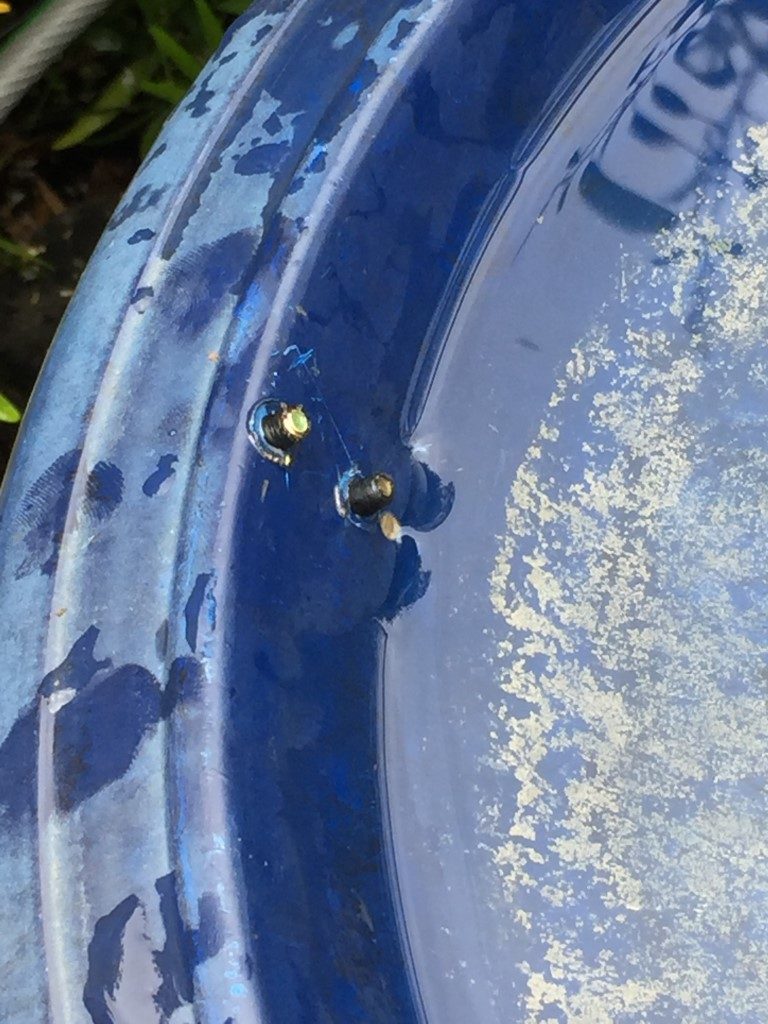
The studs are Pan Head 12mm x 4mm brass machine screws commonly used for metal conduit box lids, the studs are positioned at the low level and high level marks. On the underside I have used hot melt glue to secure the sensor connecting wire.
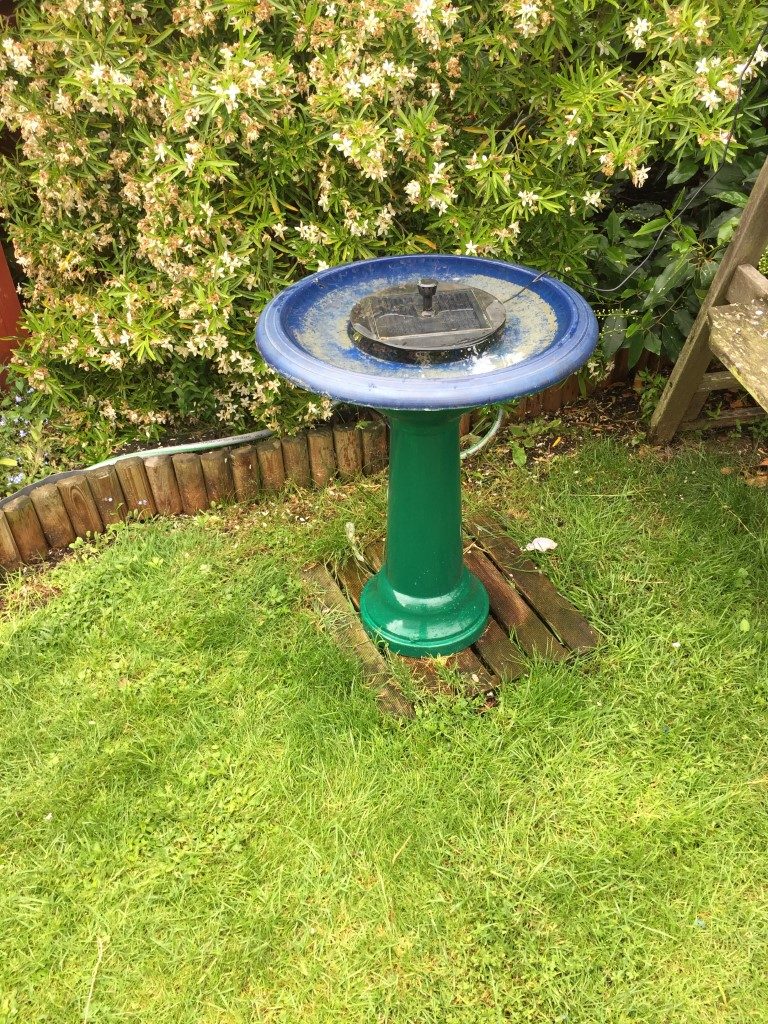
Finished project and a new colour, Winsor Green. The water supply to the bird bath is via a hose from an outside tap, the connection at the bird bath is via a hozelok connector with an isolating ball valve, the valve is ‘gagged in’ so the when the solenoid opens, the bath fill is quite slow,
12vDC to power the circuit board and solenoid is fed from an external IP rated socket with a small plug in PSU.
Chatteris…Thanks for the post. I am almost there on my Bird Fountain Auto-Fill setup. The only question I have at this point is how to attach the Flywheel diode to the valve. Does it have polarity? I have a “12” on one of the terminals of my valve, assuming this is the positive post. Due put the Gray side of the diode on this post? Thanks again for the great right up.
Danny Davisson
Hi Danny,
Thanks for checking out the blog and I hope the project has been fun to build.
The diode will have a band indicating the positive end, connect the diode across the valve coil with the band on the positive terminal and your good to go 🙂
Thanks Chatteris…Just what I needed. I’m excited to get it going. Thanks again for your great instructions.
DannyD.